AhsayCBS
Create a Microsoft 365 Backup Set on AhsayOBM using QNAP NAS
-
Click the Backup Sets icon on the AhsayOBM main interface.
-
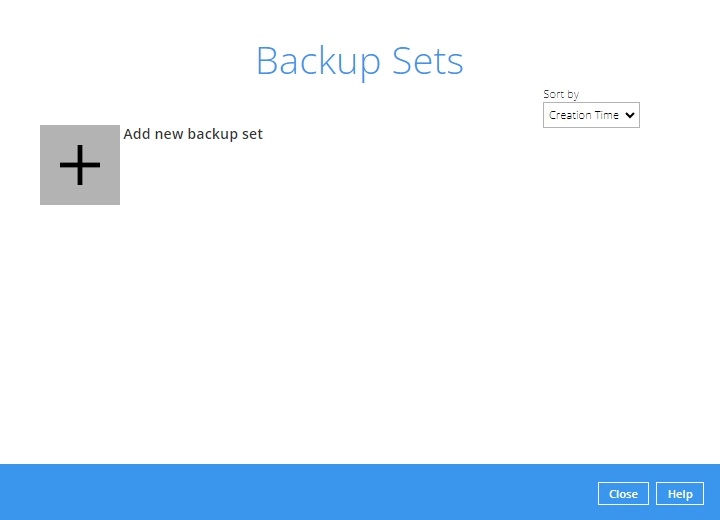
Create a new backup set by clicking the + icon next to "Add new backup set".
-
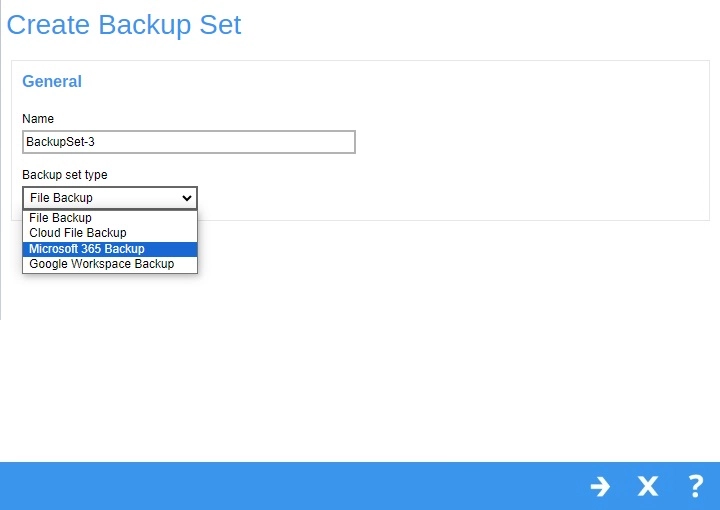
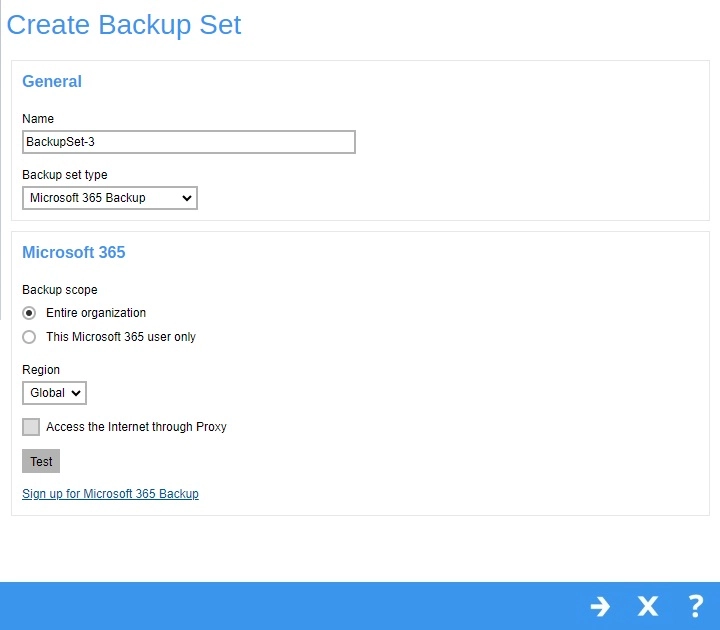
Enter a name for your backup set and select Microsoft 365 Backup as the "Backup set type".
Select the "Backup scope" and "Region". Click the Test button.
-
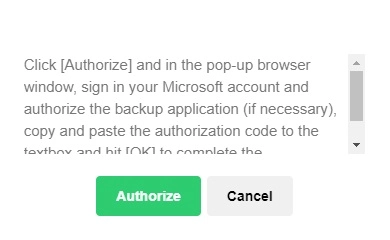
Click Authorize to start the authentication process.
-
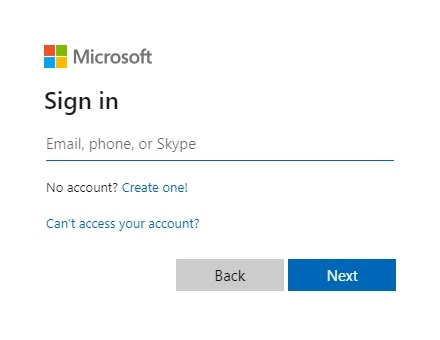
Sign in to your Microsoft account.
-
If MFA is enforced for the Microsoft 365 user account used to authenticate the backup set, select either Text or Call to verify your identity.
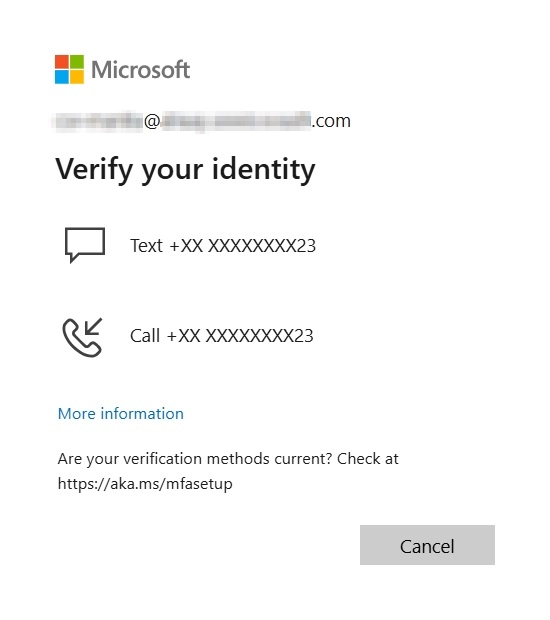
Verification code is only required if the MFA status of a Microsoft 365 account is enforced.
-
Copy the authorization code:
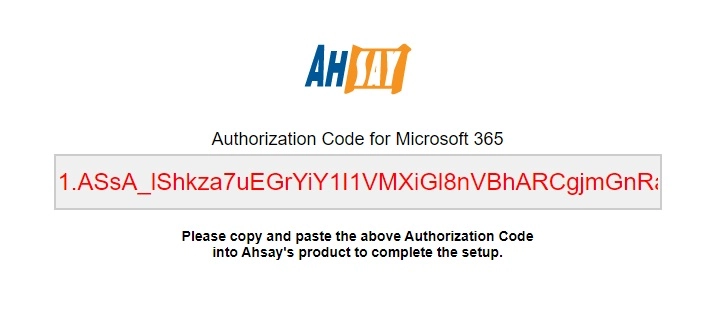
-
Go back to AhsayOBM and paste the authorization code. Click OK to proceed.
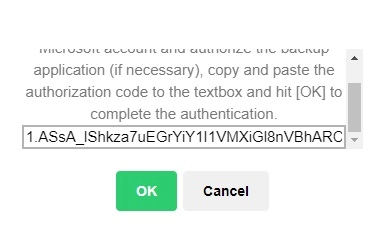
If the "Backup scope" selected is Entire organization but the M365 account used to sign in is a personal account, this error message will be displayed.
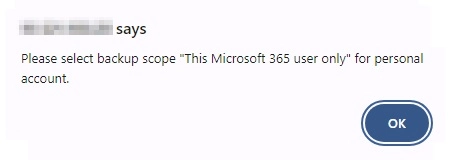
Change the "Backup scope" to This Microsoft 365 user only since only business account may be used to sign in if the "Backup scope" selected is Entire organization.
-
"Test completed successfully" shows when the validation is successful. Click Next to continue.
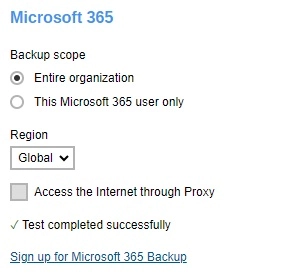
-
-
The "Backup Source" window that will be displayed will depend on the backup scope selected, either:
- Entire Organization, or
- This Microsoft 365 user only
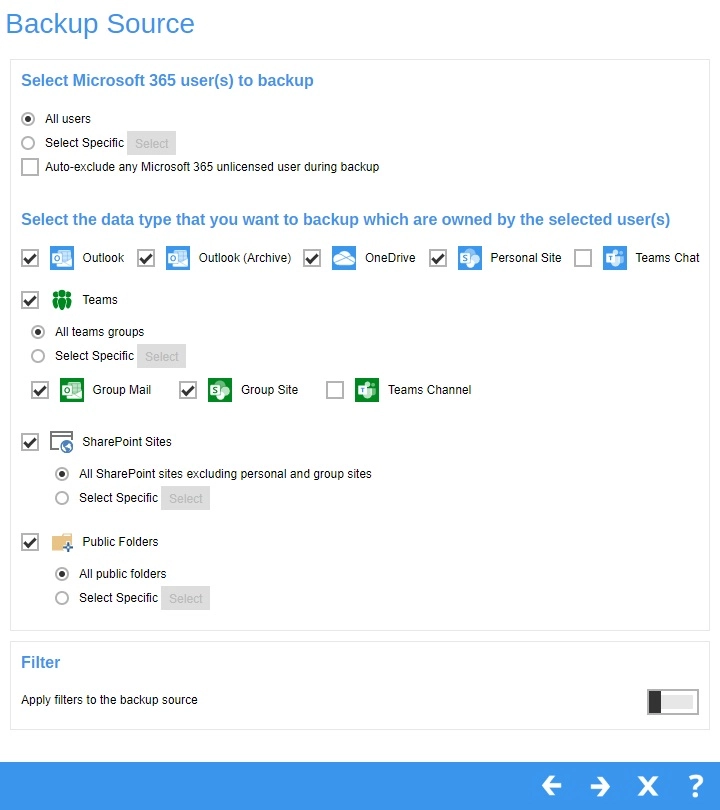
If Entire Organization is selected, this will be the window displayed. Select the users and data types for backup.
-
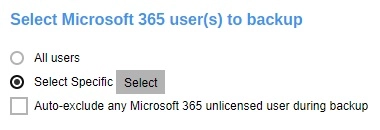
To select specific users, click Select.
-
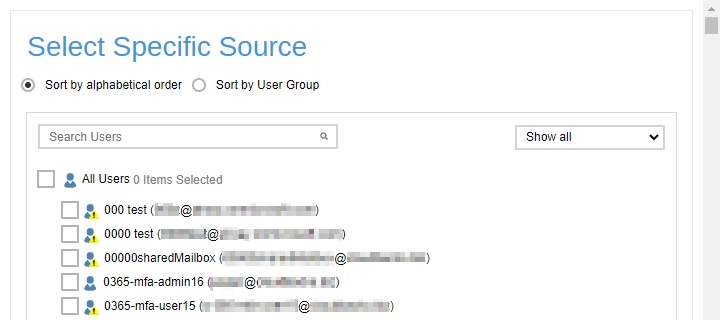
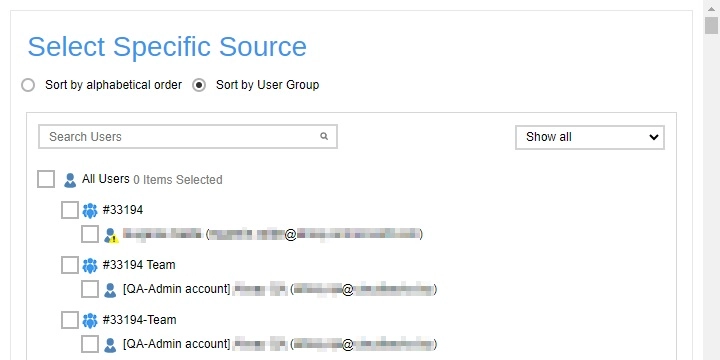
Users can be sorted alphabetically or by User Group.
Example of users sorted alphabetically:
Example of users sorted by User Group.
-
List of users can be displayed in three ways:
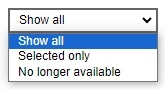
Searching for a particular user is possible by entering the name or email address in the search box. A list of names and email addresses containing the search criteria will be displayed automatically. Click Check All Current Items to select all listed users.
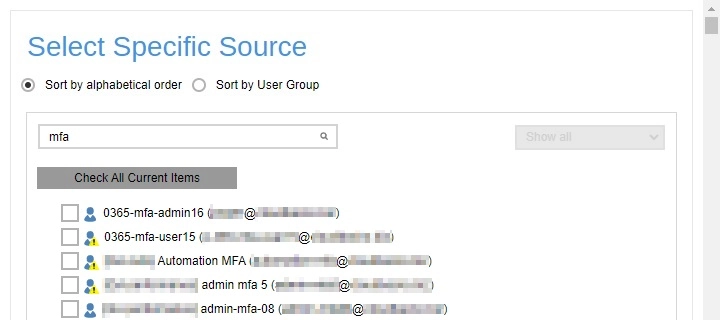
-
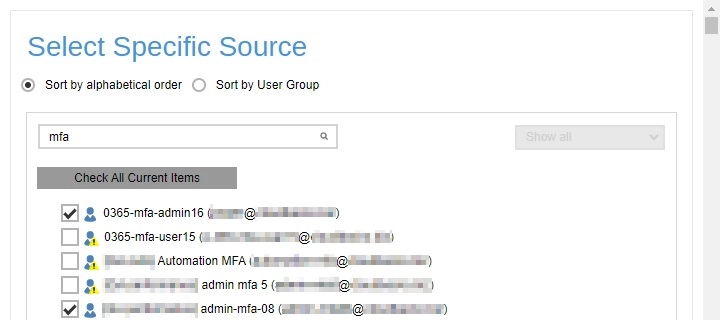
Select specific users by ticking the checkbox beside the user.
To display selected users only, select Selected only.
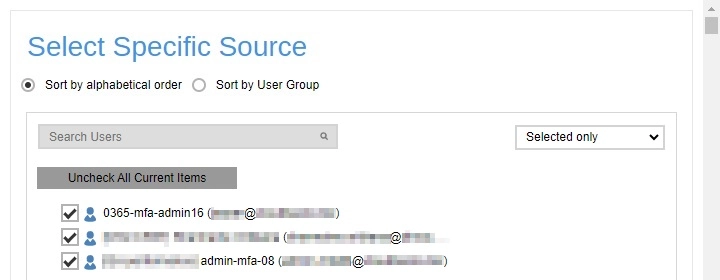
- Click OK once done with the selection.
-
Tick the Auto-exclude any Microsoft 365 unlicensed user during backup checkbox if you do not want to include unlicensed users in your backup.

An unlicensed user is depicted by the icon with the yellow warning tag.

-
Select the data type that you want to be included in the backup. Select from Outlook, Outlook (Archive), OneDrive, Personal Site, and Teams Chat. Ticking the checkbox will backup all, i.e. ticking the Outlook checkbox will backup the mailboxes of the selected user(s). For Teams Chat, it is not necessary to select other user accounts involved in the chat to backup the conversation.

-
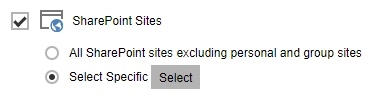
Select to backup Teams, SharePoint Sites and Public Folders.
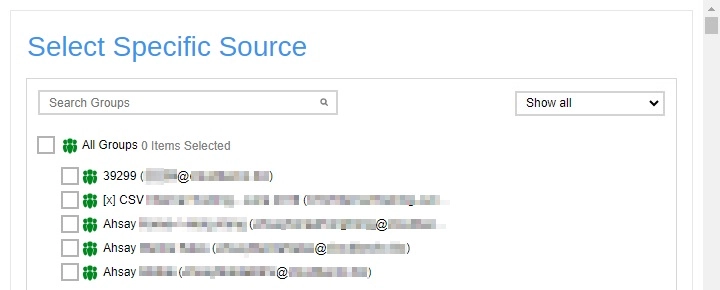
To select a specific group to backup in Teams, select Select Specific, then click Select.
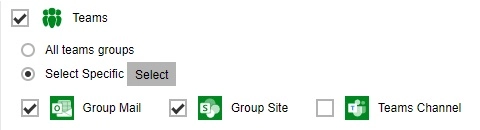
Searching for a particular group is also possible, enter the group name in the Search Groups field, and search results will be displayed. The list of groups can also be displayed in three ways: Show all, Selected only, and No longer available. Click OK once done with the selection. Also select if Group Mail, Group Site, and Teams Channel will be included in the backup.
In order to backup shared attachments for certain Teams Channel posts, OneDrive and Group Site must be selected as source.
-
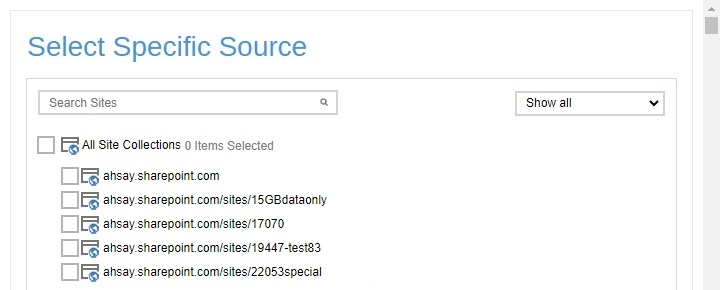
To select a specific site to backup in SharePoint Sites, select Select Specific, then click Select.
-
Searching and listing for sites is the same process as discussed above.
-
To select a specific public folder to backup in Public Foldes, select Select Specific, then click Select.
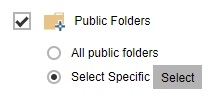
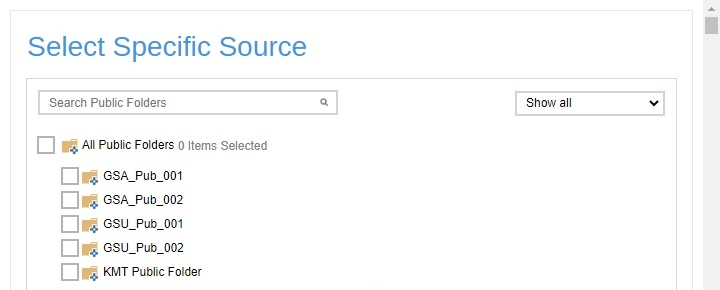
Searching and listing for public folders is the same process as discussed above.
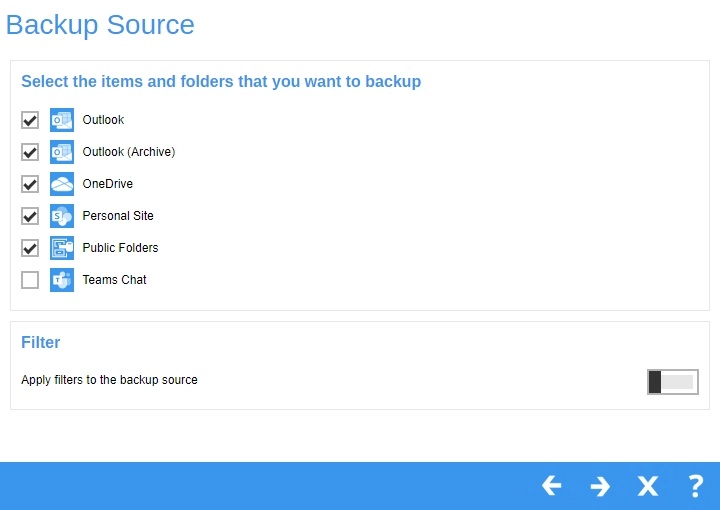
If This Microsoft 365 User Only is selected, the window that will be displayed will depend on the type of account used for authentication:
-
Window for business account
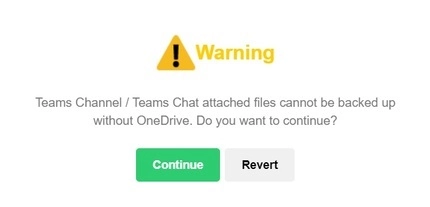
This message will be displayed if OneDrive is not selected but Teams Channel and/or Teams Chat are selected.
-
Window for personal account
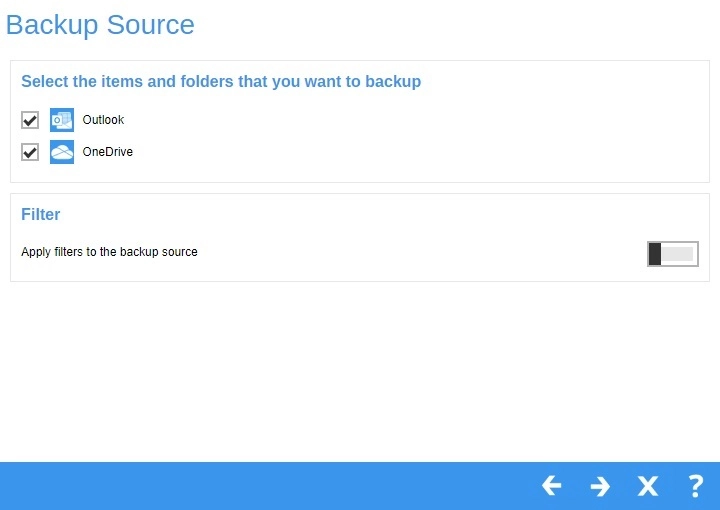
For instructions on how to use the Filter, please refer to the Backup Source Filter section. -
In the "Schedule" window, configure a backup schedule for backup job to run automatically at your specified time interval. Enable by sliding the switch to the right, to add a backup schedule click the Create button, configure the settings then click Next to proceed.
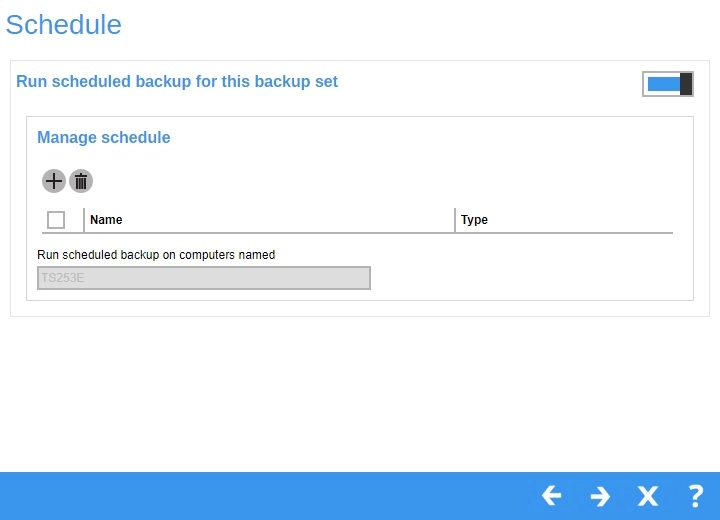
For details on how to configure the backup schedule settings, please refer to the Overview (GUI) section.
-
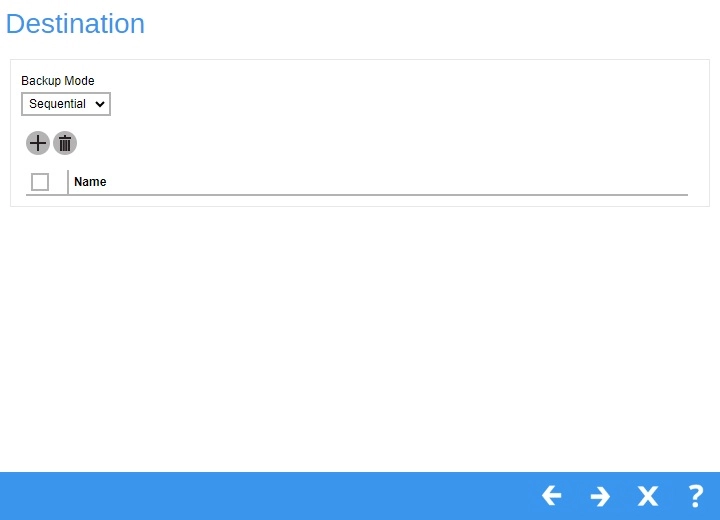
In the "Destination" window, select the appropriate option from the "Backup Mode" dropdown menu. Then click the Create button to select a backup destination. Click Next to proceed once done.
-
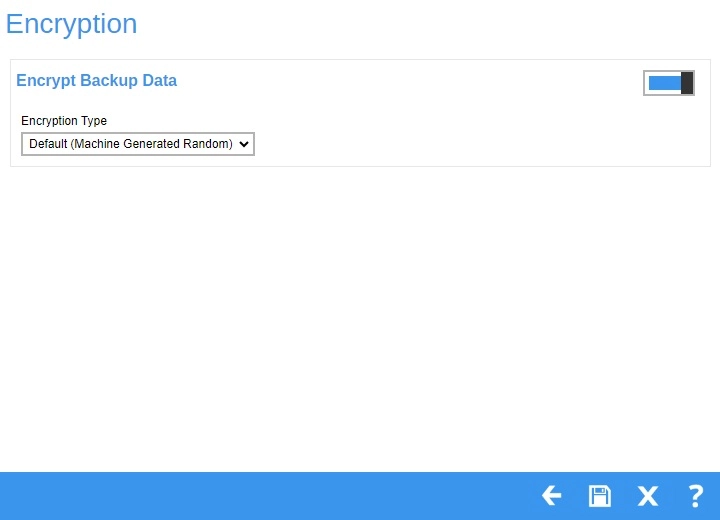
In the "Encryption" window, the default "Encrypt Backup Data" option is enabled with an encryption key preset by the system which provides the most secure protection. Select the "Encryption Type" to be used then click Save to finish creating the backup set.
-
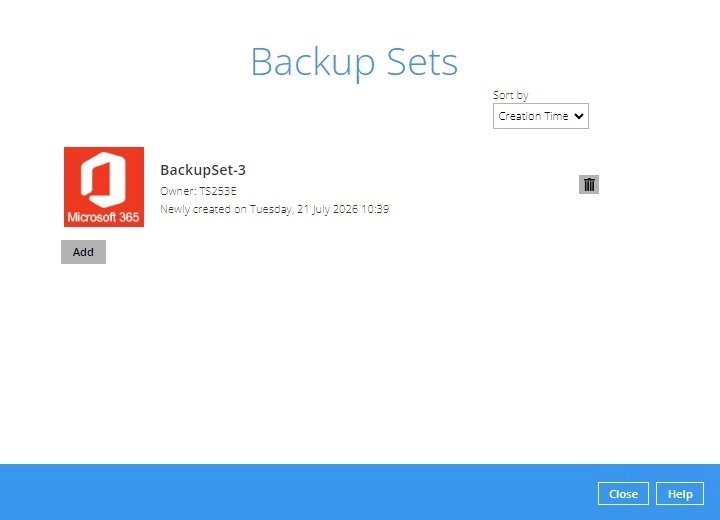
The following screen is displayed when the new Microsoft 365 backup set is successfully created.