AhsayCBS
Create a File Backup Set on AhsayOBM using QNAP NAS
-
Click the Backup Sets icon on the AhsayOBM main interface.
-
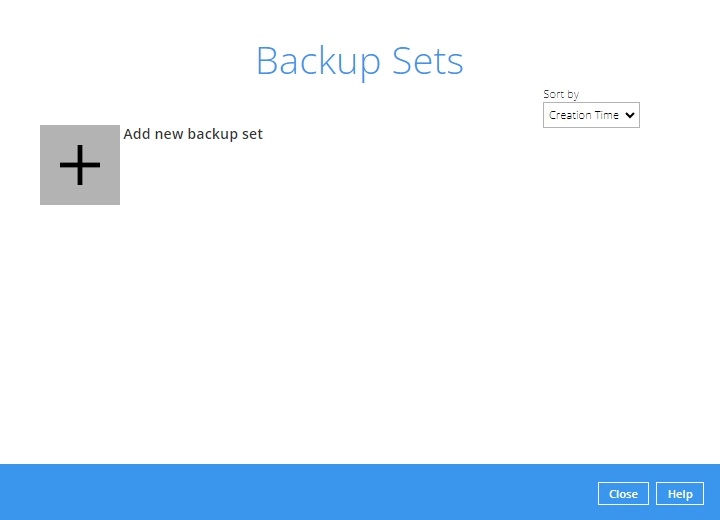
Create a new backup set by clicking the + icon next to "Add new backup set".
-
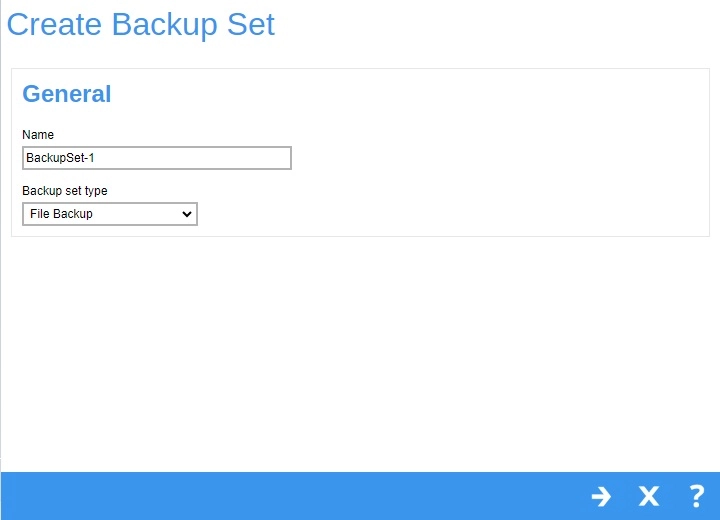
When the "Create Backup Set" window appears, name your new backup set, and select File Backup as the backup set type. Then, click Next to proceed.
-
In the "Backup Source" window, select the files and folders for backup. Once done, click Next to proceed.
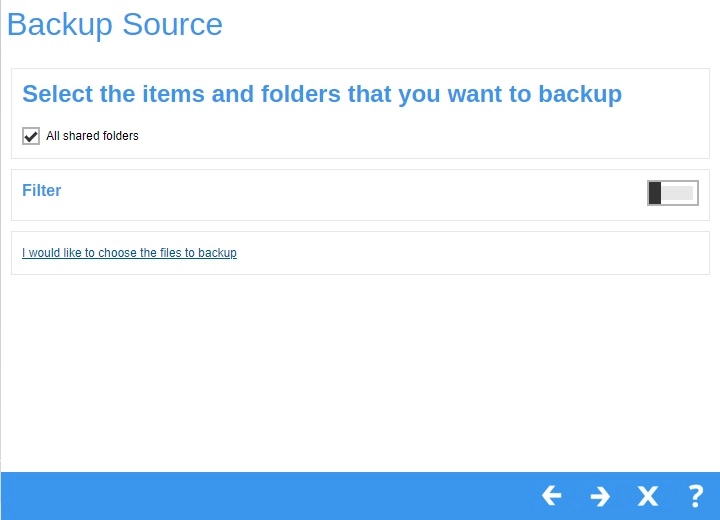
There are three (3) ways to select files and/or folders to backup:
-
Quick or Shortcut

This allows the user to backup files and/or folders in the selected backup source entirely.
-
Filter

This allows the user to select or exclude files and/or folders from the backup job. For more details on how to use the filter, please refer to Manage Filters.
-
Advanced Backup Source

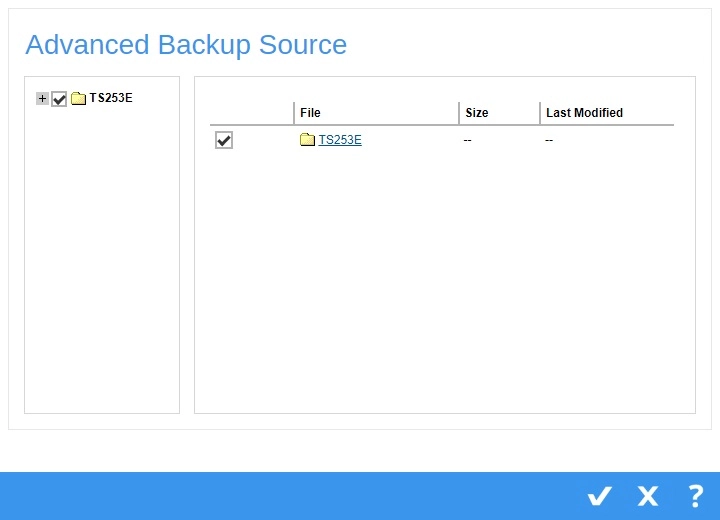
This allows the user to select files and/or folders individually to backup.
-
-
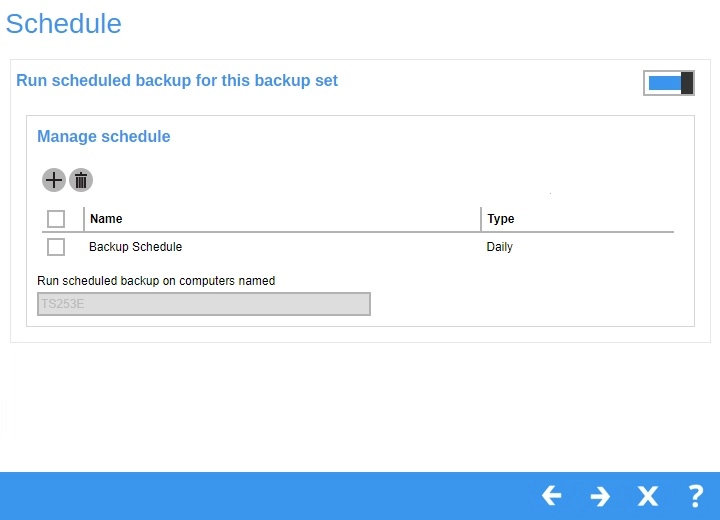
When the "Schedule" window appears, you can configure a backup schedule to automatically run a backup job at your specified time interval. The "Run scheduled backup for this backup set" is On by default.
-
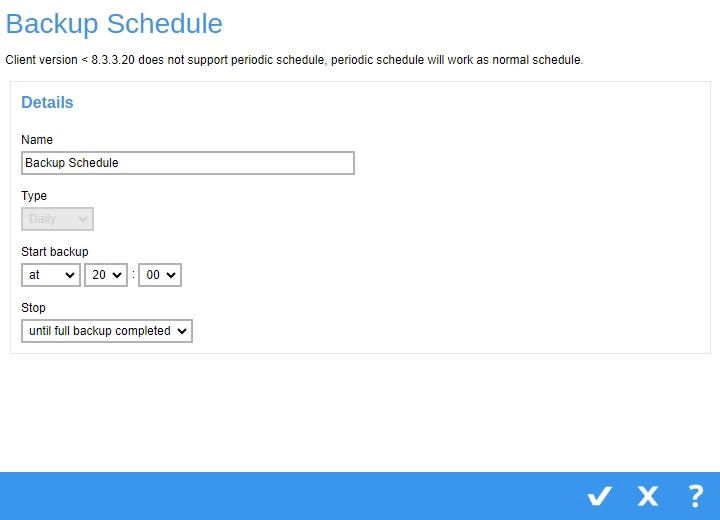
In the default backup schedule, the scheduled backup will be performed daily at 8 pm. You can leave it as is or you can modify it by clicking on the existing backup schedule.
-
If you want to add another schedule, click the Create button. When the "Backup Schedule" window appears, configure your backup schedule. Then, click Add to save your changes and close the "Backup Schedule" window.
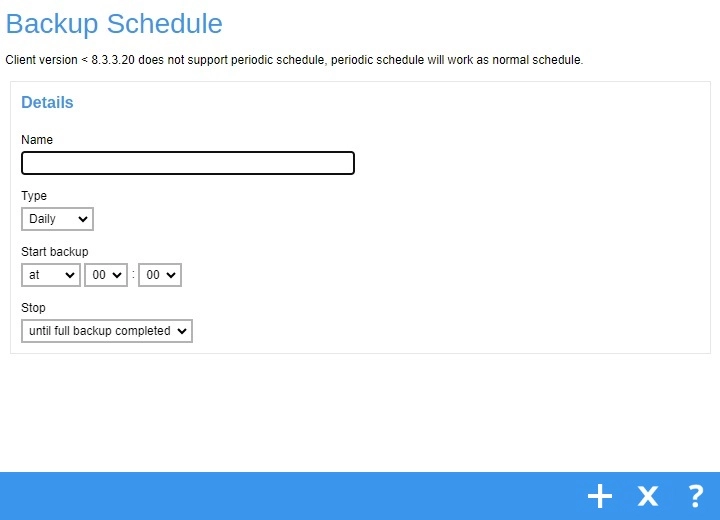
Click Next to proceed once done.
For backup sets with multiple backup schedules configured at the same time, this will be the order of priority to determine which schedule will be run.
- Backup Type: Full > Differential
- Stop: after X hours > after Y hours ? until full backup completed (where X>Y)
- Run Retention Policy after backup: enabled>disabled
- Schedule Type: Daily>Weekly>Monthly>Custon
- Creation order
Examples:
- If there are 2 backup schedules with Full backup type and with Stop after 2 hours and 4 hours respectively. The backup schedule with Stop after 2 hours will be run.
- If there are 2 backup schedules with any Run Retention Policy enabled, it will have priority and execute the Schedule in this instance and ignore Schedule Type prioritization.
- For backup sets with backup schedules Daily and Weekly, the Daily backup schedule will be run.
-
-
In the "Destination" window, select the appropriate option from the "Backup Mode" dropdown menu. To select a backup destination for the backup data storage, click the Create icon. Click Next to proceed once done.
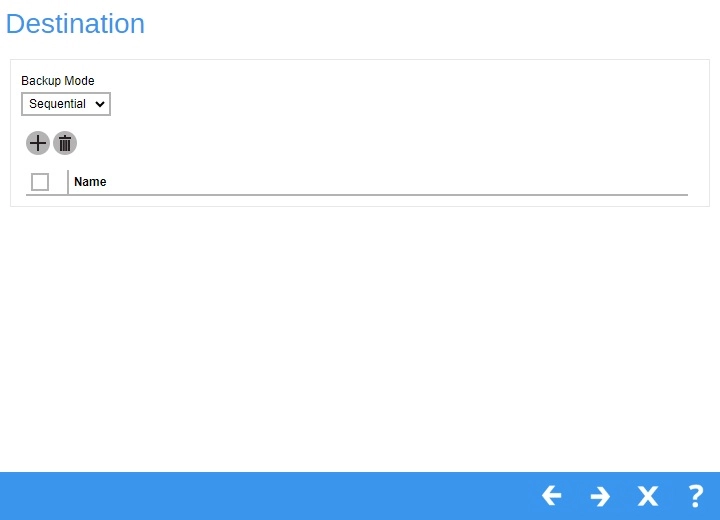
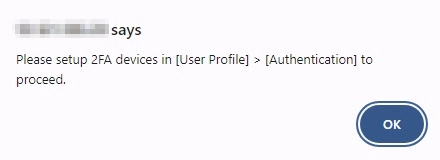
If the destination selected is immutable, the following message will be displayed if the backup user account does not have a device registered for 2FA and will not be able to proceed with the backup set creation.
-
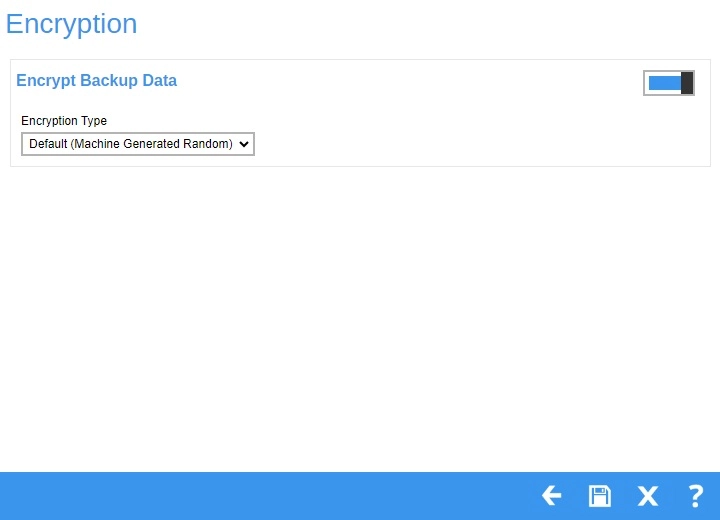
In the "Encryption" window, the default "Encrypt Backup Data" option is enabled with an encryption key preset by the system which provides the most secure protection. Select the "Encryption Type" to be used then click Save to finish creating the backup set.
-
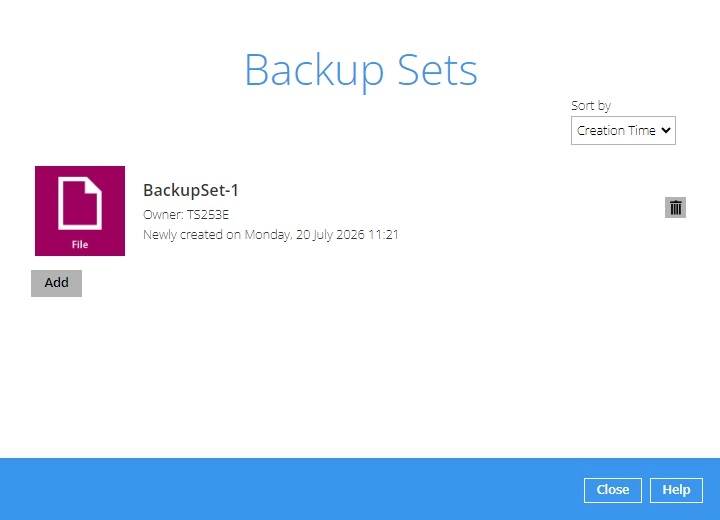
Upon successful creation of the backup set, the following screen will appear.