AhsayCBS
Create a Cloud File Backup Set on AhsayOBM
-
Log in to AhsayOBM.
For instructions on how to do this, refer to the Login section.
-
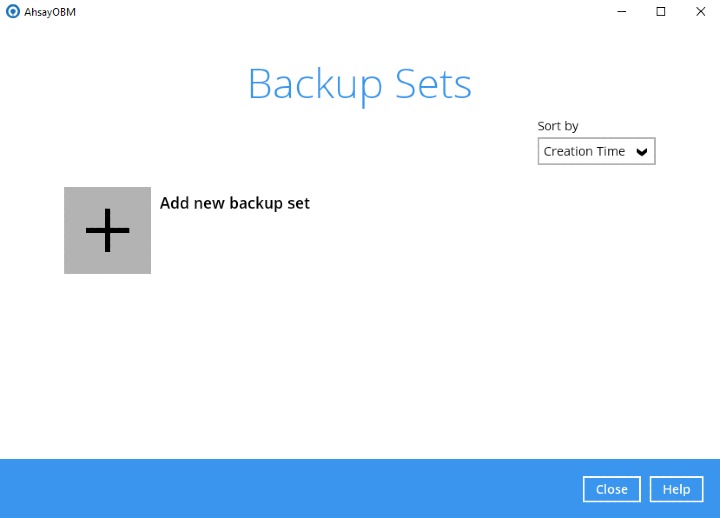
In the AhsayOBM main interface, click the following icon:
-
Create a Cloud File backup set by clicking the "+" icon before "Add new backup set".
-
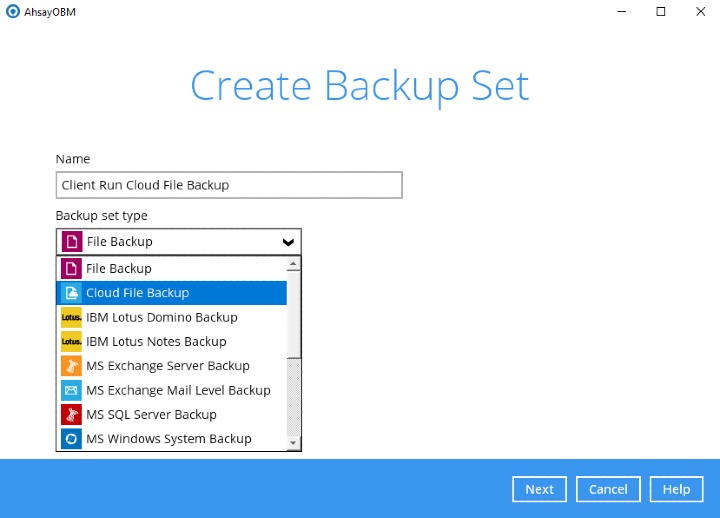
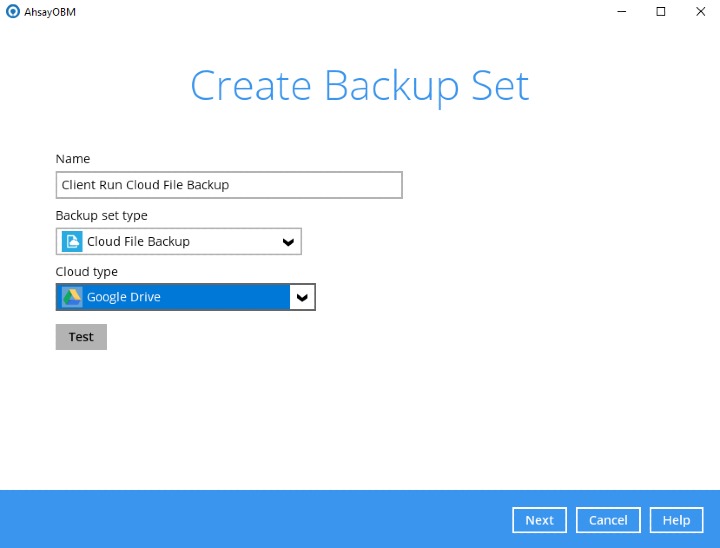
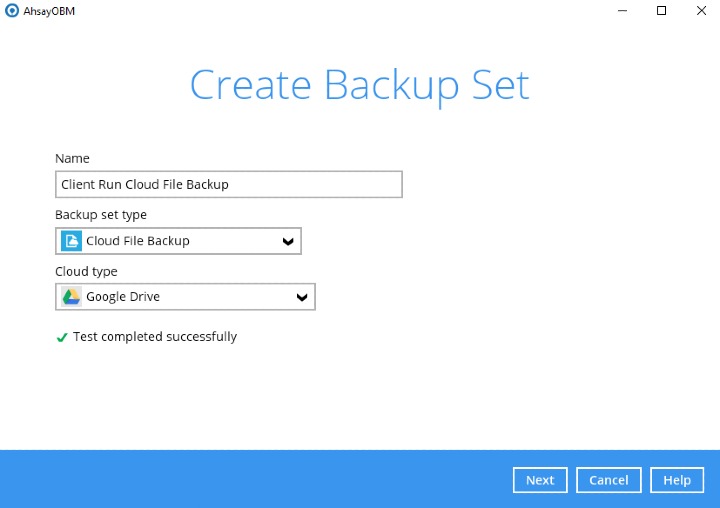
Enter a name for your backup set and select Cloud File Backup as the "Backup set type".
-
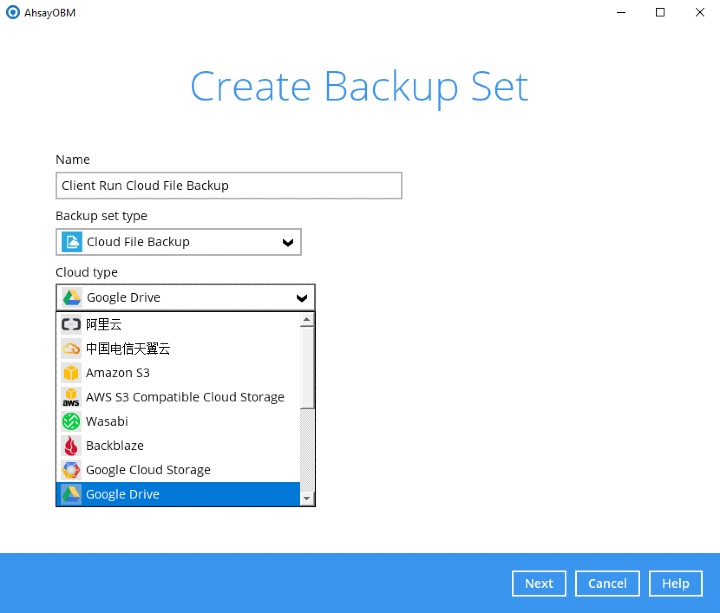
Select the "Cloud type" of the cloud storage that contains the data that you want to back up. For example, Google Drive.
-
Depending on the cloud type you have selected, you will be prompted to enter the cloud service login details.
Click Test to get redirected to the login page of the cloud service provider on your default browser, then enter the login details there.
The authentication request will be opened in a new tab or window. Ensure that the pop-up window is not blocked, and pop-up blocker is disabled in your browser.
-
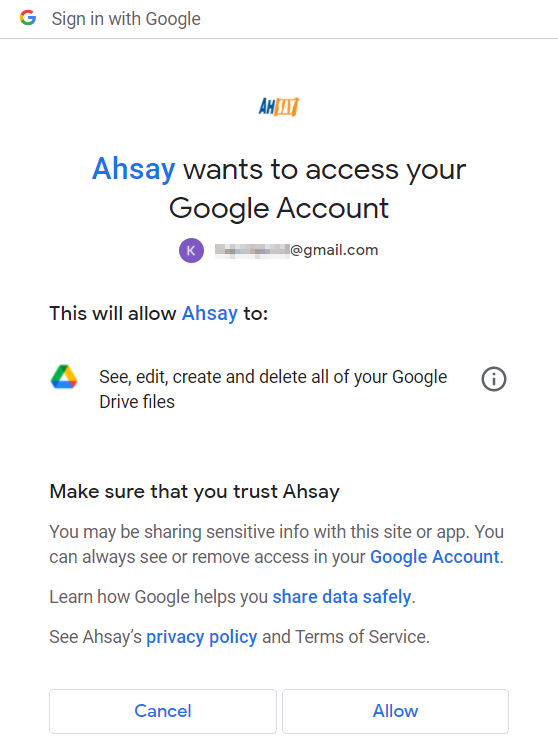
Click Allow to permit AhsayOBM to access the cloud storage.
-
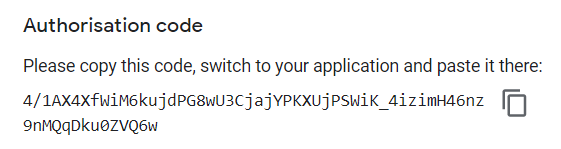
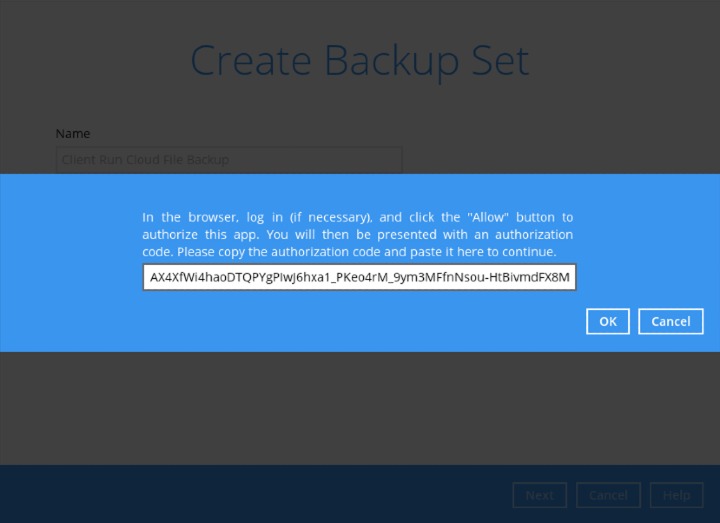
Copy and paste the code generated by the cloud service provider to AhsayOBM, then click OK to confirm.
-
Click Next to proceed.
-
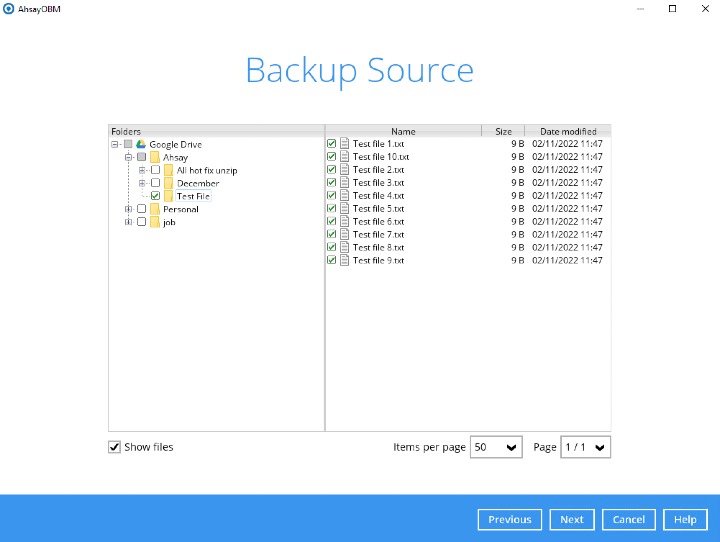
In the "Backup Source" window, select the files and/or folders that you would like to back up.
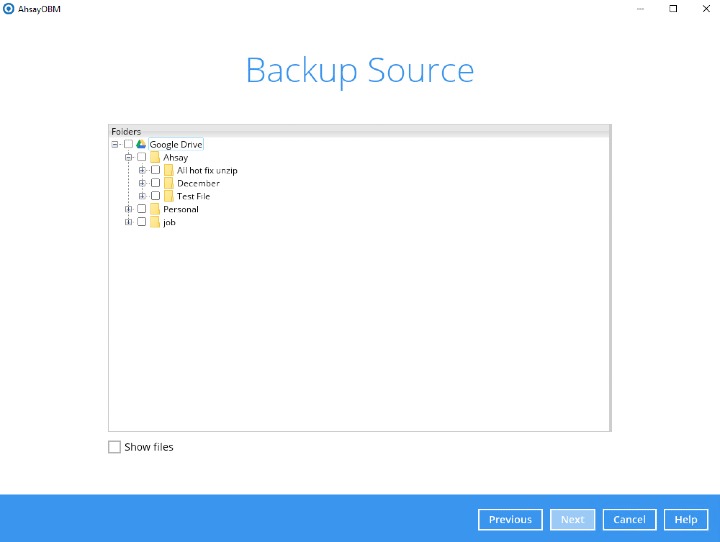
Tick the Show files checkbox at the bottom left corner if you would like to choose individual file(s) for backup. Click Next to proceed when you are done with the selection.
Certain tweaks have been made to the backup set creation process for the Dropbox Cloud type that changes the available files / folders as sources for the backup set depending on the account type used to make the backup set.
For more information, please refer to Dropbox Backup Set in the Appendix section.
-
In the “Schedule” window, configure a backup schedule for backup job to run automatically at your specified time interval. If enabled, to add backup schedules click the "+" icon before “Add new schedule”, then click Next to proceed.
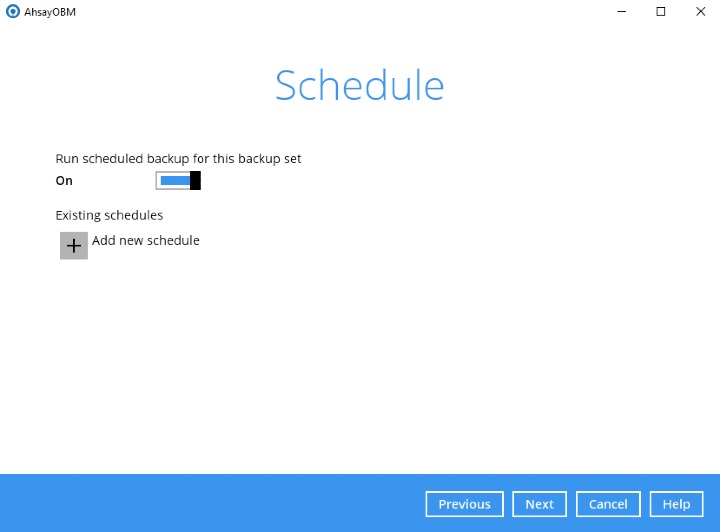
For details on how to configure the backup schedule settings, please refer to the Overview (GUI) section.
-
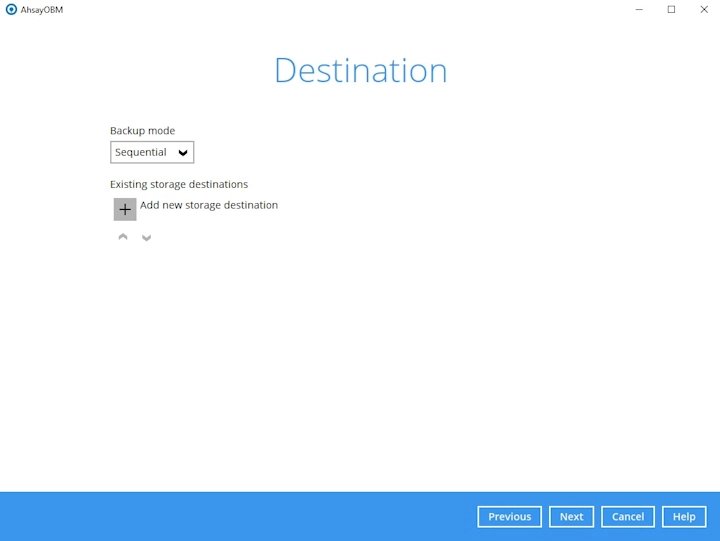
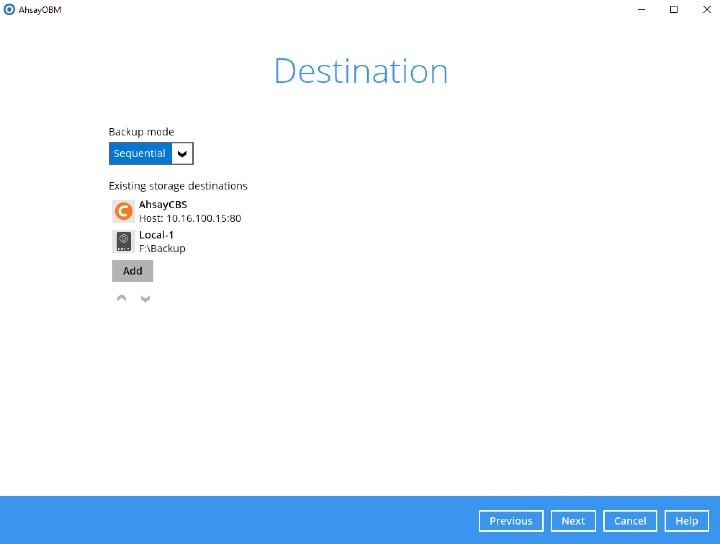
In the “Destination” window, select a backup destination where the backup data will be stored. Click the "+" icon before “Add new storage destination”.
-
Select the "Destination storage".
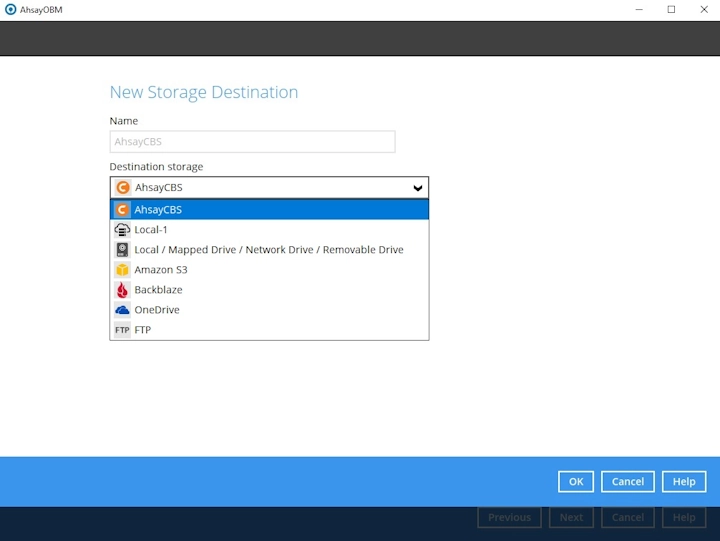
You can choose several storage destinations like AhsayCBS, Local / Mapped Drive / Network Drive / Removable Drive, Cloud storage or FTP. Click OK to proceed when you are done with the settings.
-
If you have chosen Local / Mapped Drive / Network Drive / Removable Drive, select the "Type". Click Change to browse to a directory path where backup data will be stored or you may manually enter the path. Check “This share requires access credentials” if credentials are needed to access the directory path. Click Test to validate the path, “Test completed successfully” shows when the validation is done.

-
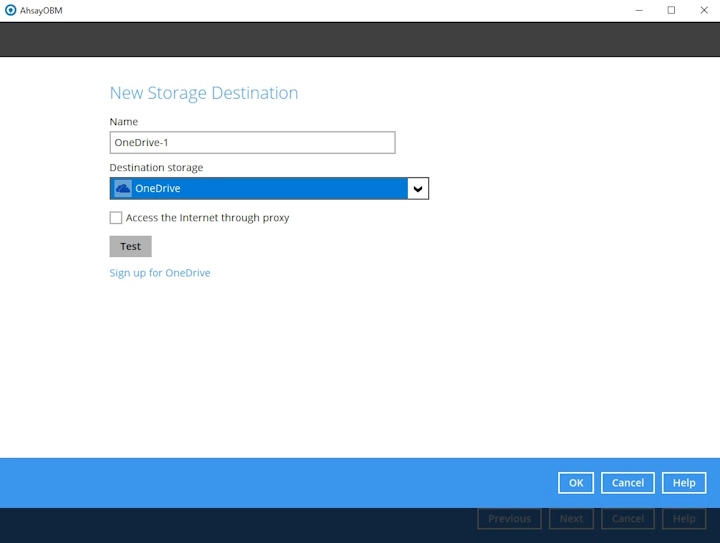
If you have chosen to store the backup files in another Cloud storage, click Test to log in to the corresponding cloud storage service.
-
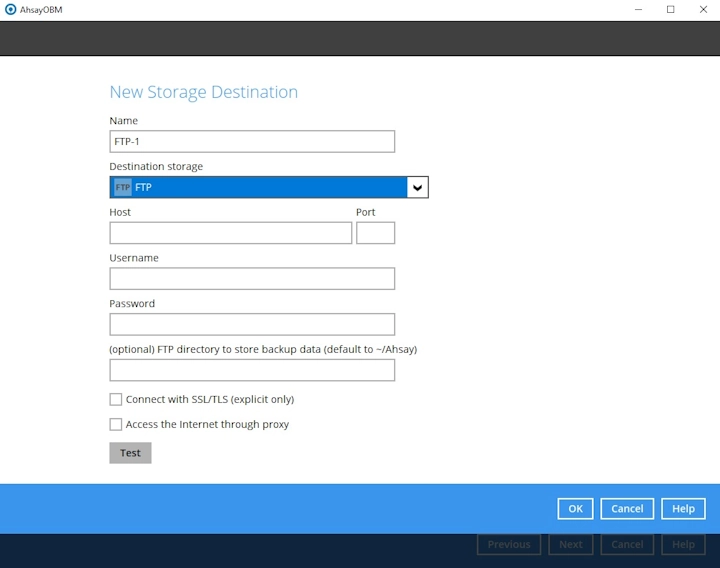
If you have chosen the FTP as the destination, enter the "Host", "Username" and "Password" details.
-
-
You can add multiple storage destinations here. The backup data will be uploaded to all the destinations you have selected in the order you added them. Press the "up" and "down" arrows below the Add button to alter the order. Click Next to proceed when you are done with the selection.
-
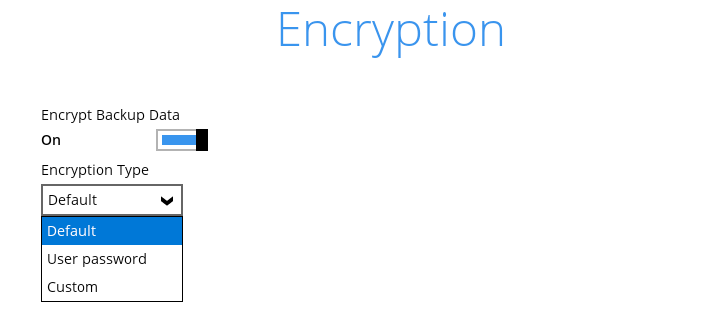
In the "Encryption" window, the default "Encrypt Backup Data" option is enabled with an encryption key preset by the system which provides the most secure protection.
-
If you have enabled the Encryption Key feature in the previous step, the following pop-up window will show, no matter which encryption type you have selected.

The pop-up window has the following three options to choose from:
-
Unmask encryption key - The encryption key is masked by default. Click this option to show the encryption key.
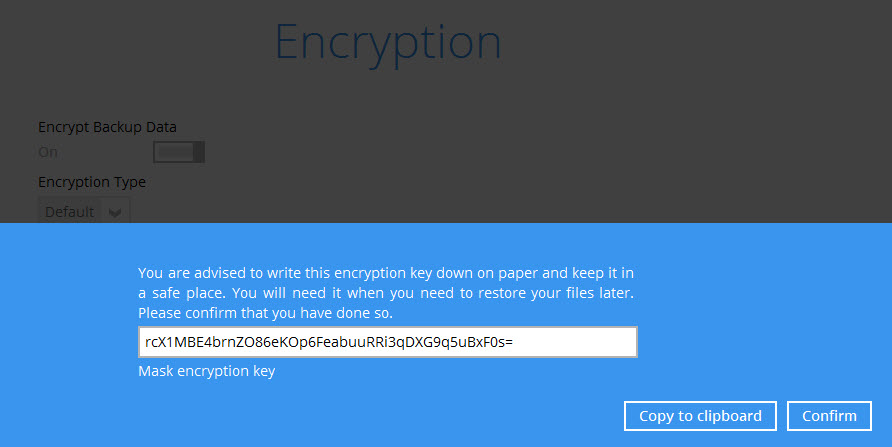
- Copy to clipboard - Click this to copy the encryption key, then you can paste it on another location of your choice for your reference (e.g. notepad).
- Confirm - Click this to exit this pop-up window and proceed to the next step.
Click Next to continue.
-
-
Enter the Windows login credentials used by AhsayOBM to authenticate the scheduled backup job.
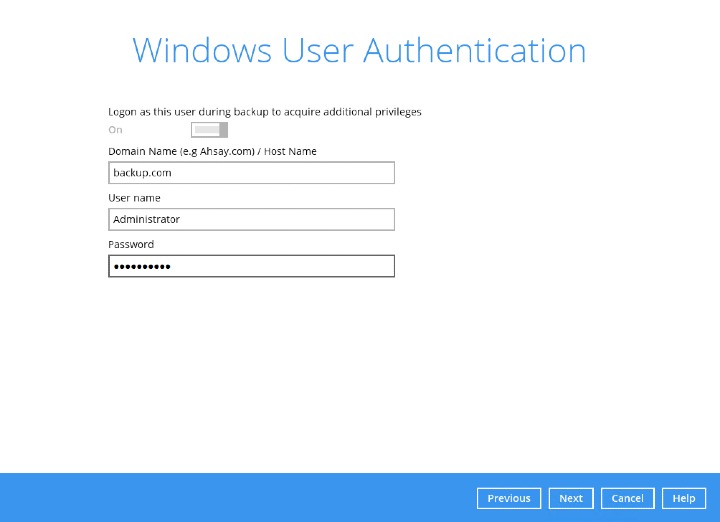
If the backup schedule is turned off and the selected destination storage is not a network shared drive, the Windows User Authentication screen will be automatically skipped. The Windows User Authentication login credentials can be added or updated post backup set creation.
-
The cloud file backup set is created successfully.
-
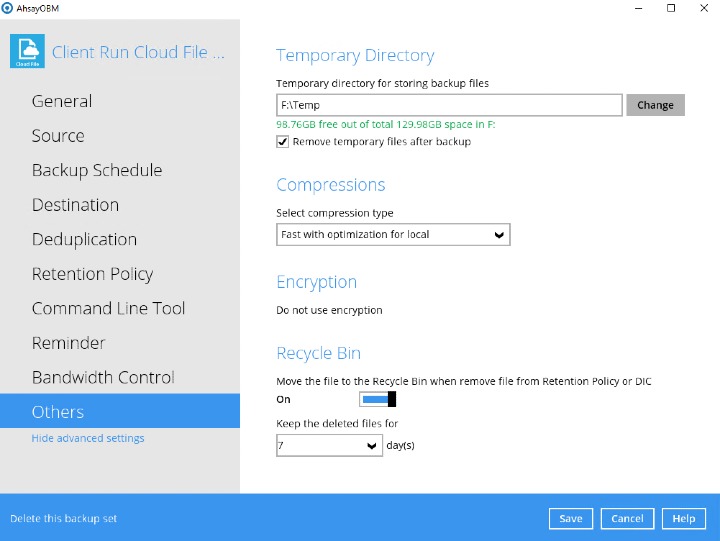
Based on the Best Practices and Recommendations, it is highly recommended to change the “Temporary Directory”. Select another location with sufficient free disk space other than Drive C:\ for Windows and /Users/admin/temp for macOS.
Go to Others > Temporary Directory. Click Change to browse for another location.
-
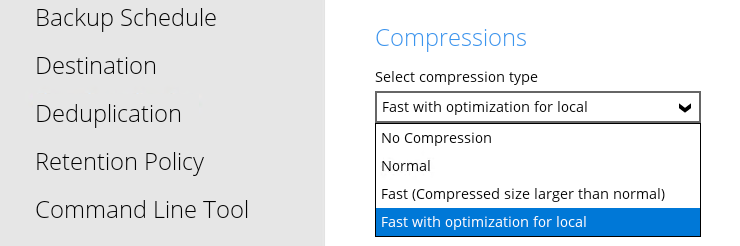
Optional:Select your preferred "Compression type". By default, the compression is Fast with optimization for local.
Go to Others > Compressions. Select from the following:
- No Compression
- Normal
- Fast (Compressed size larger than normal)
- Fast with optimization for local