
 AhsayCBS
[v10] Branding for AhsayOBM/AhsayACB
- Login to the AhsayCBS management console with system account.
-
Go to System Settings > Basic > Administrative Access.
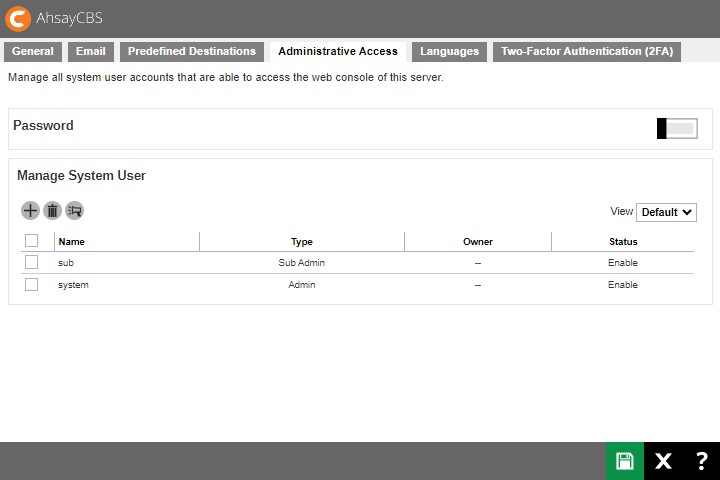
- Click on the system user to brand the client. If you are testing this feature, please create a sub admin user and test the following steps, this is because when new installers are generated, the existing installers will be overwritten with the new ones.
-
Click Rebrand Clients where you can customize the properties, apply the AhsayOBM, AhsayACB settings, and upload AhsayOBM and AhsayACB branding images.
-
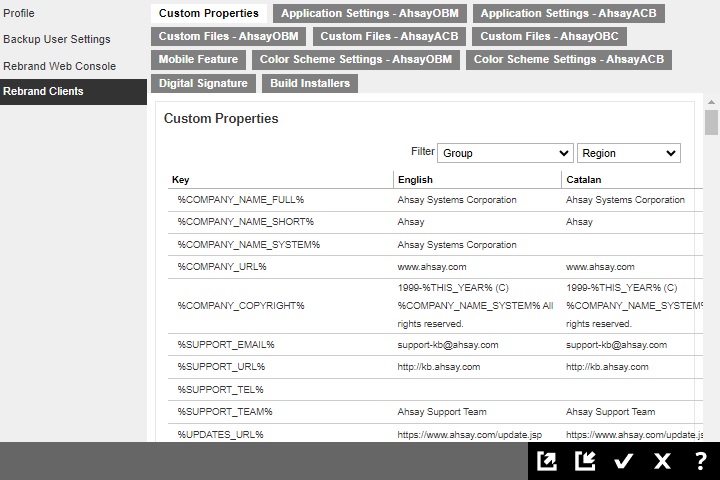
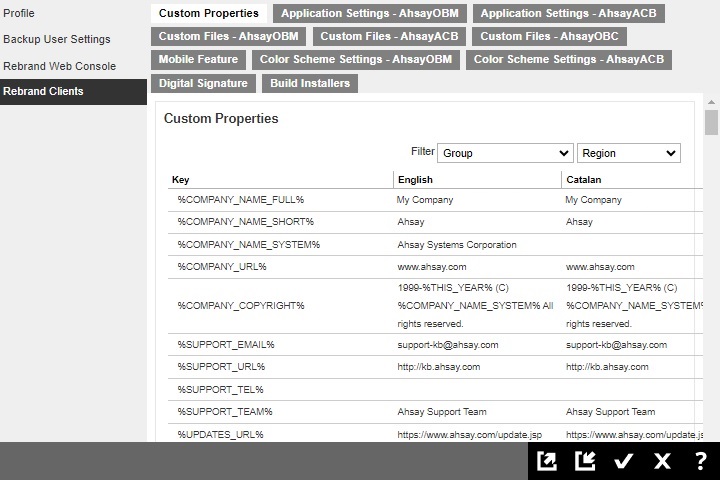
First, click the Custom Properties tab.
-
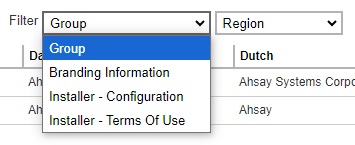
There are three categories of branding properties on this page, they are “Branding information”, “Installer – Configuration” and “Installer - Terms of Use”. By default, you will be able to brand properties of all categories, you can also select the desired category by using the “Group” filter.
-
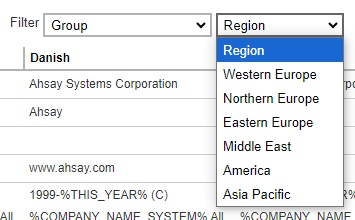
You can also filter the language displayed on this page by using the “Region” filter.
-
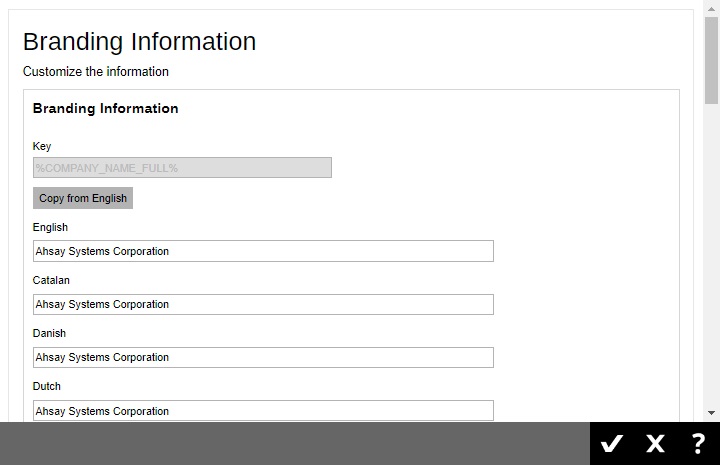
By clicking into each item, you can modify the name of each property in different languages. Click OK to continue.
-
You will be able to see the modified branding properties as shown.
AhsayCBS made some constraints for the system properties, which are defined as follow:
-
Short System Property (%XXX_SHORT_NAME_SYSTEM%)
Accepts alphabet and/or numeric character(s).
-
General System Property (%XXX_SYSTEM%, except for Short System Property, %OBM_SYNOLOGY_APP_ID_SYSTEM% and %SOCIAL_MEDIA_LINK_XXX_SYSTEM%)
Only accept alphabet, numeric and/or space character(s).
-
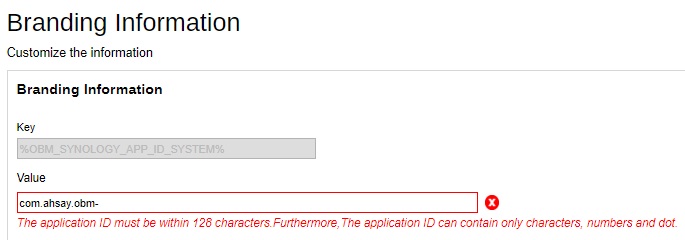
%OBM_SYNOLOGY_APP_ID_SYSTEM%
Accepts alphabet, numeric and/or dot character(s). The length cannot exceed 128 characters.
-
Install Location Properties (i.e. acb.deploy.win.install.location and obm.deploy.win.install.location)
Cannot be empty.
In order to meet the above constraints, some default values of system properties are modified:
-
%ACB_FULL_NAME_SYSTEM%
From “Ahsay A-Click Backup” to “Ahsay AClick Backup”
-
%OBSR_SHORT_NAME_SYSTEM%
From “AhsayOBS and AhsayRPS” to “AhsayOBSR”
-
%ACB_COMMENTS_SYSTEM%
From “Ahsay A-Click Backup” to “Ahsay AClick Backup”
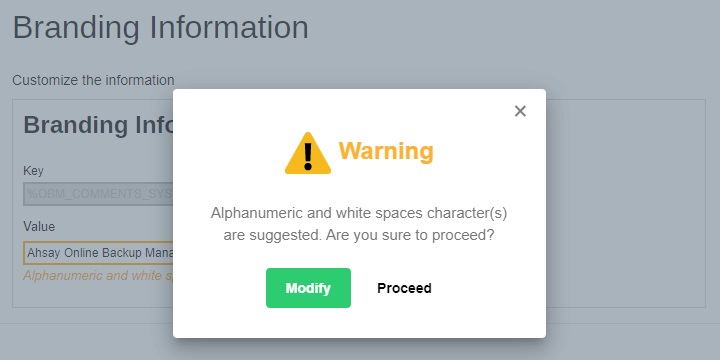
There will be warning shown if the character is incorrect.
It is not allowed to save the incorrect value, a warning Error will pop out.
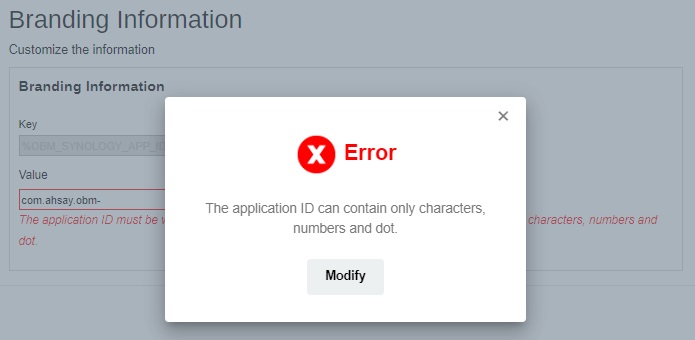
If there is still some unexpected character(s) in the branding system properties, which may cause unexpected behavior for installer(s), a warning will pop out to suggest that you modify the value after clicking OK.

-
-
After you completed properties, you can click the Application Settings – AhsayOBM tab.
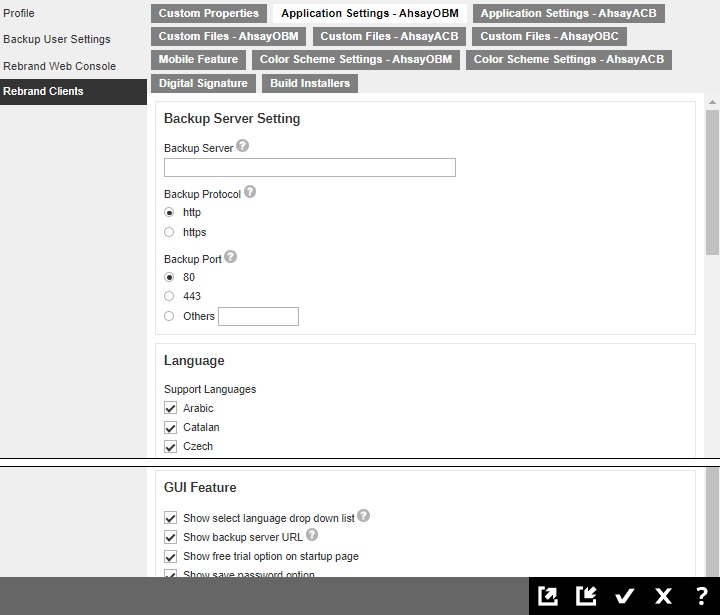
You can customize the default connection settings, supported languages, and GUI features. There are five GUI features that are available:
- Show select language drop down list – this is where the user can select the language to be used in AhsayOBM.
- Show backup server URL – this is where the user can input the backup server URL of the AhsayCBS where AhsayOBM will connect.
- Show free trial option on startup page – displays the Free Trial registration option on the startup page upon initial login.
- Show save password option – displays the Save password checkbox on both the login page and Profile > Authentication page.
- Install as stealth application on Windows platform – hides AhsayOBM from the desktop, System Tray and Start Menu. AhsayOBM can be launched using the batch file.
On Linux/FreeBSD operating systems, the Save password option is only applicable on Linux/FreeBSD GUI. As on Linux/FreeBSD CLI environments, the password is automatically saved after login using RunConfigurator.sh and cannot be disabled. As most all script files do not support user login functionality, i.e. RunBackupSet.sh, Restore.sh, Decrypt.sh, ListBackupSet.sh, ListBackupJob.sh, RunDataIntegritryCheck.sh etc. -
Click the Application Settings – AhsayACB tab.
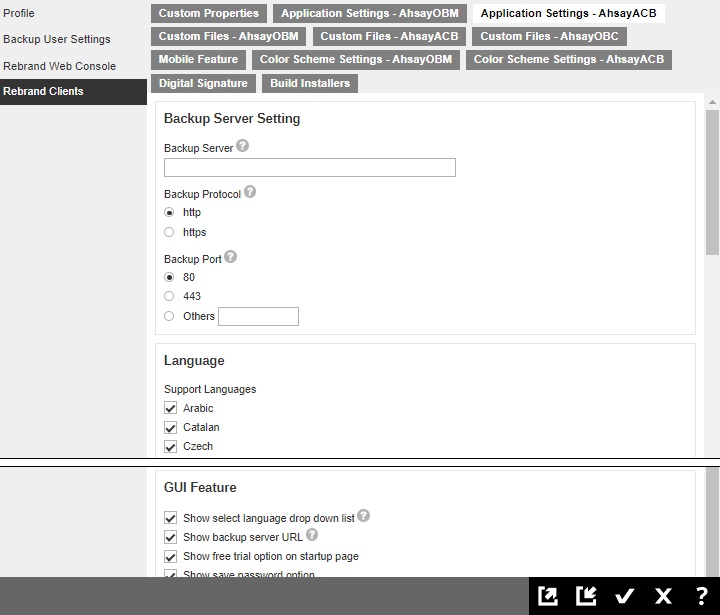
Similar to the previous step, you can customize the default connection settings, supported languages, and GUI features. There are five GUI features that are available:
- Show select language drop down list – this is where the user can select the language to be used in AhsayACB.
- Show backup server URL – this is where the user can input the backup server URL of the AhsayCBS where AhsayACB will connect.
- Show free trial option on startup page – displays the Free Trial registration option on the startup page upon initial login.
- Show save password option – displays the Save password checkbox on both the login page and Profile > Authentication page.
- Install as stealth application on Windows platform – hides AhsayACB from the desktop, System Tray and Start Menu. AhsayACB can be launched using the batch file.
Below is a table comparing the different behavior of the Free Trial registration and Save password options under two different scenarios.
-
New installation of AhsayOBM/AhsayACB v10.1.0.0 or above.
-
Upgrade of pre-v8.5.2.35 AhsayOBM/AhsayACB to v10.1.0.0 or above.
Free Trial Save Password New installation of AhsayOBM/AhsayACB v10.1.0.0 or above Enabled Will be displayed on the startup page. Will be displayed on the login page and Profile > Authentication page. Disabled Will not be displayed but will go straight to the login page. Will be hidden on the login page and Profile > Authentication page. Upgrade of pre-v8.5.2.35 AhsayOBM/AhsayACB to v10.1.0.0 Enabled Will be displayed on the startup page. Will be displayed on the login page and Profile > Authentication page. Disabled Will not be displayed but will go straight to the login page. Will be hidden on the login page and Profile > Authentication page. -
Click the Custom Files – AhsayOBM tab.
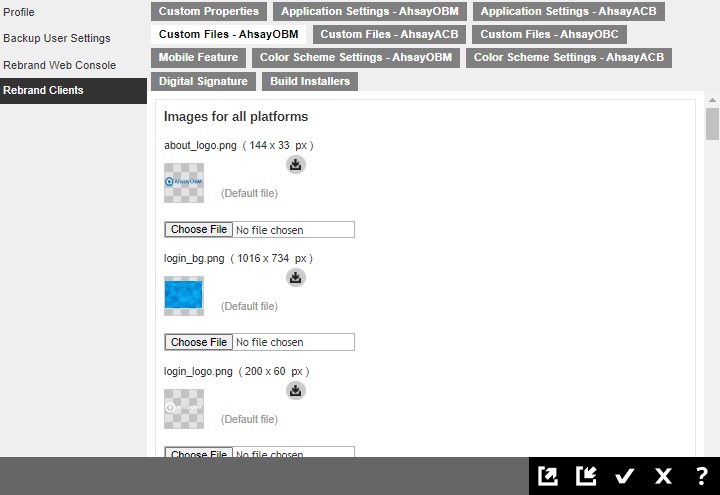
You can upload the branded images for your AhsayOBM installer/application. Please refer to the branding Image Specifications section. You can also download the default logo/icon for reference.
-
Click the Custom Files – AhsayACB tab.
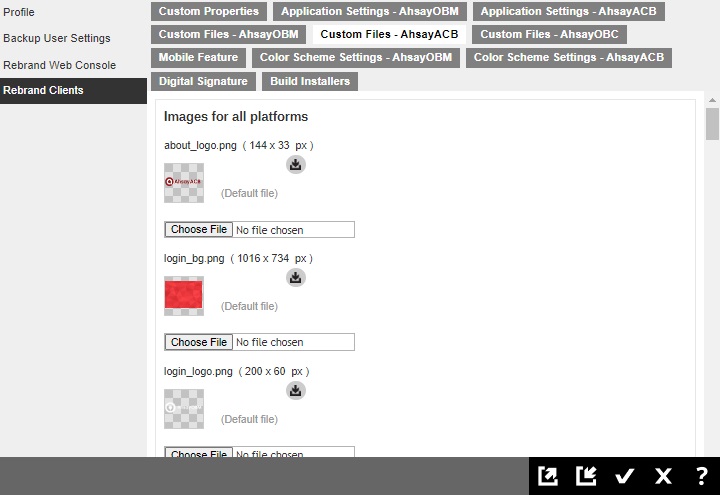
You can upload the branded images for your AhsayACB installer/application. Please refer to the branding Image Specifications section. You can also download the default logo/icon for reference.
-
Click the Custom Files – AhsayOBC tab.
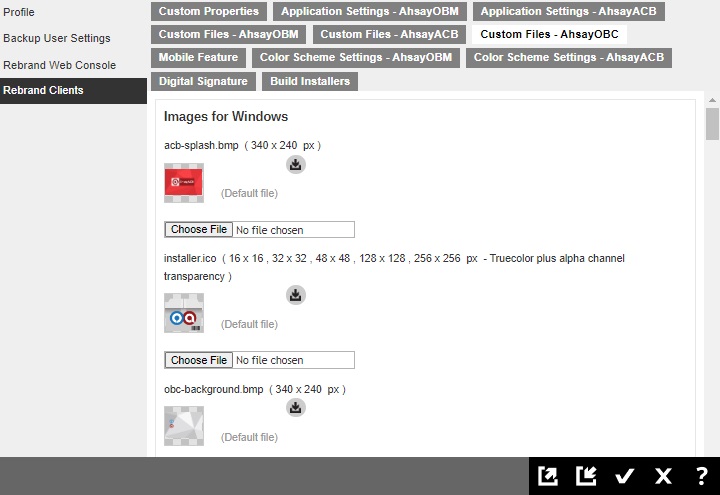
You can upload the branded images for your AhsayOCB installer. Please refer to the branding Image Specifications section. You can also download the default logo/icon for reference.
-
Click the Mobile Feature tab.
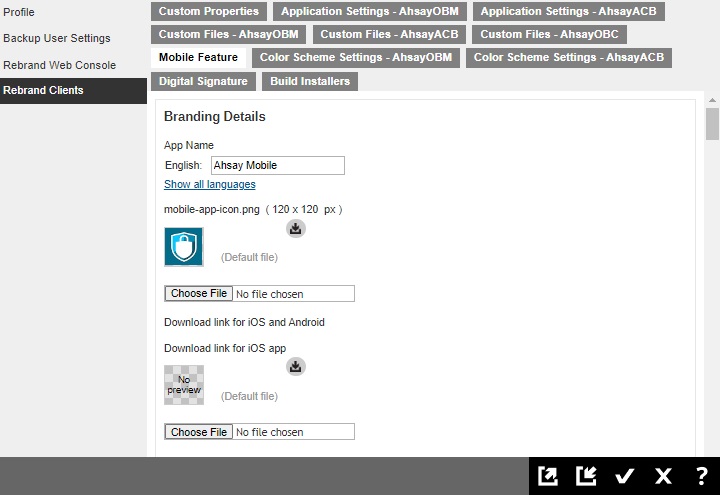
Provide the app name and upload the branded images for your Mobile app.
-
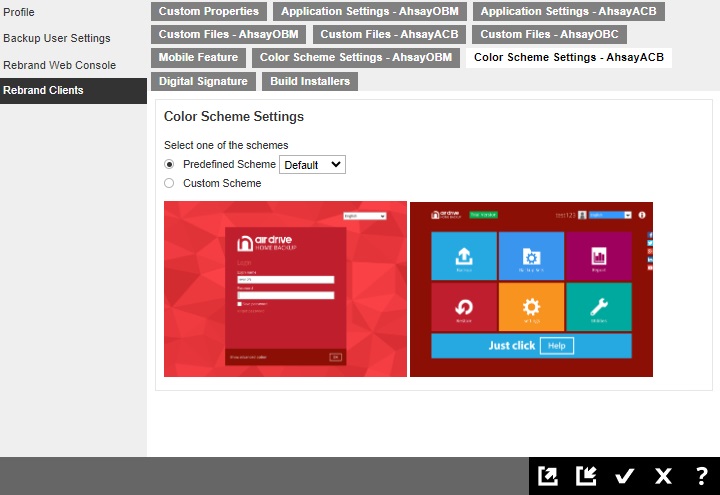
Click the Color Scheme Settings – AhsayOBM tab.
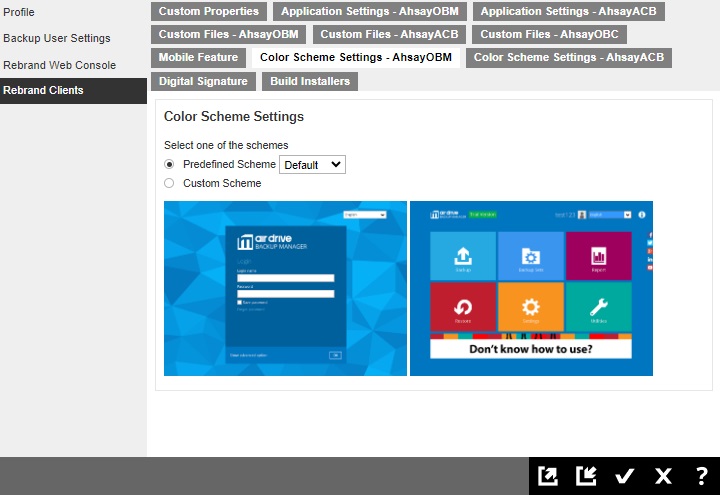
AhsayCBS supports changing the color scheme for backup clients. You can select the color scheme settings from Predefined Scheme or Custom Scheme.
-
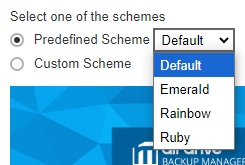
For Predefined Scheme, you can click on the dropbox to choose from the predefined options.
-
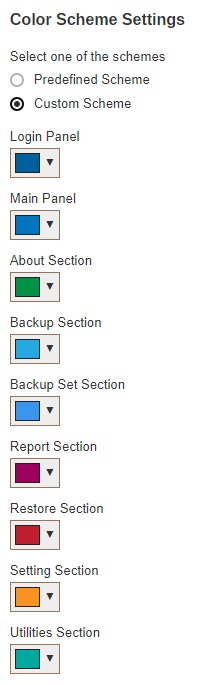
For Custom Scheme, you can choose the color for each section.
The color setting is based on hex color codes and you can either select the color using the palette or just input the hex color code. Please refer to the following link for details of hex color code: Color Hex Color Codes.
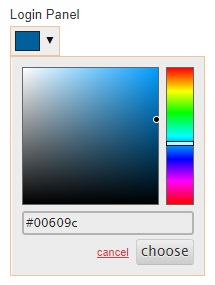
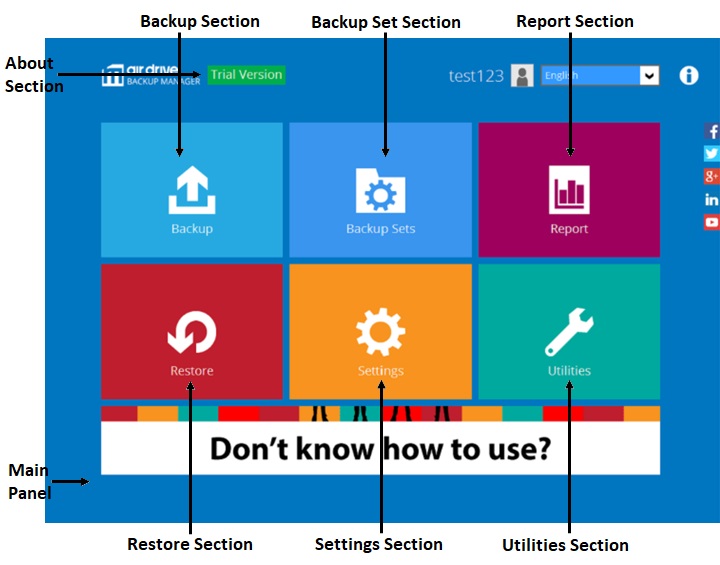
Click choose once you have selected a color to continue.
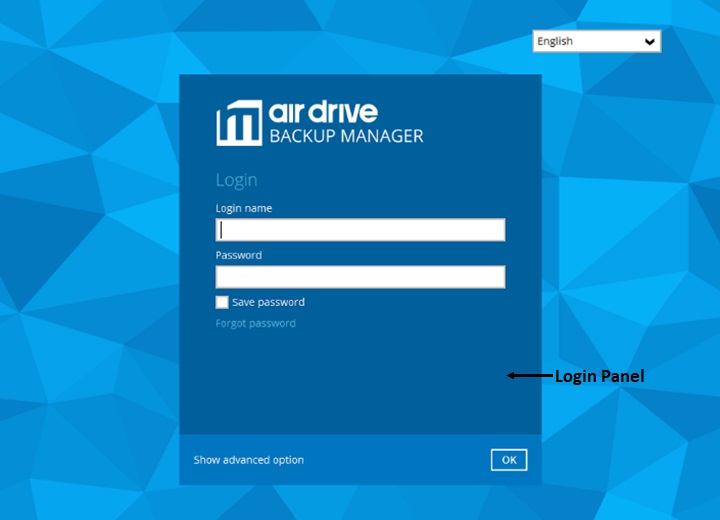
After changing and saving the configuration of Color Scheme Settings – AhsayOBM, administrator can provide available online/offline installer with according color scheme for client user to download and run once Build Installers > Build Branded Client finished successfully.
AhsayOBR will follow the same color scheme settings with AhsayOBM.
-
-
Click the Color Scheme Settings – AhsayACB tab.
See instructions above for details.
After changing and saving the configuration of Color Scheme Settings – AhsayACB, administrator can provide available online/ offline installer with according color scheme for client user to download and run once Build Installers > Build Branded Client finished successfully. -
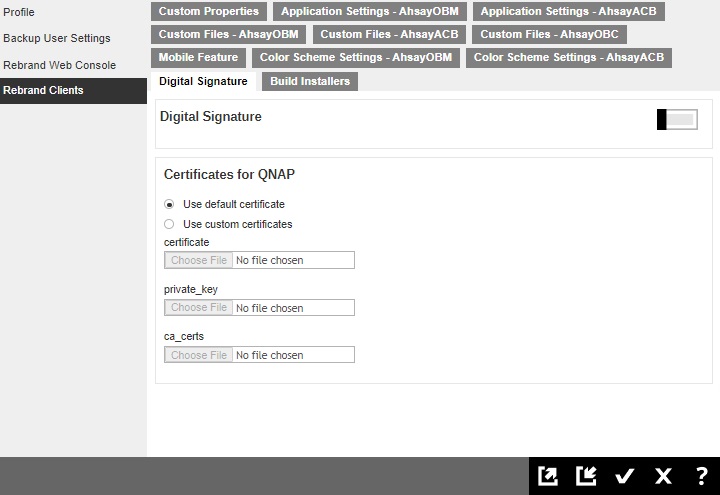
Optional: Click the Digital Signature tab if you need to generate your AhsayOBM/AhsayACB installers with a digital certificate and/or certificates for QNAP.
 The digital signature is only supported for AhsayOBM and AhsayACB Windows installers.
To apply a Digital Signature
- Switch on the Digital Signature button.
-
You can use the Ahsay default digital certificate by selecting the Use default certificate.
 If the default digital signature is used then the AhsayOBM and AhsayACB Windows installers will show they are signed by Ahsay Systems Corporation Limited.
Or
If you prefer to use your own digital certificate, you can select Use certificate in mycredentials.spc/mycert.pfx uploaded option.
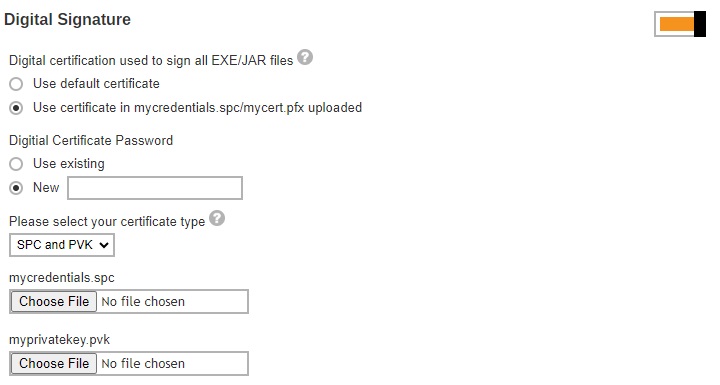
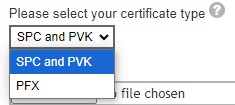
Enter the digital certificate password and select whether you are uploading a SPC and PVK or PFX digital certificate, then you can upload your digital certificate file.
To apply certificates for QNAP which will be used to package the QNAP QPKG
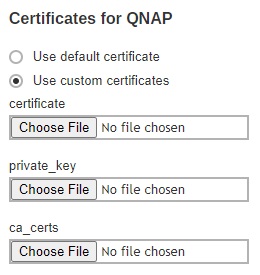
You can use the Ahsay default QNAP certificate by selecting Use default certificate.

Or
If you prefer to use your own code signing certificate, you can select Use custom certificates then upload your certificate, private_key and ca_certs files.
 The QNAP certificate is not a SSL certificate, but a Code Signing certificate signed by a trusted CA. If you have a Windows code signing certificate, this may be reused after extracting the certificate, private_key and ca_certs files.
Your machine must be pre-installed with OpenSSL command before you follow the steps below:
-
After obtaining a code signing certificate from a trusted CA (i.e. codesign.pfx), generate the certificate.
openssl pkcs12 -in codesign.pfx -out certificate -nokeys -clcerts -
Generate the private_key.
openssl pkcs12 -nodes -in codesign.pfx -nocerts -out private_key -
Generate the ca_certs.
openssl pkcs12 -in codesign.pfx -nodes -nokeys -cacerts -out ca_certs - Upload the certificate, private_key and ca_certs.
- A standard code signing certificate should be used and not an EV code signing certificate.
- No password should be set on the files to import.
- The files to be uploaded should have no file extension, use the full filename which should exactly be “certificate”, “private_key” and “ca_certs”.
- Click OK and Save to save all the settings.