
 AhsayCBS
Proxmox VE Restore on AhsayOBM
-
Log in to AhsayOBM.
For instructions on how to do this, please refer to the Login page.
-
Click the Restore icon on the main interface of AhsayOBM.
-
Select the backup set and destination from which you will restore from.
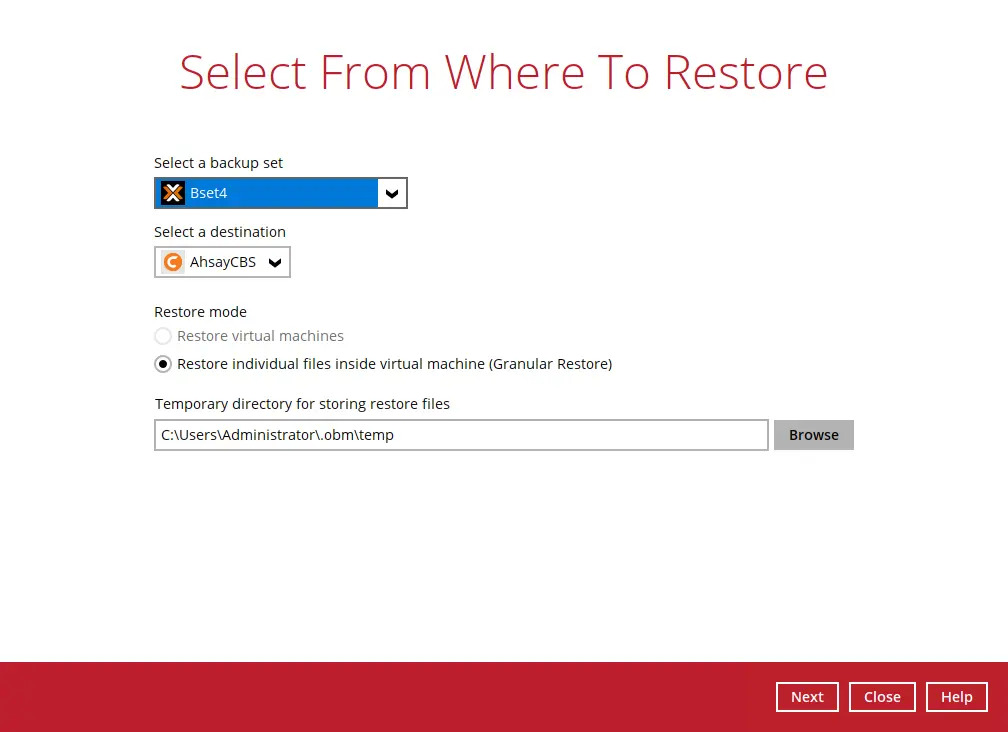
For Restore mode, as a limitation of AhsayOBM, you will only be able to restore Proxmox VE backup sets through the Restore individual files inside virtual machine (Granular Restore). This cannot be changed. For more information, please refer to the Limitations page.
You may also configure the "Temporary directory for storing restore files". This will allow you to select the directory that will be used to store temporary files. Clck Next to continue.

Click Next to continue.
-
The following screen will be displayed if you are running a Proxmox VE Restore on the machine for the first time. Click Install to confirm mounting of the virtual disk on this machine. Clicking No will exit the restore process.

-
In the following screen, select the Virtual Machines to be restored.
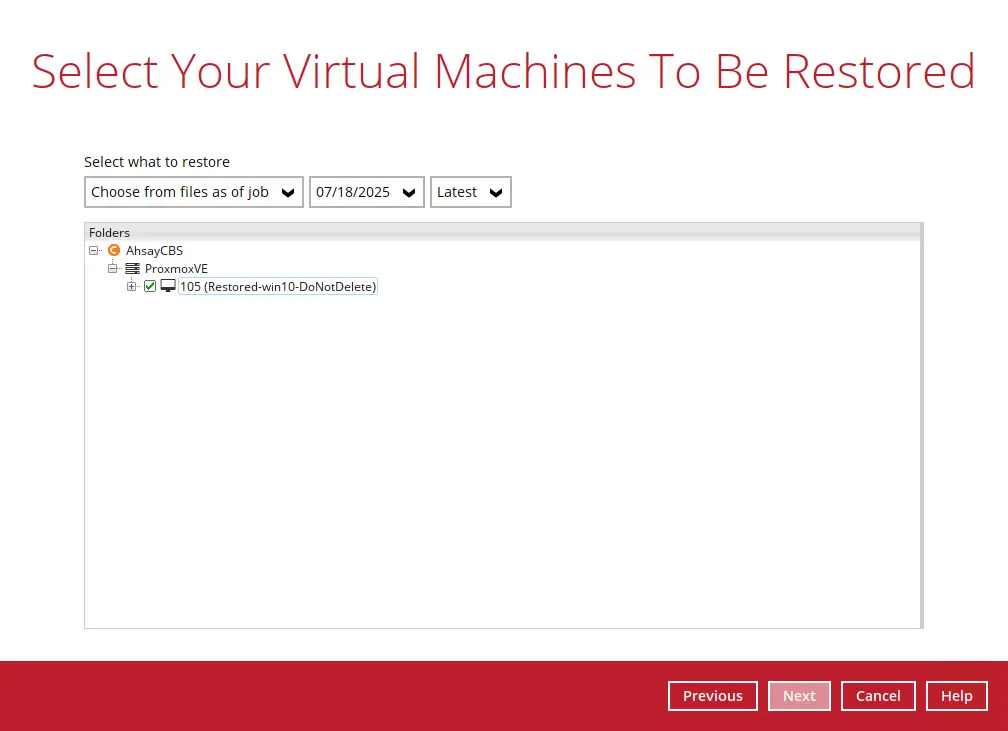
Click Next to proceed.
-
In the next screen, this message will pop-up.
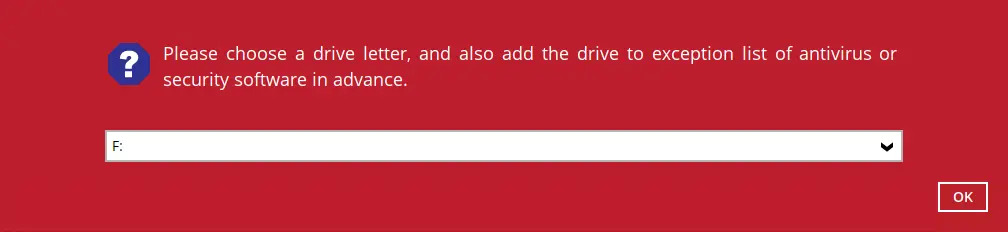
Specify the drive where you wish the mounted image to be mapped on your machine.
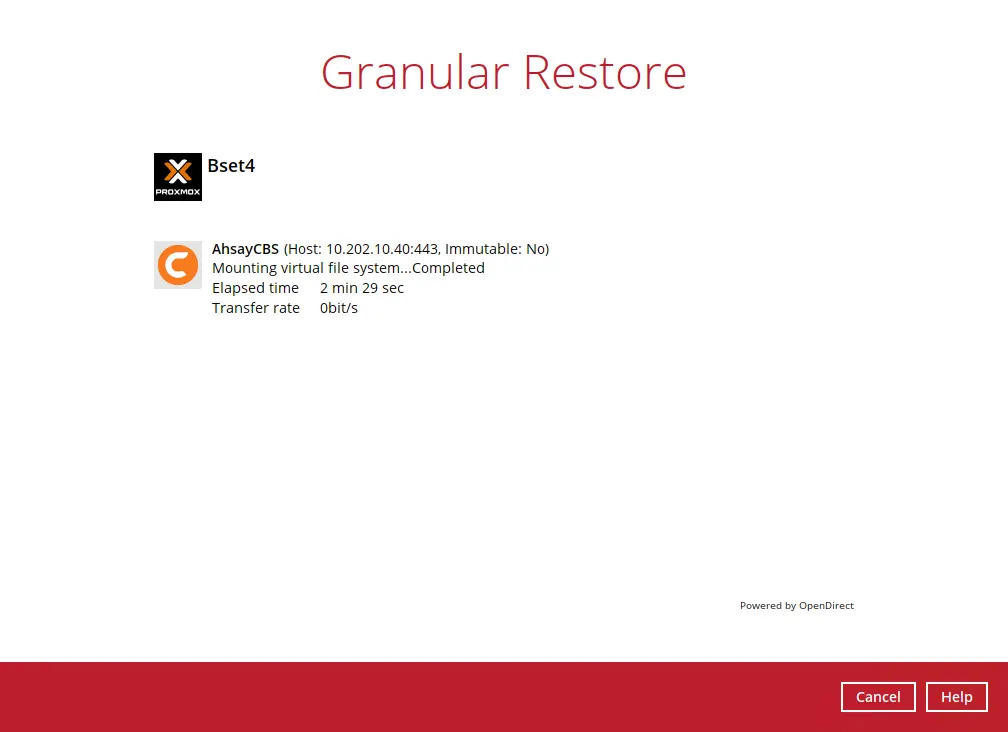
-
When the virtual disk(s) are in the process of being prepared for mounting on the AhsayOBM machine, you will see this screen.
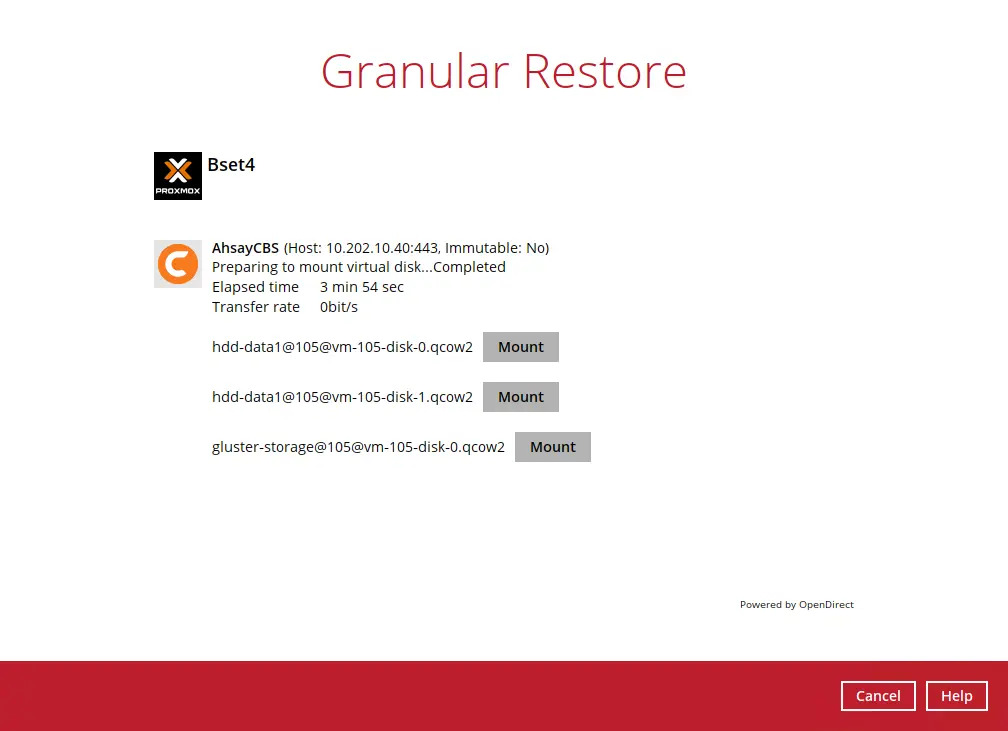
-
You will then be presented with a list of disks that you may Mount or Unmount. Select a disk, then press the Mount button.
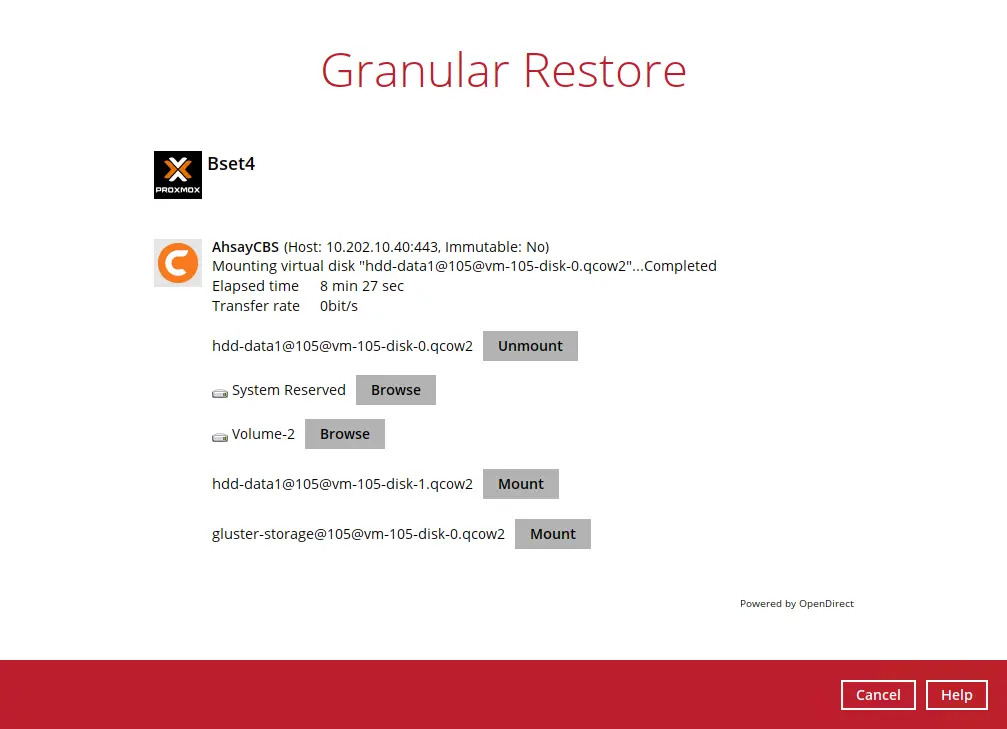
-
After mounting a disk, a list of available volumes will be displayed beneath. You may browse these volumes and interact with the files contained within.
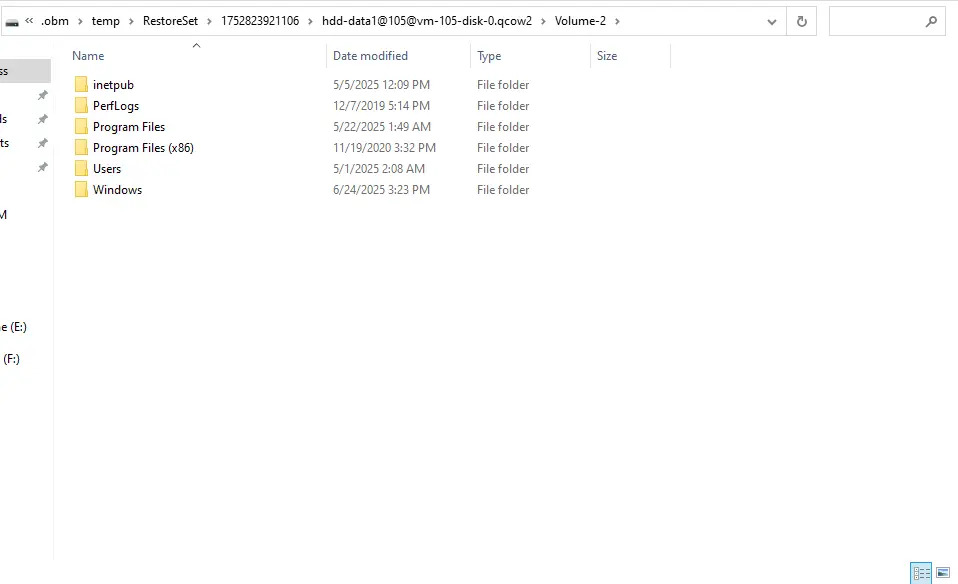
-
Select a volume and press the Browse button to view a list of files contained within. Select the files that you want to copy or delete.
-
Once done with interacting with these files, click on Cancel, and then Stop the granular restore to conclude the Restore process.


