AhsayCBS
[v10] Run on Server Restore for Run on Client Backup Set
-
Click the User icon on the User Web Console.

-
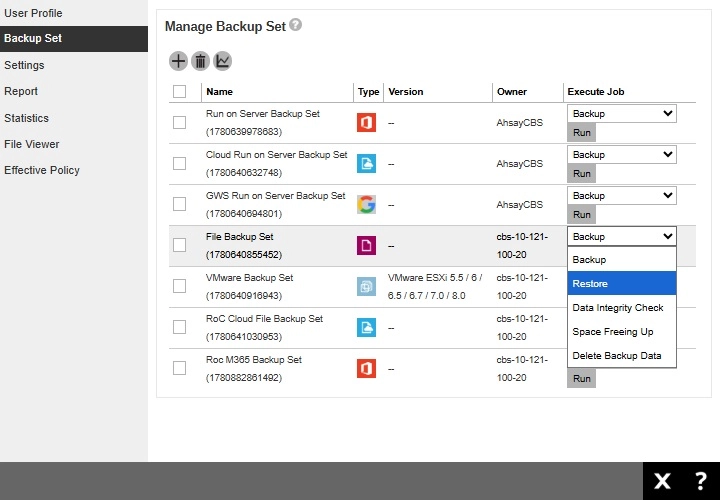
Click Backup Set from the left panel, then select Restore under "Execute Job" drop down menu and click Run.
-
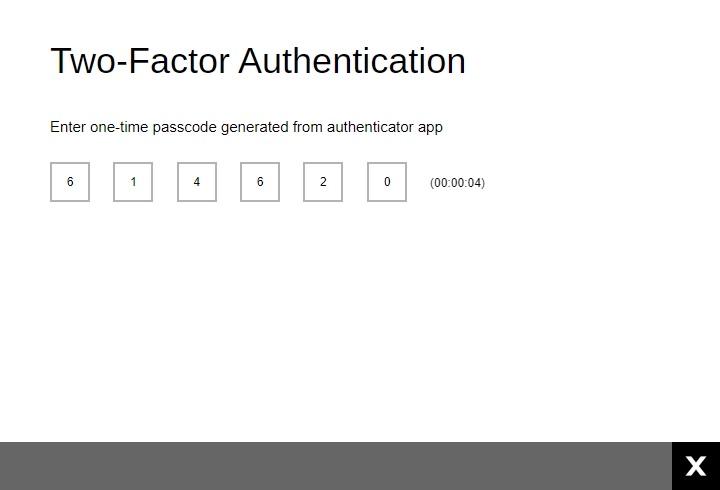
Only for run on client backup set, enter the one-time passcode to proceed.
-
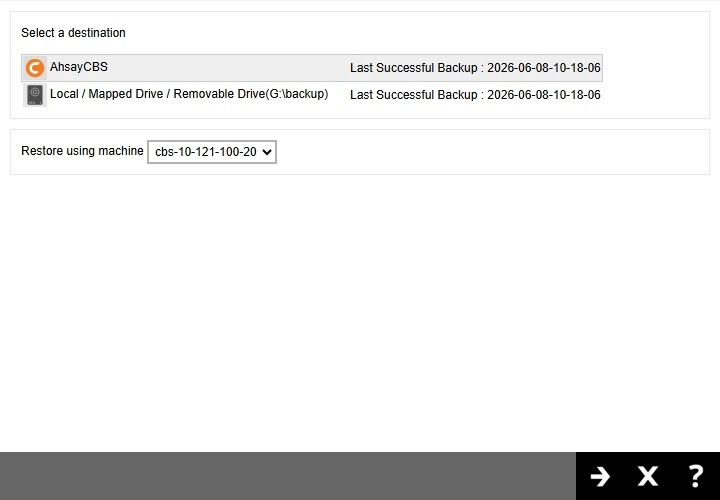
Select the destination and client machine to be used for the restore. Click Next to proceed.
-
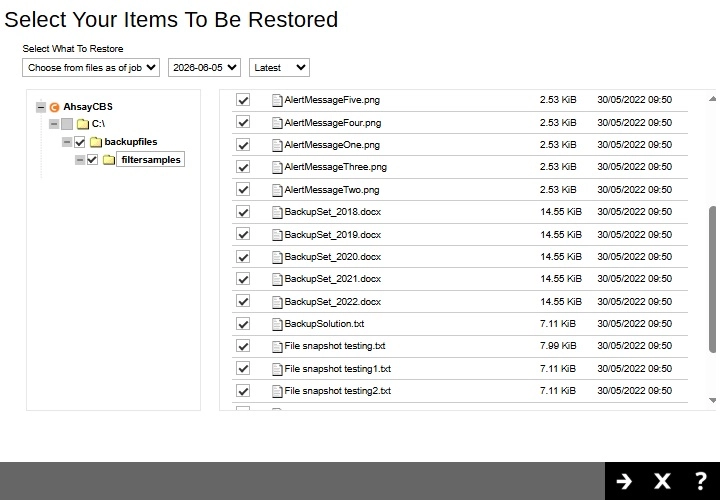
Select to restore from a specific backup job, or the latest job available from the "Select What To Restore" drop-down menu. Click Next to proceed.
-
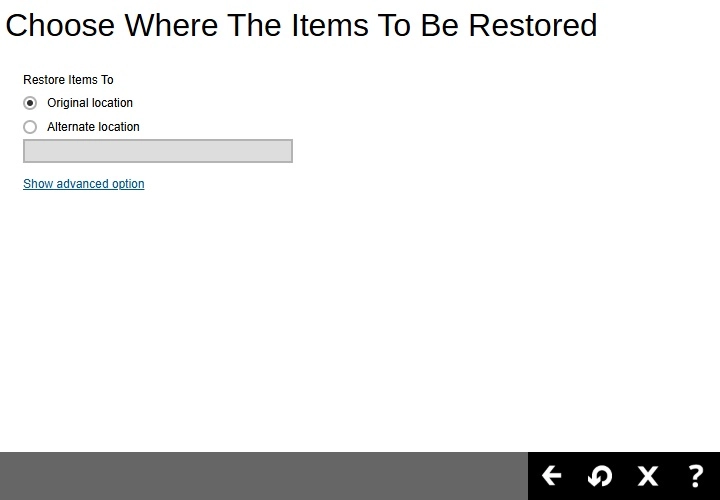
Select the location where the data will be restored. The location that will be available will depend on the backup set type.
Original Location
Select Original location to restore the data to the original directory path.
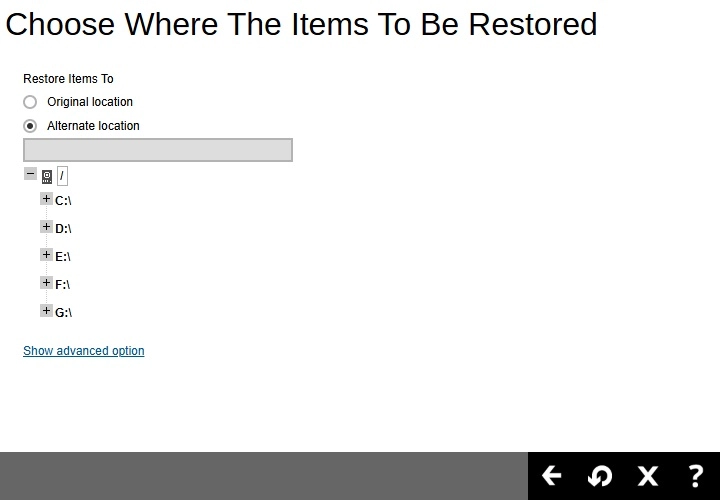
Alternate Location
Select Alternate location to restore the data to an alternate path. Expand the directory path to browse the alternate location(s).
Restore Raw To Client Local
Select Restore Raw To Client Local to restore the data to the client machine. Expand the directory path to browse the local path(s).
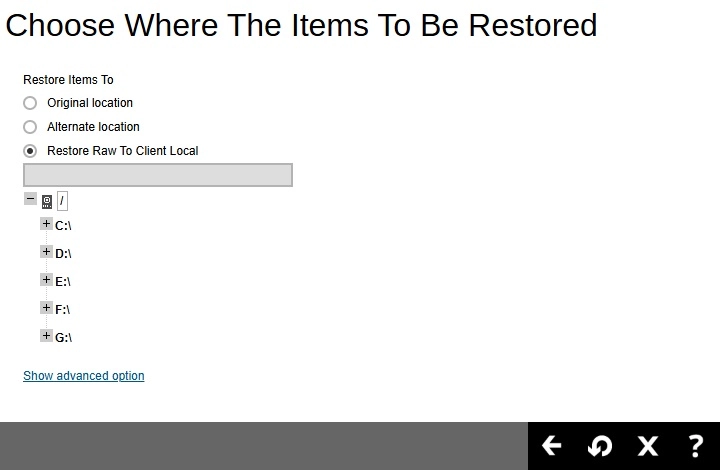 The Restore Raw To Client Local option is only available for run on client Cloud File backup set.
Click Show advanced option to configure other restore settings.
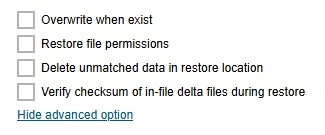
Overwrite when exist
By enabling this option, this will overwrite your existing files. For example, if the files and/or folders you are going to restore are already available in your chosen alternate location, then your existing files will be overwritten during the restore process.
Restore file permissions
By enabling this option, when you perform a file restore on shared files or folders using a shared computer, the files restored will not be fully accessible to everyone using the shared computer.
Delete unmatched data in restore location
By enabling this option, the restore process will attempt to synchronize the selected restore source with the restore destination, making sure the data in the restore destination is the same as the restore source. Any data created after backup will be treated as “unmatched data” and will be deleted from the restore source if this feature is enabled.
Verify checksum of in-file delta files during restore
By enabling this option, the checksum of in-file delta files will be verified during the restore process. This will check the data for errors during the restore process and create a data summary of the in-file delta files which will be included in the report.
Click Restore to start the restoration.
-
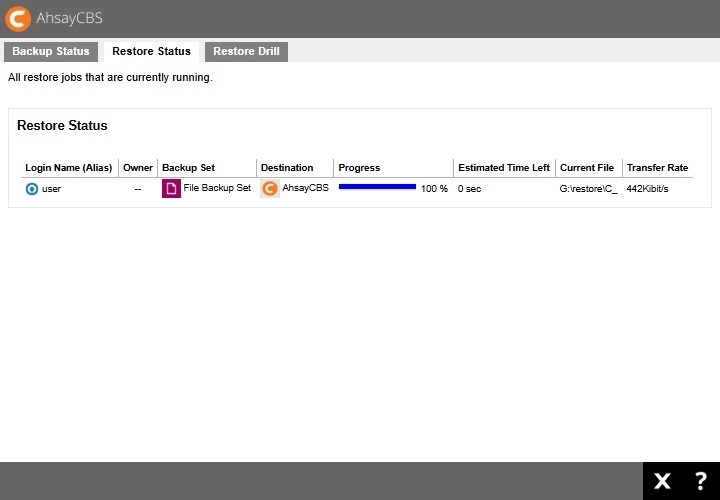
You will see the status showing "Restore is Running" when the restore job is in progress.
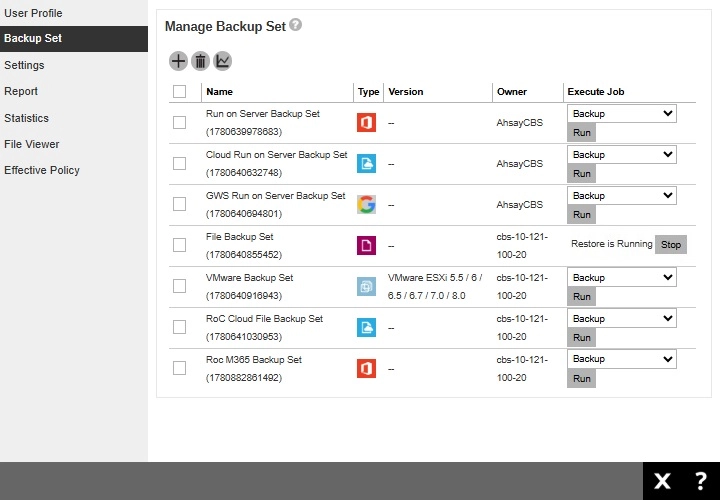
Another way to monitor the restore status is from the Live Activities.