

 AhsayCBS
Ahsay Go - Create Proxmox Backup Set
The Ahsay Go web console is needed to create a Proxmox backup set. In order to do this, users must first reset their password to be able to login to the Ahsay Go web console. For instructions on how to reset the password refer to this page.
-
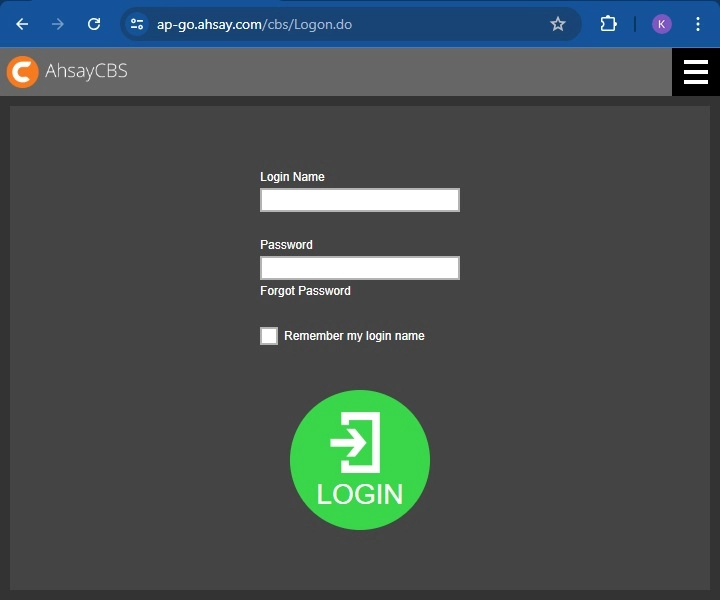
Log in to the Ahsay Go web console through this URL: https://ap-go.ahsay.com/cbs/Logon.do.
-
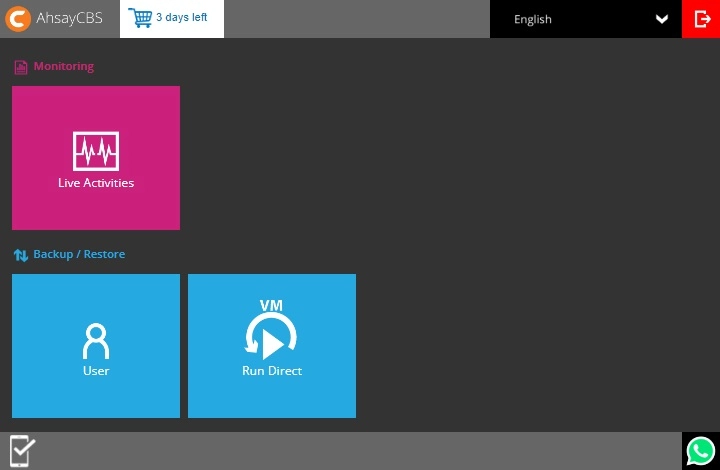
Click User on the web console.
-
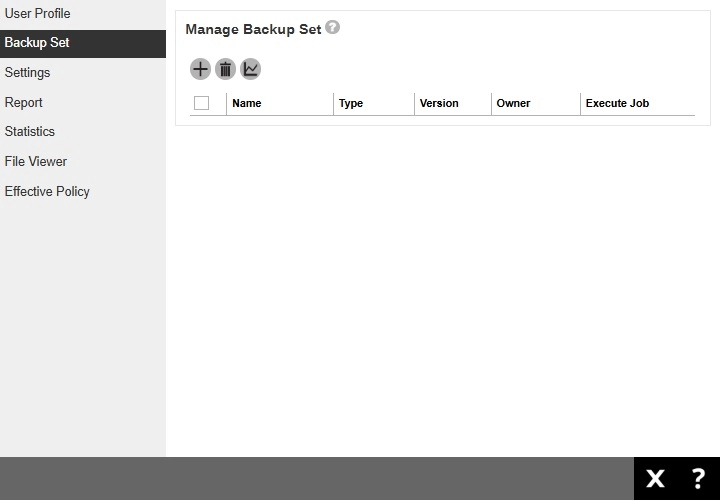
Click Backup Set from the left panel, click the Create button under “Manage Backup Set” to create a new backup set.
-
Enter a “Name” for your backup set, then select Proxmox VE Backup as the “Backup set type”.
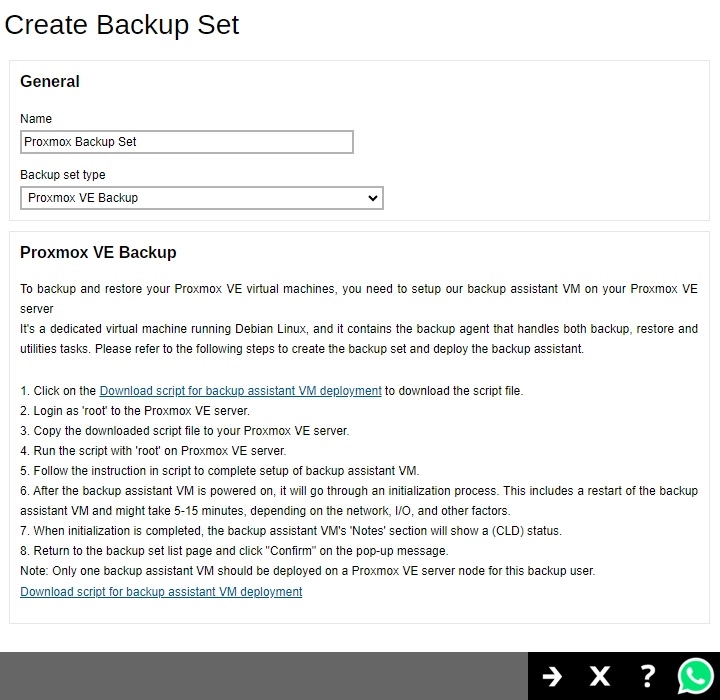
Click the Download script for backup assistant VM deployment link to download the DeployAVM.sh file which will create the backup assistant VM.

-
Copy the downloaded file to the Proxmox VE server. Then run the sh file using Shell to create the backup assistant VM.
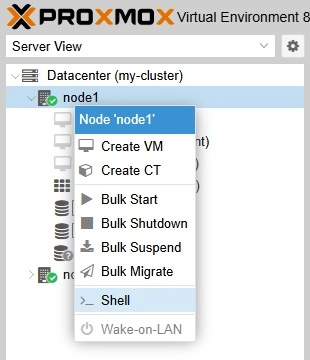
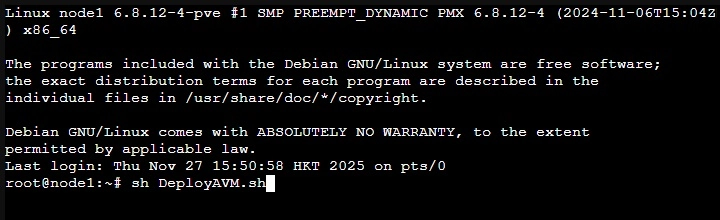
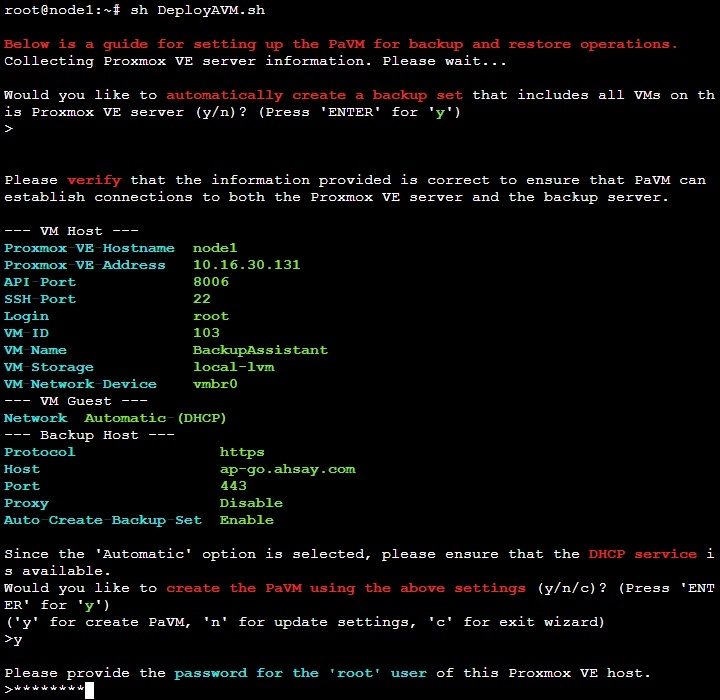
Determine whether you would like to automatically create a backup set, if yes press Enter. Otherwise input n then press Enter.
Check the details of the VM Host, VM Guest and Backup Host. Enter y if the details are correct, otherwise enter n to update them.
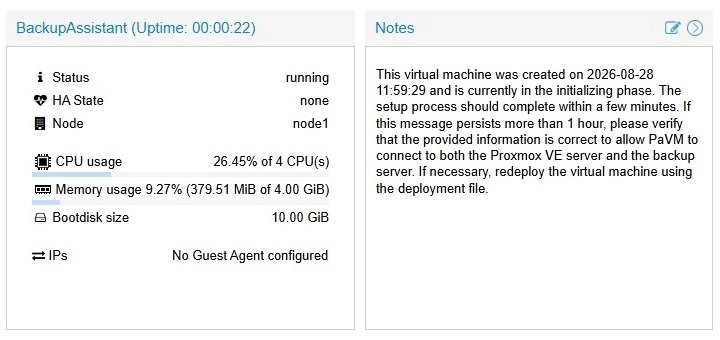
The backup assistant VM will configure the network, then download and install Ahsay Go. The following status will be displayed in the Notes:
- INT - AVM tools service is starting up.
- DCD - AVM tools service is disconnected from the Ahsay server via WebSocket.
- CNI - AVM tools service is connecting to the Ahsay server via WebSocket.
- CND - AVM tools service is connected to the Ahsay server via WebSocket.
- CLD - AVM tools service is connected to the Ahsay server via WebSocket and Ahsay Go user profile is loaded.
- RNI - AVM tools service is re-connecting to the Ahsay server via WebSocket.
- RND - AVM tools service is re-connected to the Ahsay server via WebSocket.
- RLD - AVM tools service is re-connected to the Ahsay server via WebSocket and Ahsay Go user profile is loaded.
- DLA - AVM tools service is downloading new AVM tools (Ahsay Go) packages.
- UDA - AVM tools service is pending to update.
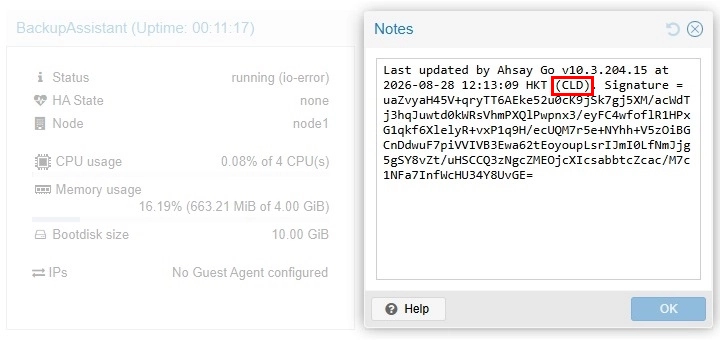
The setup process might take 5 - 15 minutes which depends on several factors like the network, I/O, etc.
By default, the backup assistant VM will have two hard disks: 10GB and 1TB hard disks with 4GB memory. The 1TB hard disk will be used as a storage area for user data, backups and temporary working space. These hard disk sizes are provisioned sizes, but the total physical disk usage will be approximately 6GB (5GB plus additional 1GB) for a fresh installation of backup assistant VM.
-
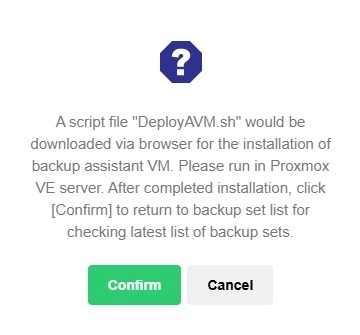
Once the status is CLD, go back to the Ahsay Go web console and click Confirm.
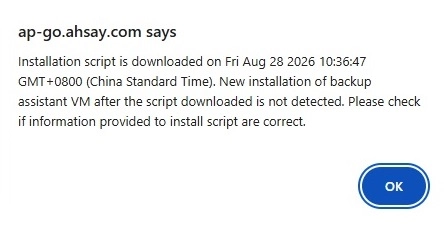
If the Backup Assistant VM has not yet finished the installation and you clicked Confirm, this will be the message that will be displayed.
-
The next window that will be displayed will depend on the choice you made when asked if you want to automatically create a backup set in the previous step.
-
If you opted to automatically create a backup set, then a backup set will be listed under “Manage Backup Set”.
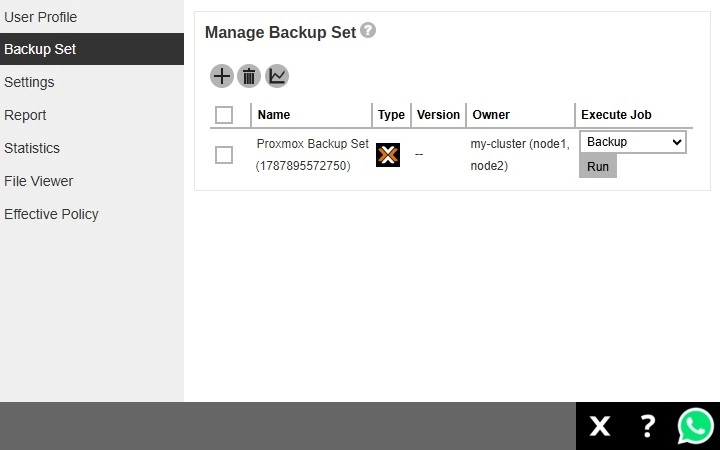
By default, all the nodes will be selected as the source. You may configure this according to your requirements.
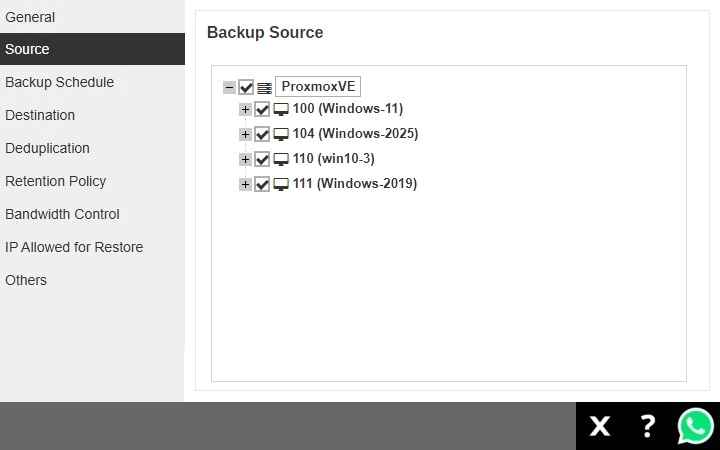
-
Otherwise, a backup assistant VM will only be created and you have to manually create a backup set. To create a backup set follow the steps below:
- Click the User icon then the Create button under “Manage Backup Set”.
-
Enter the name and select the backup set type, i.e. Proxmox VE Backup. Since the backup assistant VM has been created, the details will be displayed under “Proxmox VE Backup” section.
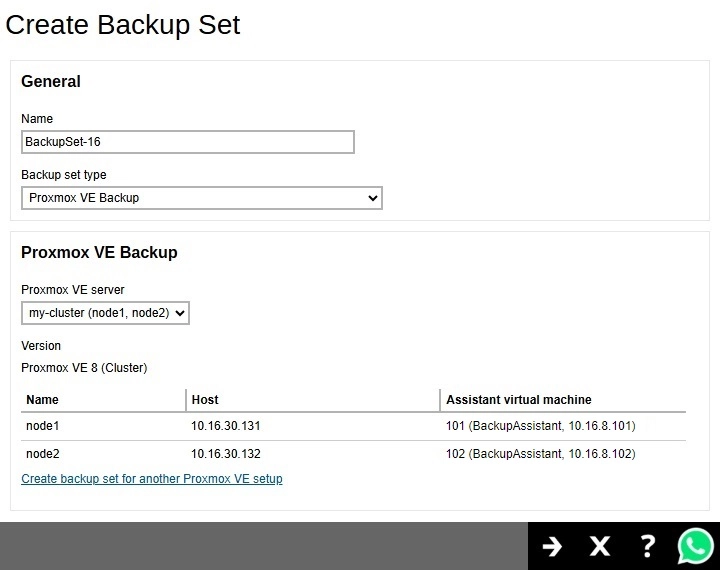
Click Next to continue.
If you do not want to create a backup set for the listed backup assistant VM, click the Create backup set for another Proxmox VE setup link and follow steps 1 - 5 to create one for a different backup assistant VM. -
Select the backup source then click Next to continue.
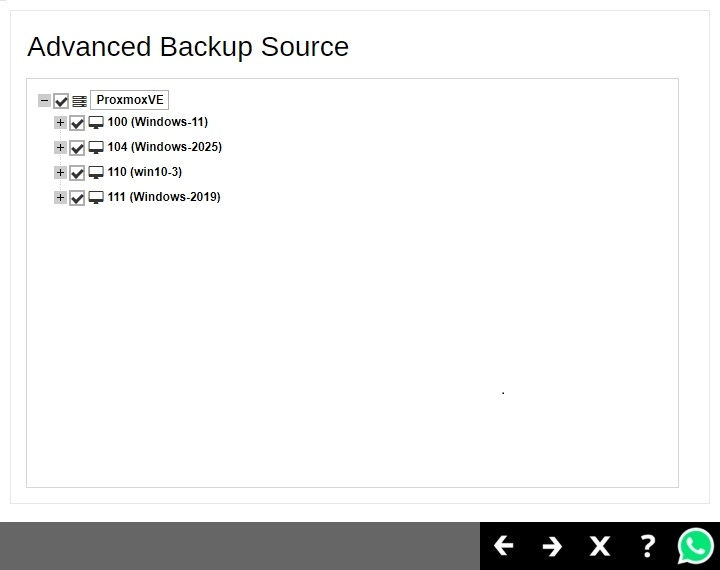
-
If you would like the backup set to run at a specified time interval of your choice, turn this feature on by sliding the switch in the “Schedule” menu.
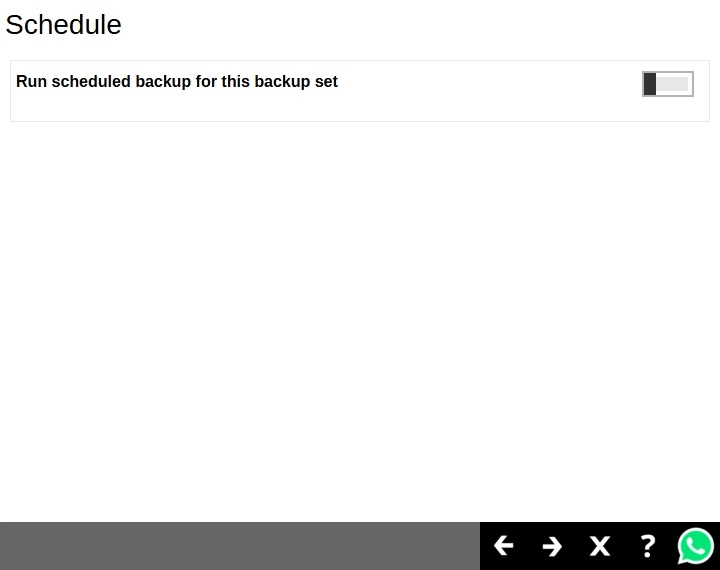
Click the Create button to add a schedule.
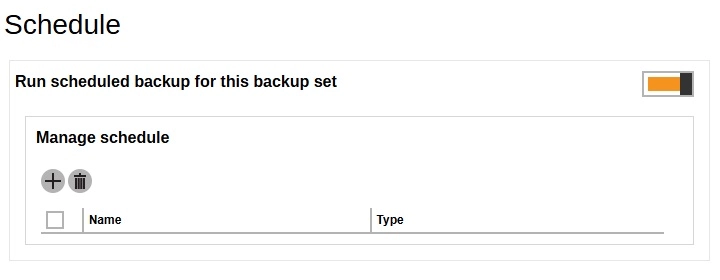
Configure the backup schedule settings and click Add once done. Then click Next to proceed.
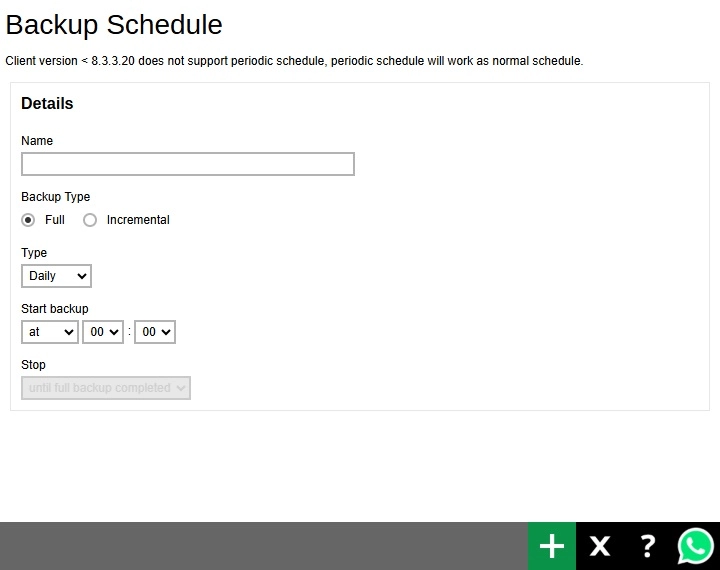
For instructions on how to configure the backup schedule settings please refer to the Backup Sets section.
-
In the “Destination” window, select the appropriate option from the “Backup Mode” dropdown menu. The Ahsay Drive selected during account creation will already be available as a storage destination.
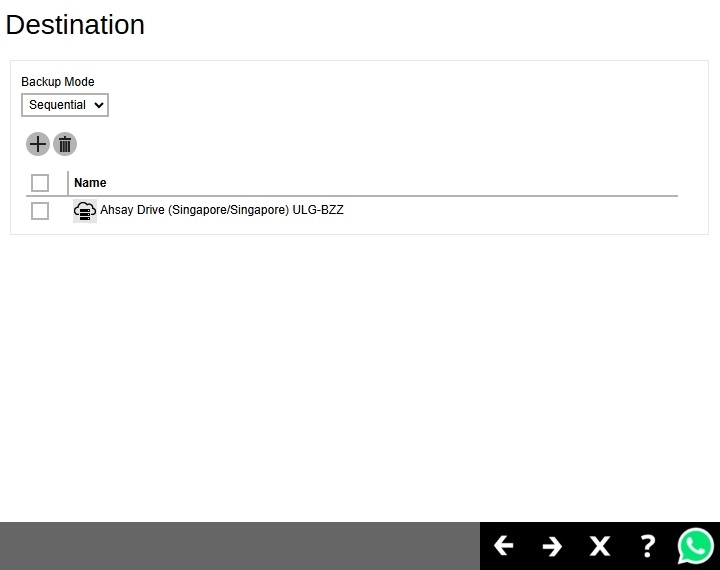
To add another destination, click the Create button. Configure the destination then click Add.
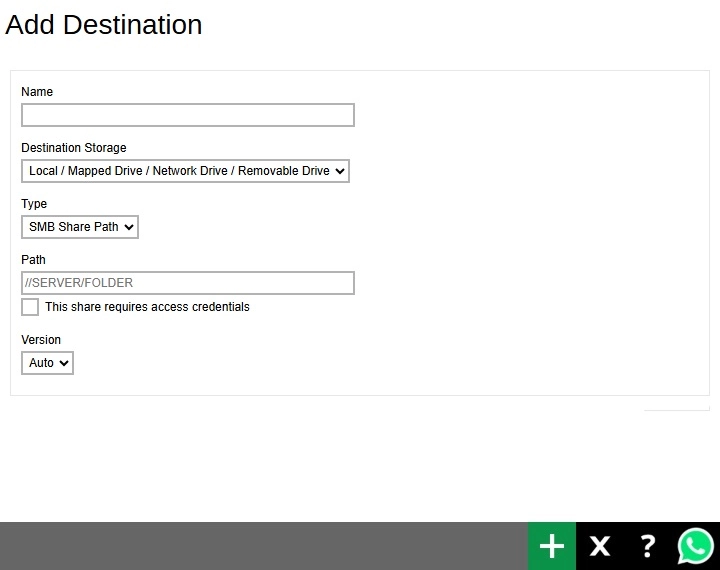
Click Next to proceed when you are done with the settings.
-
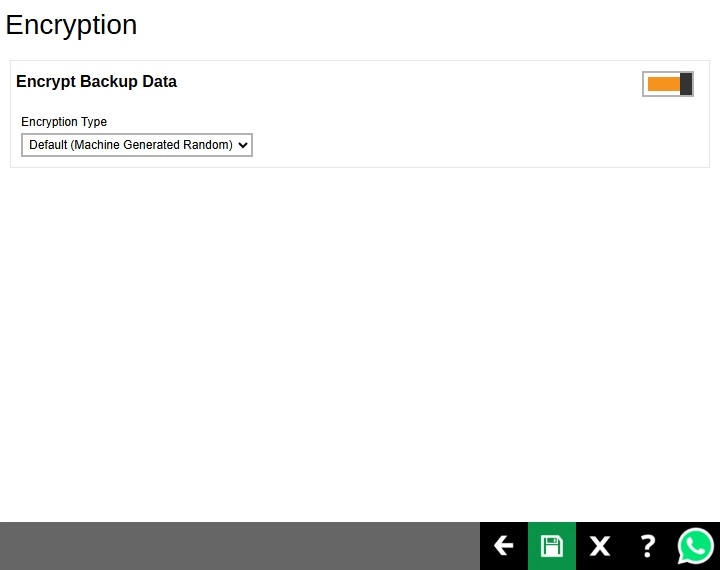
By default, the “Encrypt Backup Data” option is enabled with the Encryption Type preset as Default (Machine Generated Random) which provides the most secure protection. Once done click Save to create the backup set.
-
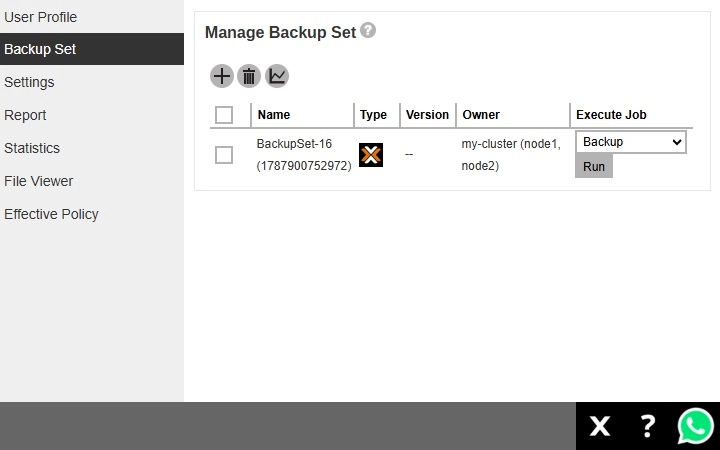
Backup set is now created.
-