AhsayCBS
Ahsay Go - Create PostgreSQL Backup Set
-
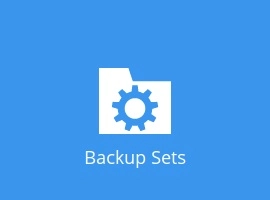
Click the Backup Sets icon on the main interface of Ahsay Go.
-
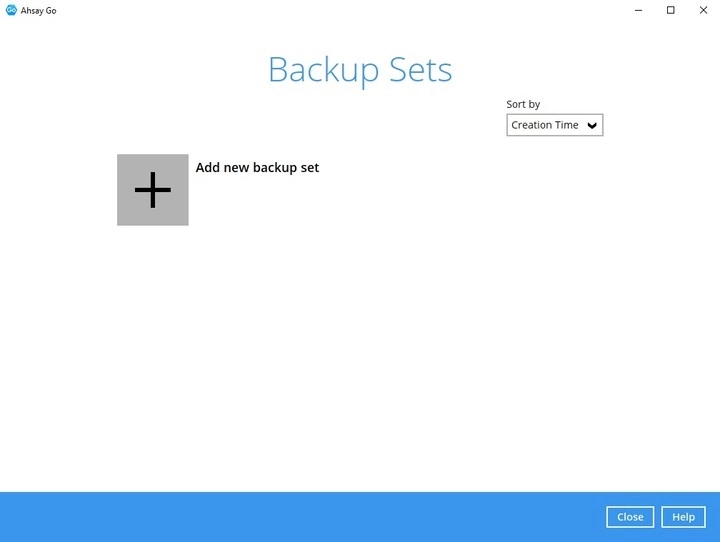
Click the + icon before “Add new backup set” to create a new backup set.
-
Select the “Backup set type”, provide a name for your new backup set. Below, select a “Host type”.
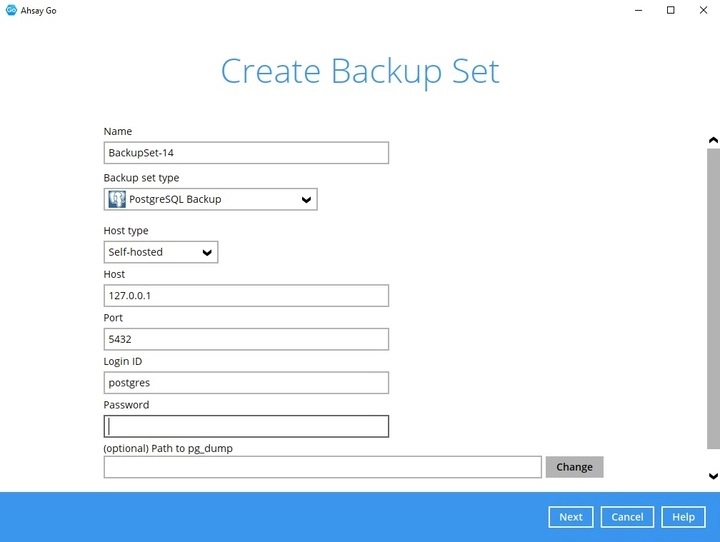
For Host type, there will be four options: Self-hosted, Amazon RDS, Azure Database, and Google Cloud SQL.
If Amazon RDS is selected, users will have to choose an appropriate Region. Below are the available Regions for Amazon RDS.
- US East (N. Virginia)
- US East (Ohio)
- US West (Oregon)
- Africa (Cape Town)
- Asia Pacific (Hong Kong)
- Asia Pacific (Hyderabad)
- Asia Pacific (Jakarta)
- Asia Pacific (Malaysia)
- Asia Pacific (Melbourne)
- Asia Pacific (Mumbai)
- Asia Pacific (Osaka-Local)
- Asia Pacific (Seoul)
- Asia Pacific (Singapore)
- Asia Pacific (Sydney)
- Asia Pacific (Tokyo)
- Canada (Central)
- Canada West (Calgary)
- Europe (Frankfurt)
- Europe (Ireland)
- Europe (London)
- Europe (Milan)
- Europe (Paris)
- Europe (Spain)
- Europe (Stockholm)
- Europe (Zurich)
- Israel (Tel Aviv)
- Middle East (Bahrain)
- Midde East (UAE)
- South America (Sao Paulo)
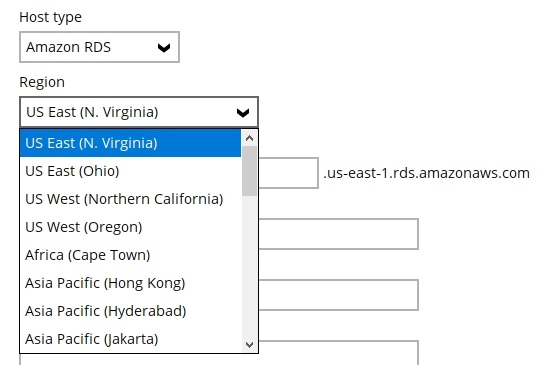
Enter the rest of the login information:
Host - this value is typically set to localhost or 127.0.0.1. If Amazon RDS was selected as the Host type, this section will always have the suffix of .%region%.rds.amazonaws.com
Port - set commonly to 5432
Login ID - ID used to login to PostgreSQL.
Password - Password used to login to PostgreSQL.
(Optional) Path to pg_dump
Click Next to proceed.
-
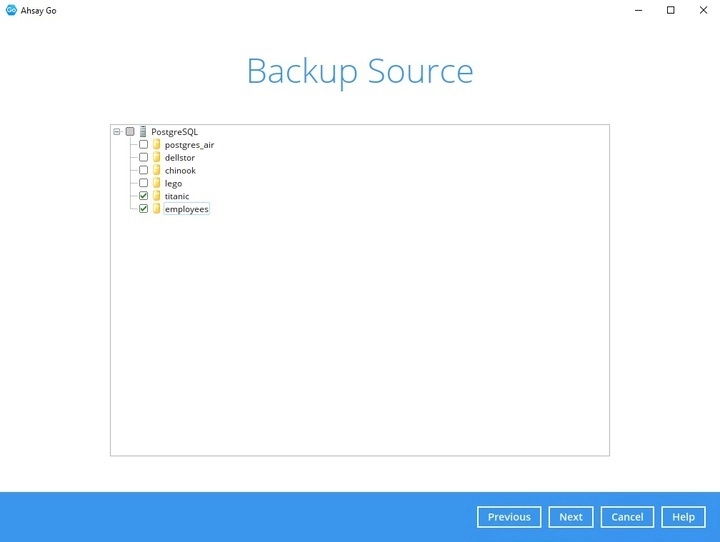
In the “Backup Source” menu, select the PostgreSQL database you would like to backup. Click Next to proceed.
-
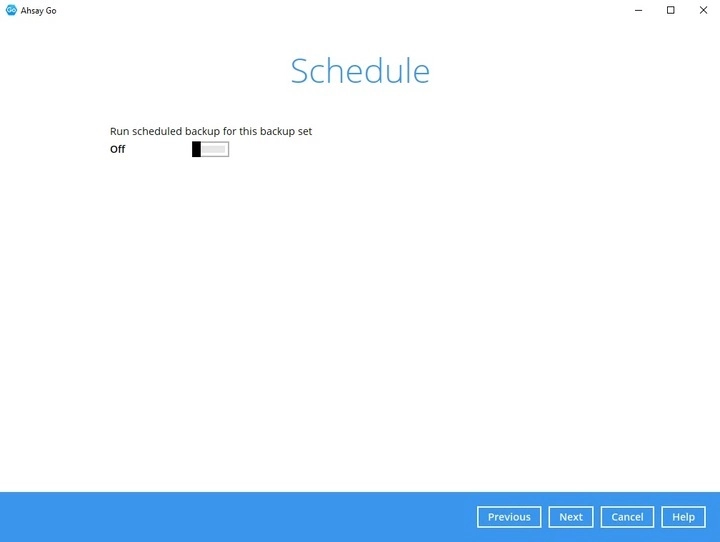
In the “Schedule” window, configure a backup schedule for backup job to run automatically at your specified time interval.
By default, the “Run scheduled backup for this backup set” option is off. You can create a backup schedule by clicking the + button. Click Next to proceed when you are done with the settings.
For details on how to configure the backup schedule settings, please refer to the Overview section.
-
In the “Destination” window, select the appropriate option from the “Backup mode” dropdown menu. The Ahsay Drive selected during account creation will already be available as a storage destination.
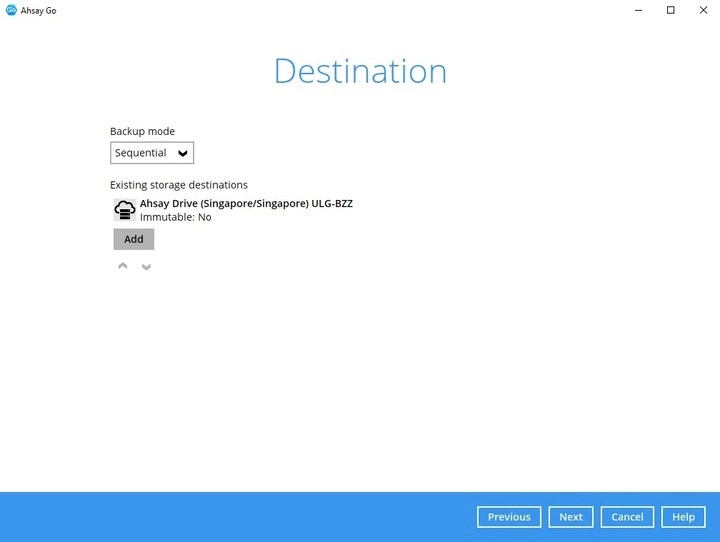
To add another backup destination, click Add then select the “Destination storage” then enter the name. Click OK then Next to proceed once done.
-
In the “Encryption” window, the default “Encrypt Backup Data” option is enabled with an encryption key preset by the system which provides the most secure protection.
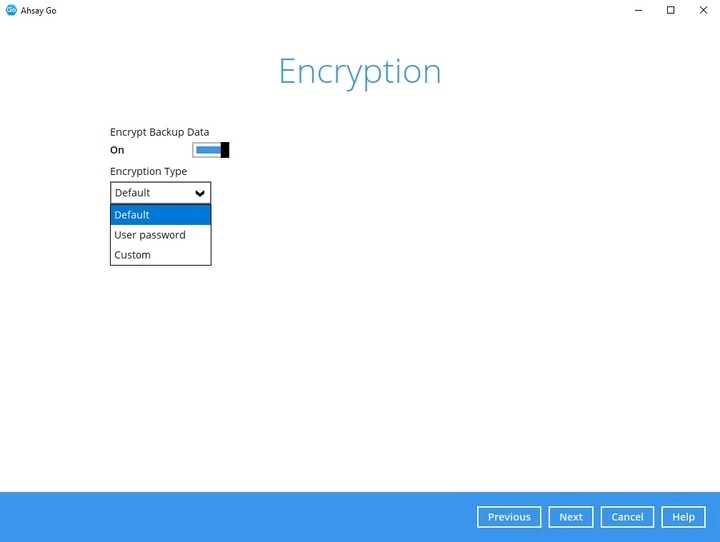
-
If you have enabled the Encryption Key feature in the previous step, the following pop-up window shows, no matter which encryption type you have selected.
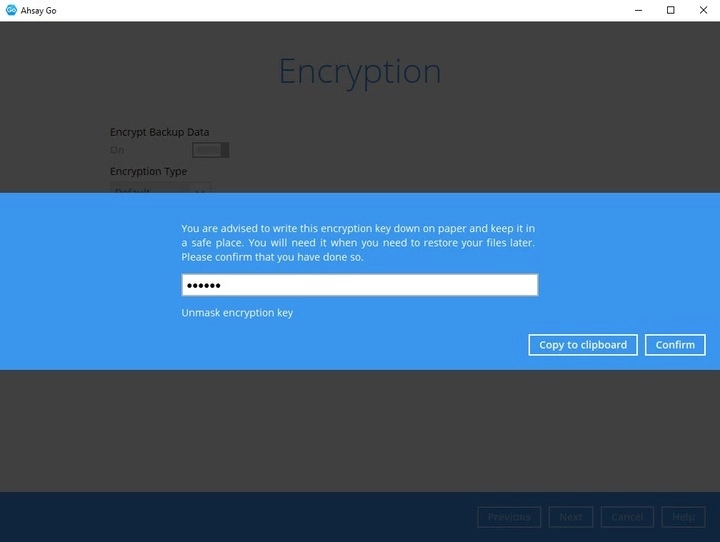
The pop-up window has the following three options to choose from:
-
Unmask encryption key - The encryption key is masked by default. Click this option to show the encryption key.
- Copy to clipboard - Click to copy the encryption key, then you can paste it in another location of your choice.
- Confirm - Click to exit this pop-up window and proceed to the next step.
-
-
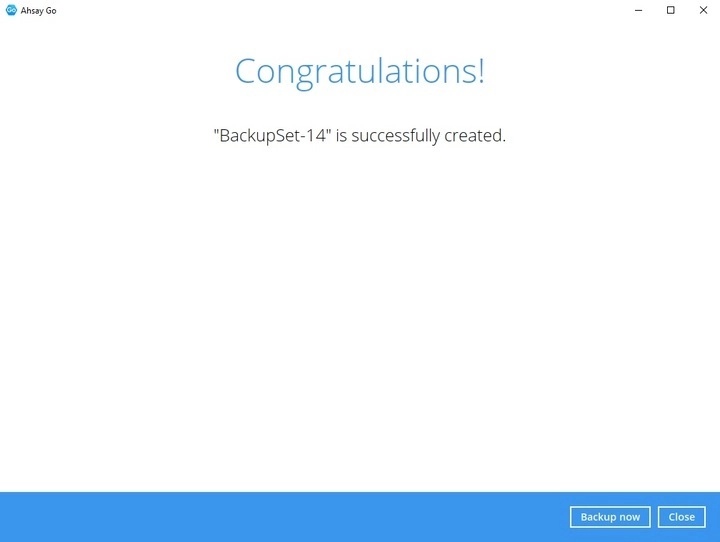
Backup set created.
-
To start a manual backup job, click Backup now.
-
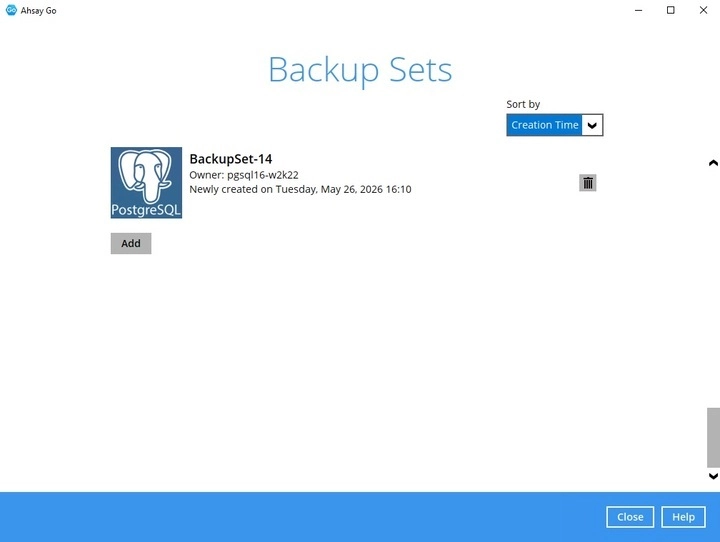
To verify the backup set settings, click Close and then click on the PostgreSQL backup set.
-
-
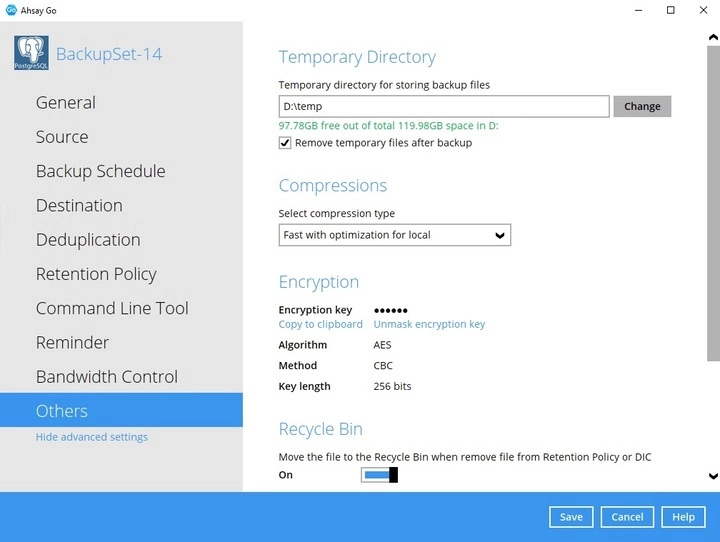
Based on Best Practices and Recommendations, it is highly recommended to change the “Temporary Directory”. Select another location with sufficient free disk space other than Drive C:\Users\Administrator\temp (e.g. D:\Temp).
Open the Backup set then go to Others > Temporary Directory. Click Change to browse for another location.
-
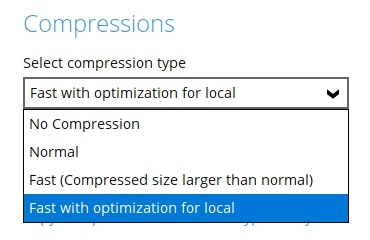
Optional: Select your preferred compression type. By default, the compression is Fast with optimization for local.
Go to Others > Compressions. Select from the following list:
- No Compression
- Normal
- Fast (Compressed size larger than normal)
- Fast with optimization for local