

 AhsayCBS
Ahsay Go - Create Google Workspace Backup Set
-
In the Ahsay Go main interface, click Backup Sets.
-
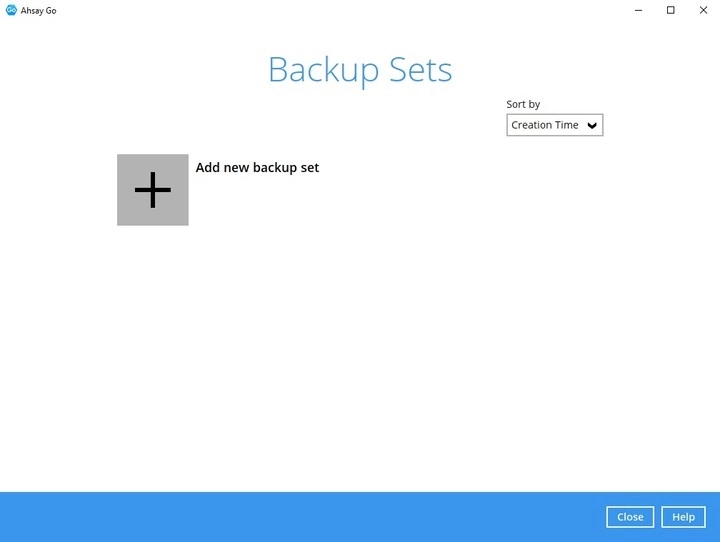
Click the + icon beside "Add new backup set", or the Add button if other backup sets already exist.
-
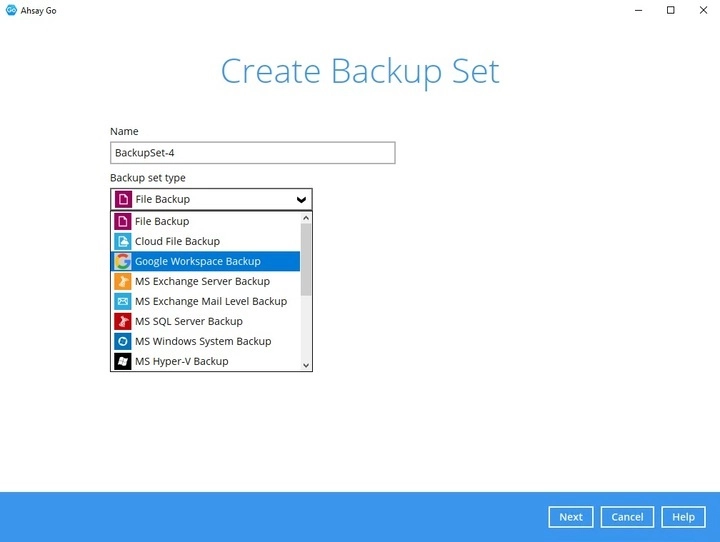
Enter a name for your backup set and select Google Workspace Backup as the backup set type.
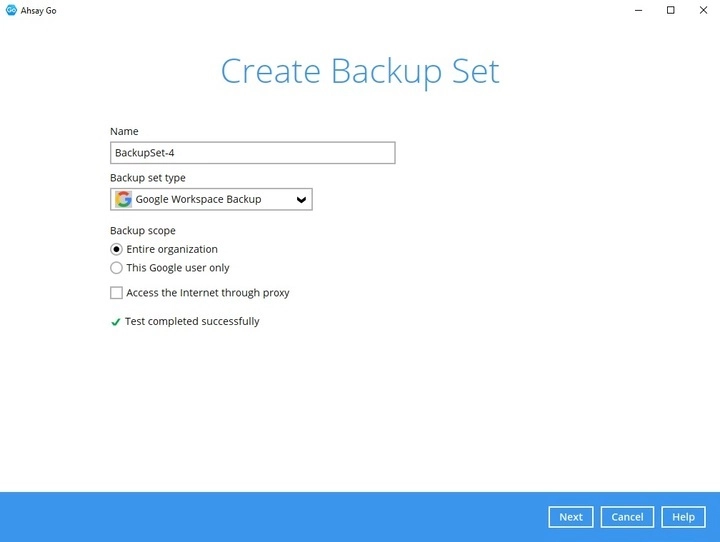
Select the "Backup Scope" (between "Entire organization" or "This Google user only"). Tick the Access the Internet through proxy button if needed. Click the Test button after.
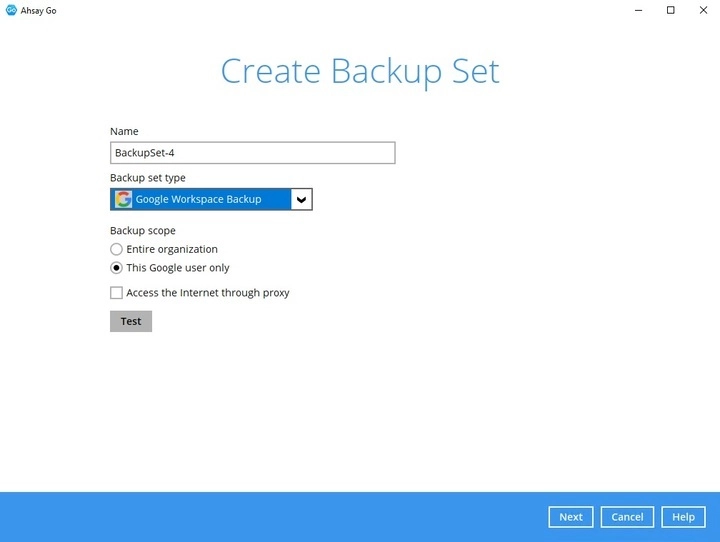
The "Entire organization" option will only work if you have a Google Workspace admin account. If you select "This Google user only", you will need to enter the email address of the user you want to back up.
-
Click Authorize to start the authentication process.
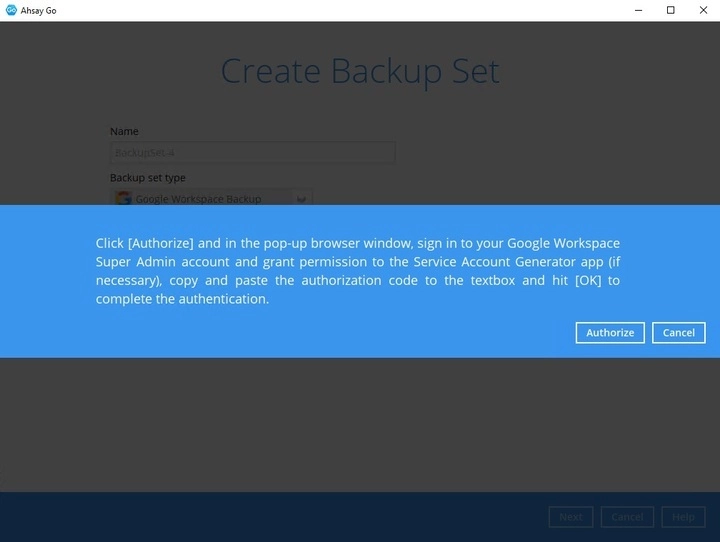
-
Sign in to your Google Workspace account.
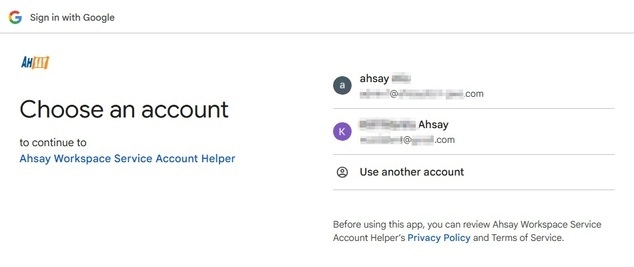
If the accounts have already been signed in before, or there are other accounts signed into the machine, select the Google Workspace account you wish to back up. Otherwise, click Use another account to sign in to the Google Workspace account you want to back up.
-
After signing in, you will be asked to allow Ahsay Go to access your Google Workspace account. Click Continue.
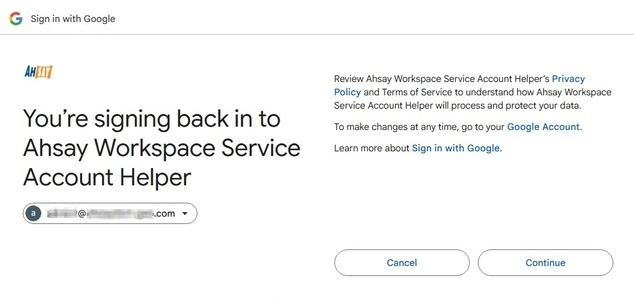
-
-
Copy the authorization code.
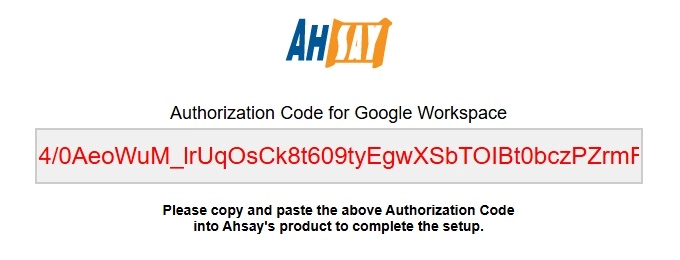
-
Go back to Ahsay Go and paste the authorization code. Click OK to proceed.
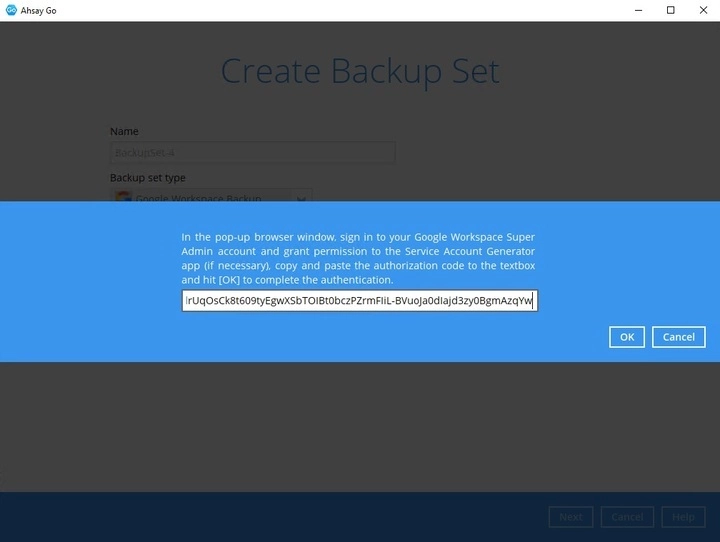
If the "Backup scope" selected is Entire organization but the account used to sign in is a personal account, an error message will be displayed.

-
"Test completed successfully" will be displayed when the validation is successful. Click Next to proceed.
-
The "Backup Source" window will then be displayed. Select the Google Workspace services you want to back up, then click Next to proceed.
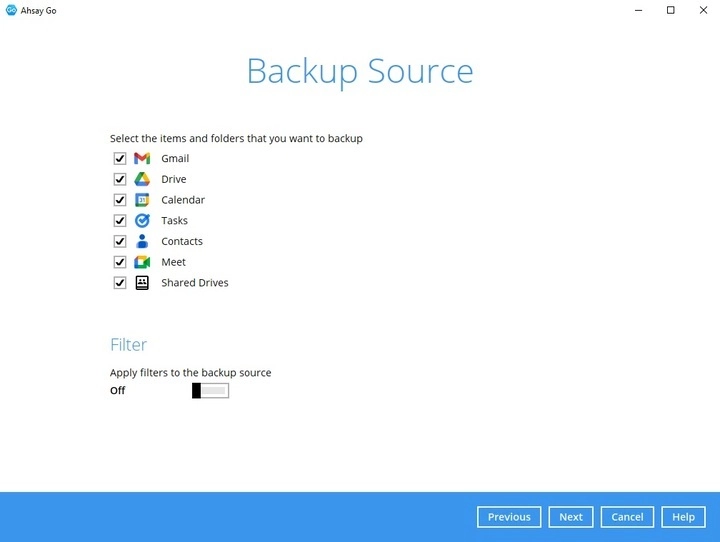
If you have used an admin account to sign in, you will be able to select "Chat" as another service to back up, as well as select specific Users and Shared Drives to backup for the backup set.
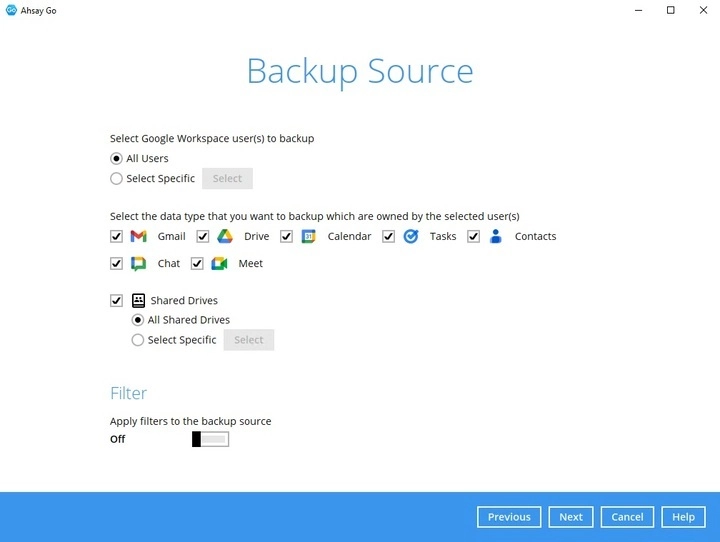
The Filter can be used to specify the files/folders that will be excluded during backup. To know more about filtering, please refer to Backup Source Filter.
-
In the "Schedule" window, configure a backup schedule for backup jobs to run automatically at your specified time intervals.
Slide the on/off button to the right to turn on this feature, then click "+ Add new schedule" to add a new schedule.

For details on how to configure the backup schedule settings, please refer to the Overview section.
-
In the "Destination" window, there are two kinds of backup destinations that you can configure:
Traditional or regular Backup Destination (Ahsay drive, Local/Network, Cloud Destinations, etc.)
New Document Copy Destination (Google Drive)
These two destinations treat certain data backed up from Google Workspace differently in order to facilitate Lossless Backup, which is a limitation of Google Workspace's API.
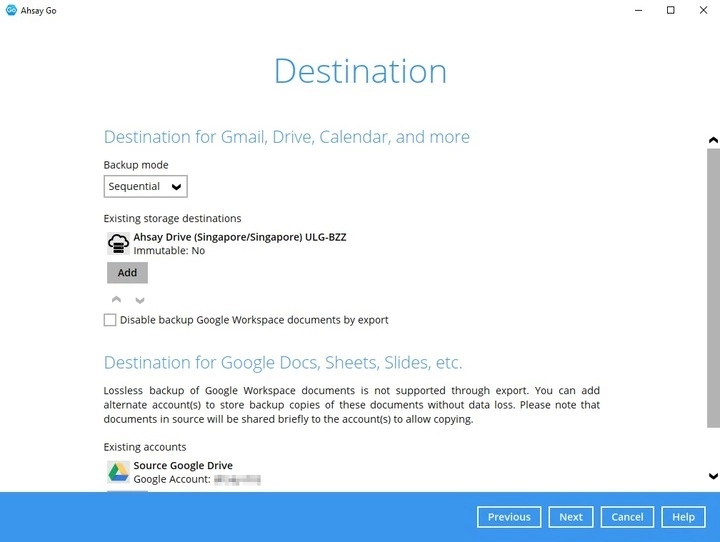
Traditional/Regular Backup Destination
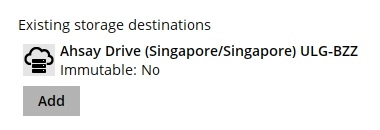
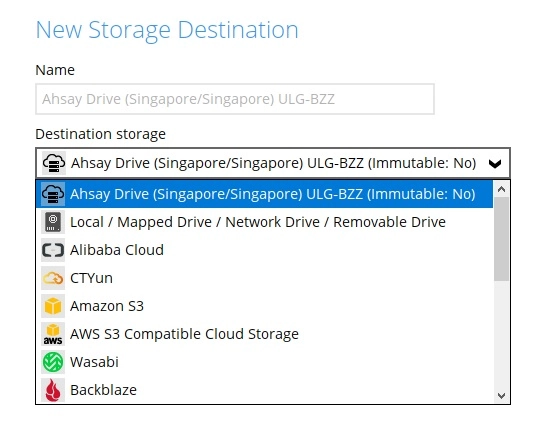
For basic Google services such as Gmail, Drive, Calendar, etc., these can be backed up using the different Backup Destinations available, such as Ahsay Drive, Local / Mapped Drive / Network Drive / Removable Drive etc. found under the "Existing storage destinations" option.
Click the Add button.
Select storage destination. Click OK once done.
You can add multiple storage destinations. The backup data will be uploaded to all the destinations you have selected in the order you added them. Press the up and down icons to alter the order. Click Next to proceed.

Below the setting to add Storage Destinations, there is a tick-box to "Disable backup Google Workspace documents by export". This means that by checking this box, Ahsay Go will not back up files from limited Google services (such as Google Docs, Sheets, Slides, etc.) by exporting them in different file formats (.xlsx, .doc, etc.) to your chosen Backup Destination.
By default, this box is unchecked, allowing Ahsay Go to export these files to other file formats - however, there is a loss in this process of Google-specific features.
New Document Copy Destination
For non-binary files sourced from other Google services such as Google Docs, Sheets, Slides, etc., although users will be able to back these files up by exporting them to different file formats which can then be reimported into these services, they will encounter a loss during the process of Google editor specific features.
As a solution to this, users can select a Google Drive account to temporarily share these files to, which can be copied or exported in a manner that the user has more control over.
By default, the Google Workspace account that the user has used to create the Google Workspace backup set will be the default account used for the New Document Copy Destination.
-
Under "Existing accounts", click the "Add" button.
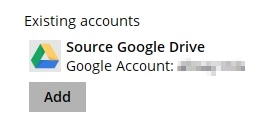
Although you can choose the same Google account that you used to create the Google Workspace backup set, it is generally recommended that you use a different Google account for the new document copy destination. This is to generally provide you with a different destination for your backed up files other than the source Google account, and also to better make use of Google Drive's storage/size limit.
-
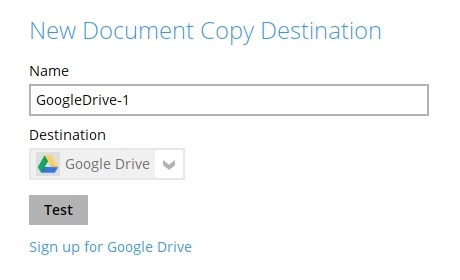
In the "New Document Copy Destination" window, input a "Name" for your Google Drive Destination.
-
By default, the "Destination" will be set to Google Drive. This option cannot be changed.
-
Click on Test. This will open a new window where you can choose a Google account to use its Google Drive as a backup destination.
Click Continue.
-
Copy the Authorization Code and paste it into the new window on Ahsay Go.
-
Once testing is done and completed successfully, click on OK.
If you wish to create a new account for Google Drive, you may click on the Sign up for Google Drive option.
-
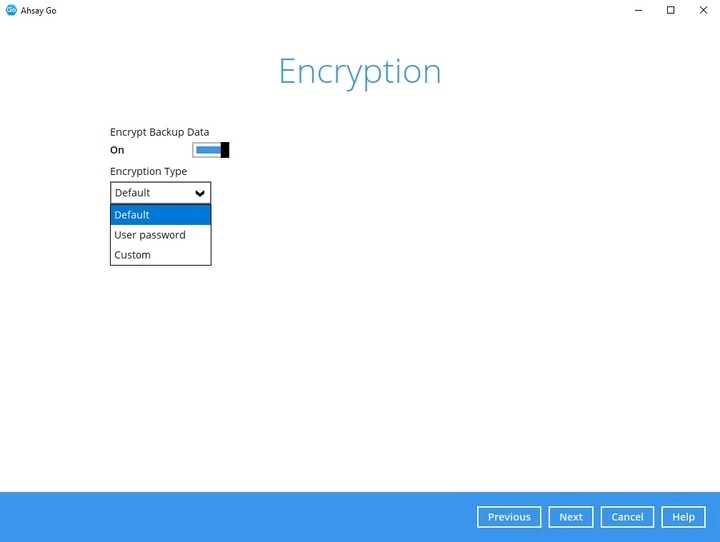
In the “Encryption” window, the default “Encrypt Backup Data” option is enabled with an encryption key preset by the system which provides the most secure protection. Select the “Encryption Type” to be used then click Next.
-
If you have enabled the Encryption Key feature in the previous step, the following pop-up window shows, no matter which encryption type you have selected.
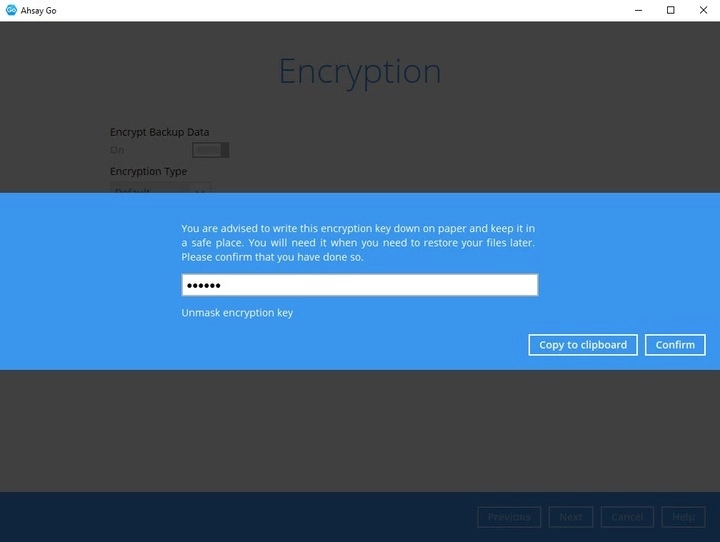
The pop-up window has the following three options to choose from:
-
Unmask encryption key - The encryption key is masked by default. Click this option to show the encryption key.
-
Copy to clipboard - Click to copy the encryption key, then you can paste it in another location of your choice.
-
Confirm - Click to exit this pop-up window and proceed to the next step.
-
-
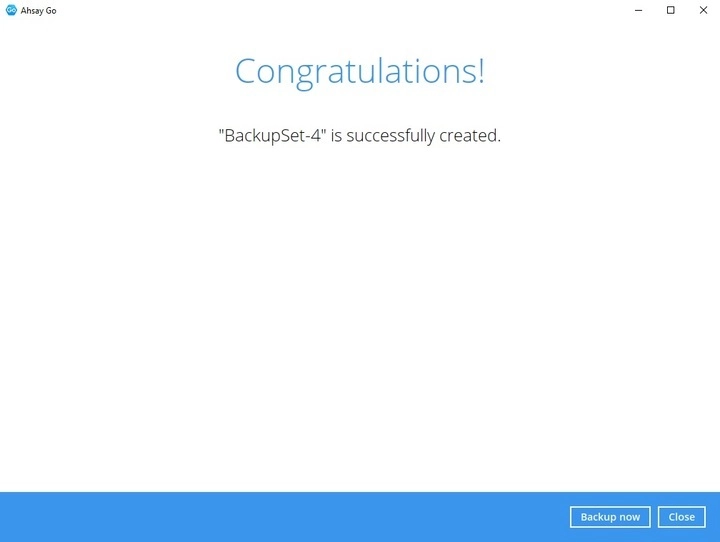
The following screen is displayed when the new Google Workspace backup set is created successfully. You can click the Backup now button to back up your data or click Close to go back to the main screen.
-
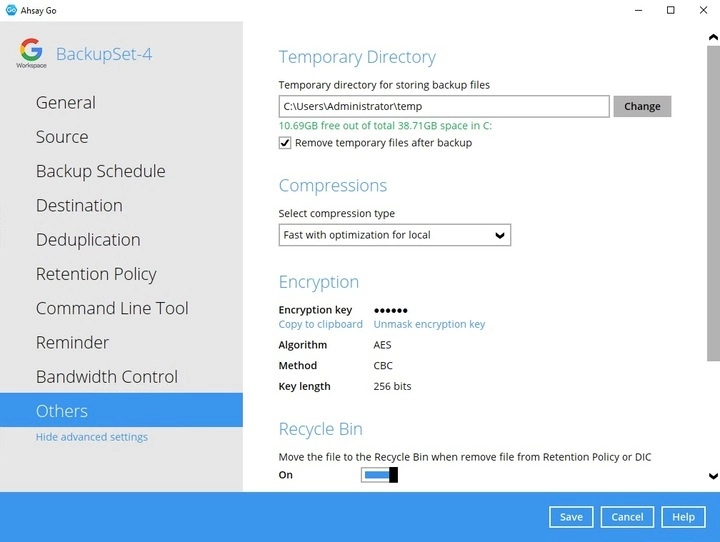
Based on Best Practices and Recommendations, it is highly recommended to change the "Temporary Directory". Select another location with sufficient free disk space other than Drive C.
Go to Others > Temporary Director. Click Change to browse for another location.
-
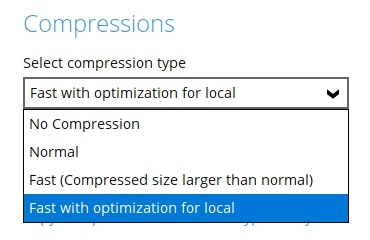
Optional: Select your preferred compression type. By default, the compression is Fast with optimization for local.
Go to Others > Compressions, then select from the following list:
-
No Compression
-
Normal
-
Fast (Compressed size larger than normal)
-
Fast with optimization for local
Click Save to apply the changes.
-


