AhsayCBS
File Restore on AhsayOBM using QNAP NAS
-
Click the Restore icon on the AhsayOBM main interface.
-
Select the backup set and destination.
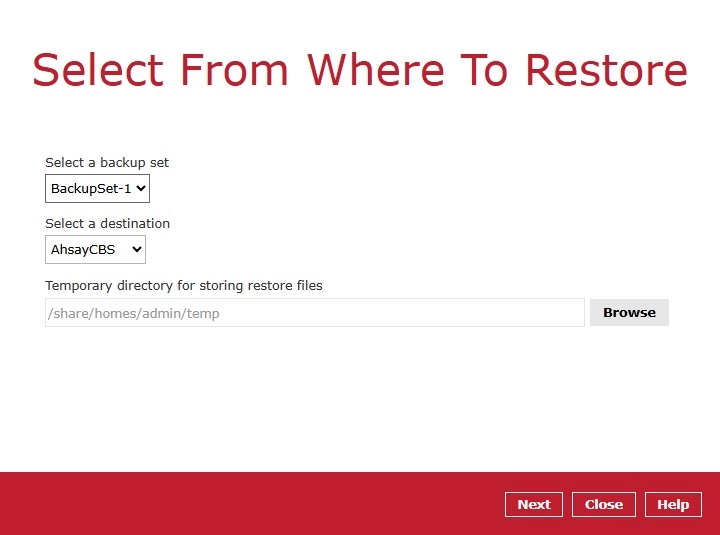
You may change the path under “Temporary directory for storing restore files” by clicking the Browse button. This will allow you to select the directory that will be used to store the temporary files.

-
Select to restore files from a specific backup job, or from all files available, then select the files or folders that you would like to restore.
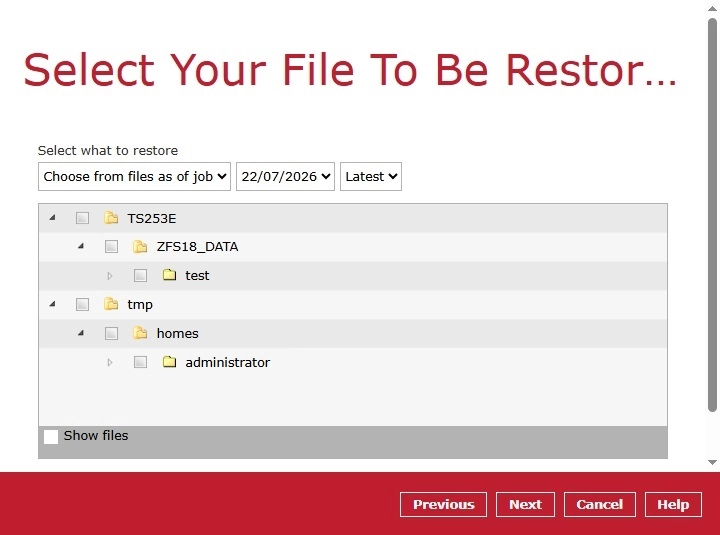
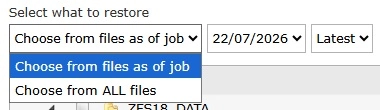
There are two options from the "Select what to restore" dropdown menu:
-
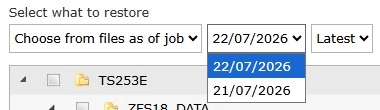
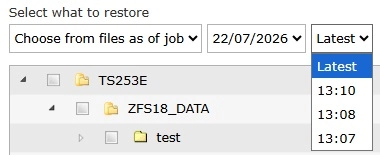
Choose from files as of job
This option allows you to select a backup version from a specific date and time to restore.
-
Choose from ALL files
This option allows you to restore all the available backup versions for this backup set. Among all the available backup versions, you can even select only some of the backup versions of a file to restore.
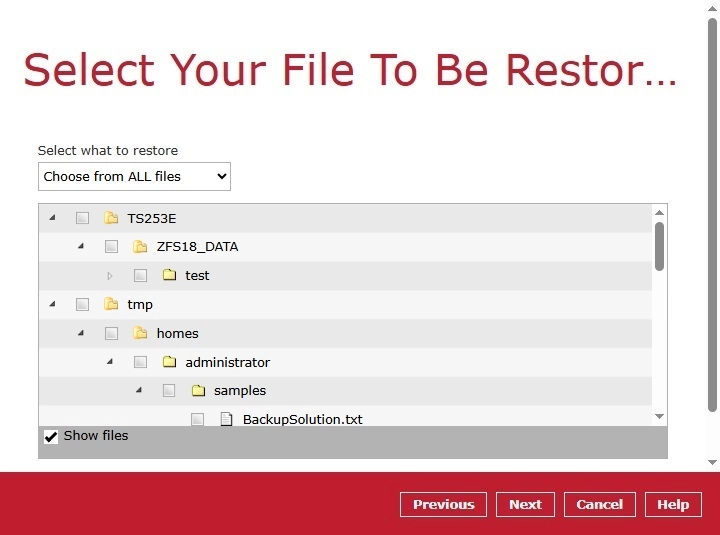
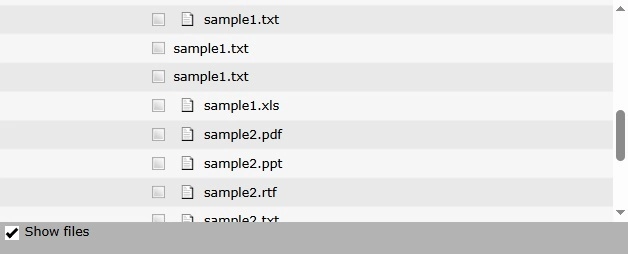
The following is an example showing all the available backup versions of the file "sample1.txt". The latest version is located on top with the icon.
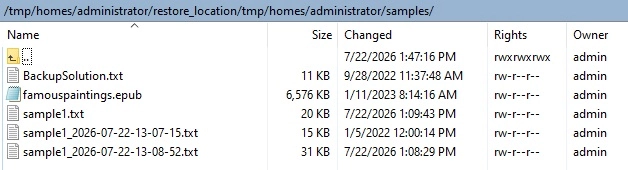
When the restore is done, you will see all the selected backup versions in the restore destination. The latest backup version has the file name as the original file, while the previous versions have the time stamps added to their file names for easy identification.
Click Next to proceed when you are done with the selections.
-
-
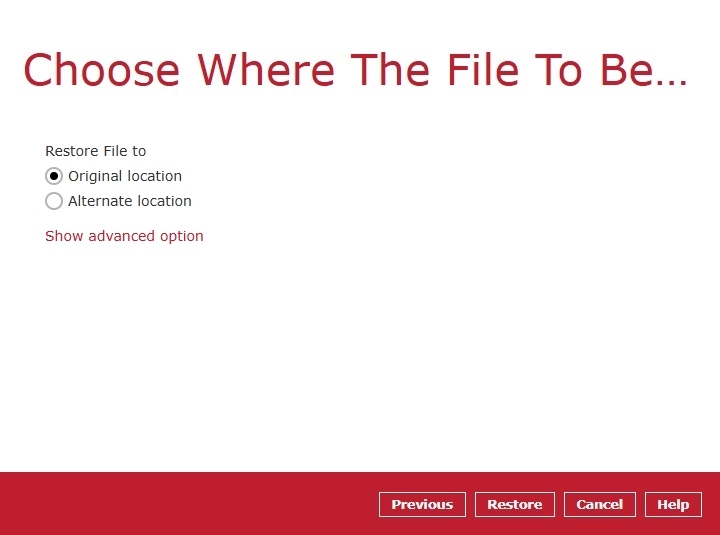
Select to restore the files to their Original location, or to an Alternate location.
-
Original location
The backed up data will be restored to the device running AhsayOBM under the same directory path as on the machine storing the backup source.
-
Alternate location
You can choose to restore the data to a location of your choice on the NAS device. Select Alternate location then click the Browse button.
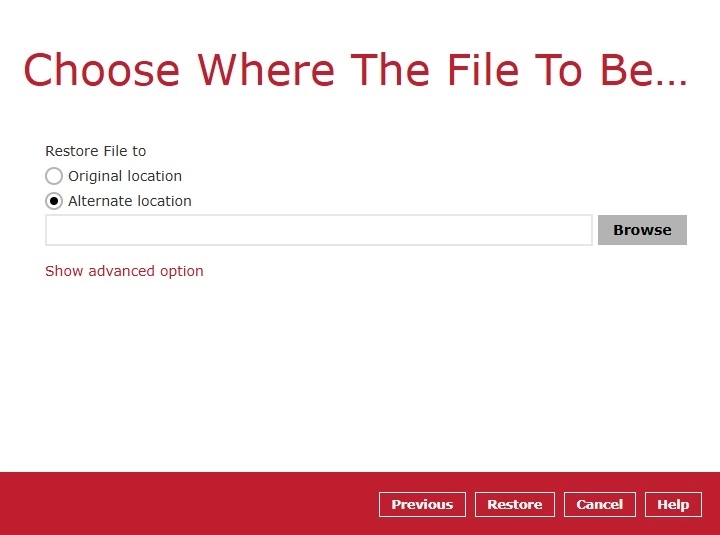
Click OK once done.
Click Show advanced option to configure other restore settings:
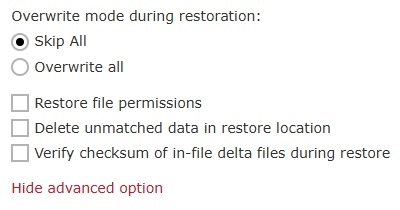
Overwrite Mode During Restoration
There are two modes available which are: Skip All and Overwrite all. Skip All is selected by default, this will skip restoring the same files that are already in the restore destination. If Overwrite all is selected, this will replace all the files already in the restore destination with the identical files from the back up.
Restore File Permissions
Restore file permissions is disabled by default. When you perform a file restore on shared files or folders using a shared computer, it is recommended that you enable Restore file permissions by ticking the checkbox so that the files restored will not be fully accessible to everyone using the shared computer.
Delete Unmatched Data in Restore Location
By enabling this option, the restore process will attempt to synchronize the selected restore source with the restore destination, making sure the data in the restore destination is the same as the restore source. Any data created after backup will be treated as “unmatched data” and will be deleted from the restore source if this feature is enabled.
Example:
-
Two files are created under the doc_folder, namely “doc_01” and “doc_02”.
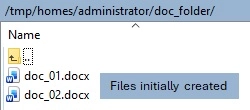
- A backup is performed for folder doc_folder.
-
Two new files are created, namely "doc_03" and "doc_04".
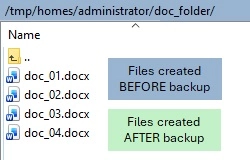
- A restore is performed for the doc_folder, with "Delete unmatched data in restore location" option enabled.
-
Since "doc_03" and "doc_04" have never been backed up, therefore they will be deleted from doc_folder as seen in the restore logs, leaving only the two files that have been backed up.
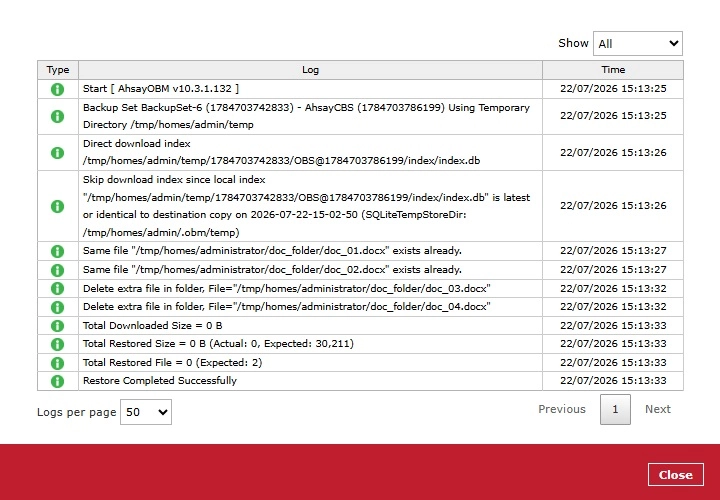
Please exercise extra caution when enabling this feature. Consider what data in the restore source has not been backed up and what impact it would cause if those data were deleted.
Verify Checksum of In-File Delta Files During Restore
Verify checksum of in-file delta files during restore is enabled by default. When you perform restore for non-RunDirect backup set, you can enable the feature by ticking the checkbox so that the checksum of in-file delta files will be verified. As the feature will make the restore process time longer, it is recommended to enable the feature only if you want to verify if the merged file were correct.
Click the Restore button to start the restore job.
-
-
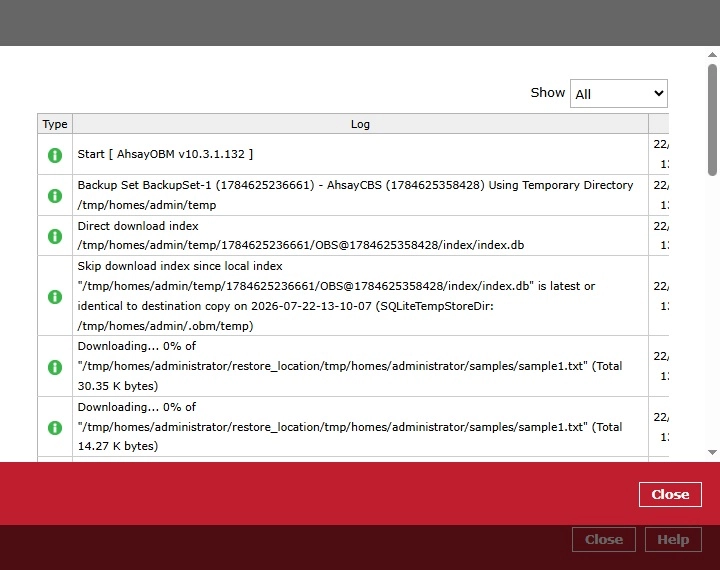
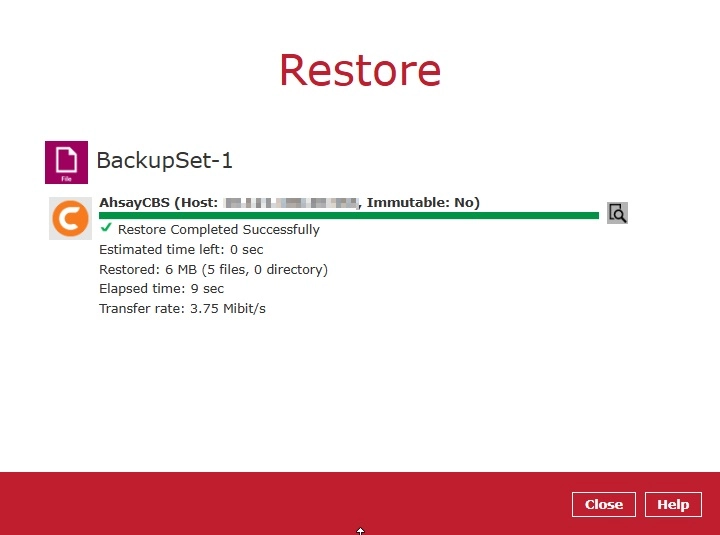
The following screen will be displayed to indicate that the restore job is successfully completed. You may click the icon to the right of the progress bar to check the restore log.
-
Once you are done with checking the restore log, click the Close button to return to the previous screen.