AhsayCBS
Ahsay Go - Create VMware Backup Set
-
In the Ahsay Go main interface, click Backup Sets.
-
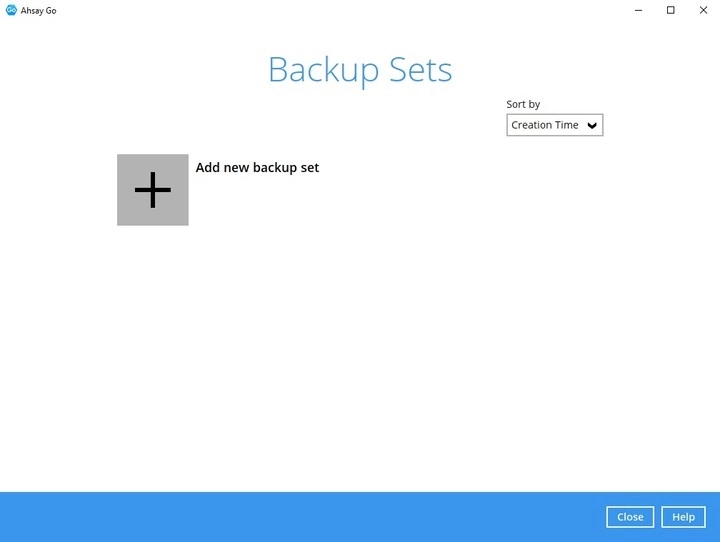
Click the + icon before “Add new backup set” to create a new backup set.
-
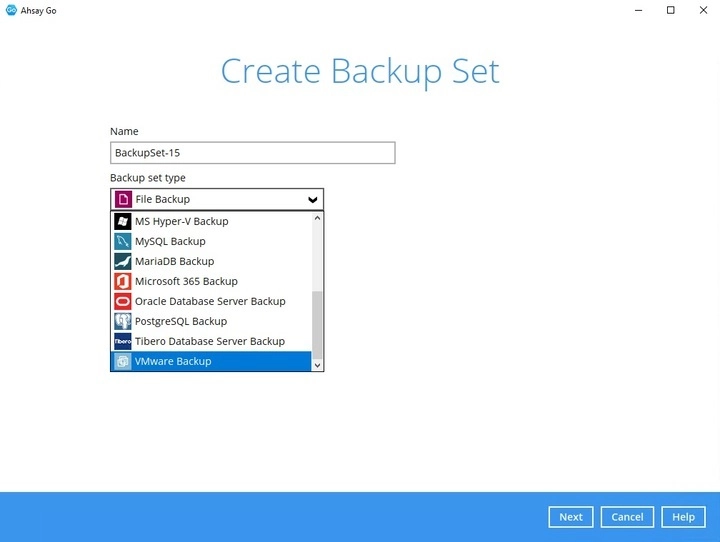
Enter a “Name” for your backup set, then select VMware Backup as the “Backup set type”.
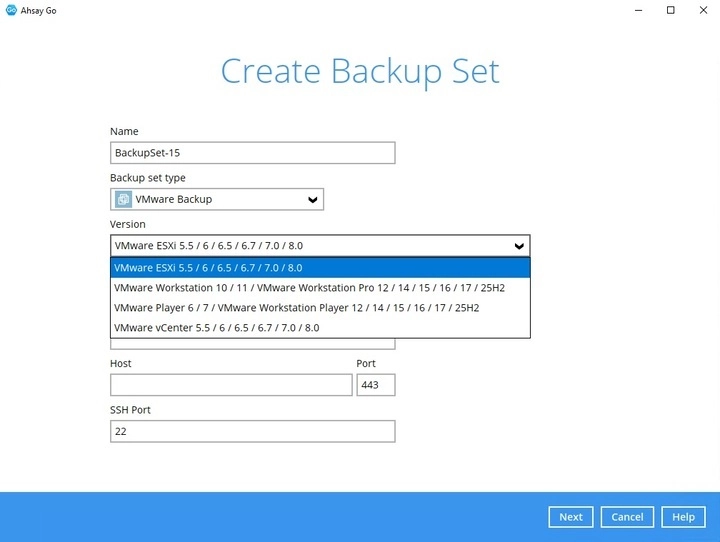
Select the “Version” of the corresponding host:
-
Select VMware ESXi 5.5/6/6.5/6.7/7.0/8.0 for a VMware ESXi backup set
OR
- Select VMware vCenter 5.5/6/6.5/6.7/7.0/8.0/ for a VMware vCenter backup set
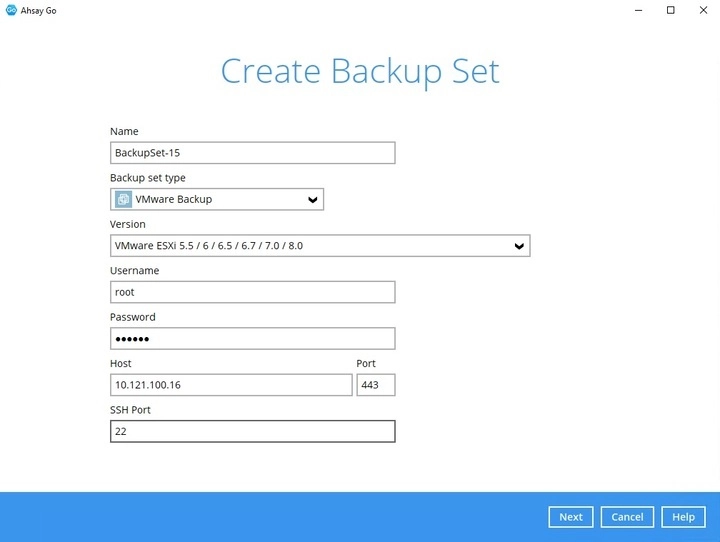
Enter the VMware host and access information. For a VMware ESXi backup set, enter the “Password” of the root account, “Host”, “Port” and “SSH Port” information of the ESXi host.
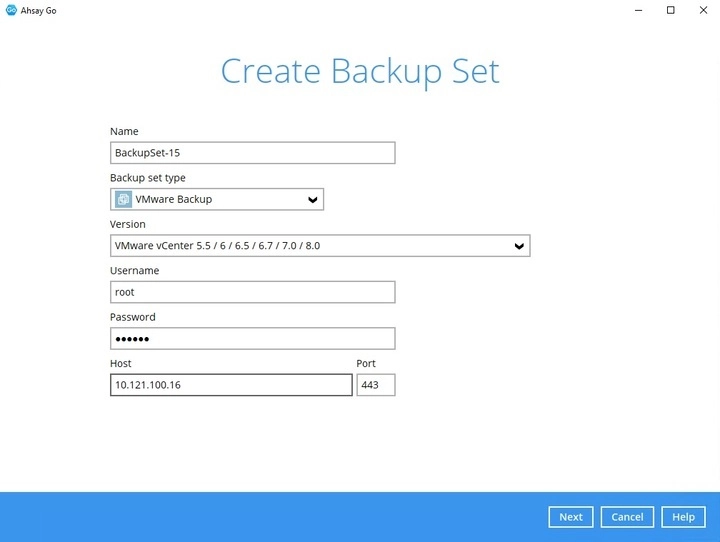
For a VMware vCenter backup set, enter the “Username” and “Password” of the Administrator account, then enter the “Host” and “Port” information of the vCenter server.
Click Next to proceed when you have finished entering all necessary information.
-
-
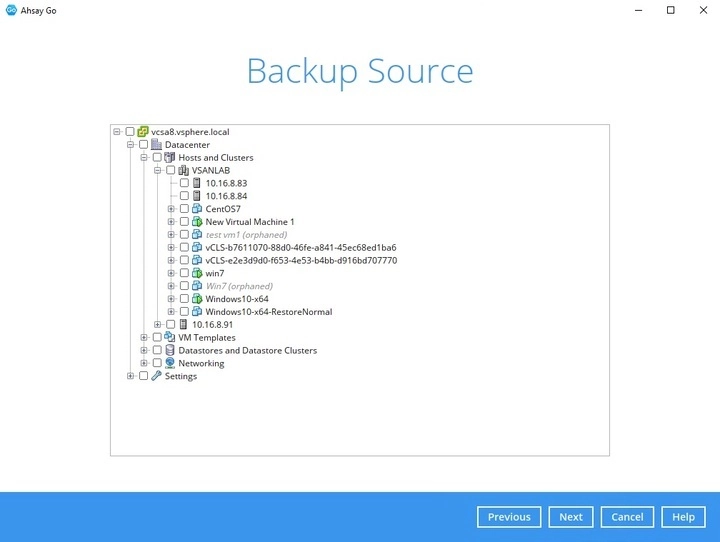
For VMware ESXi backup set, select the settings, virtual machines or individual virtual disks that you would like to back up.
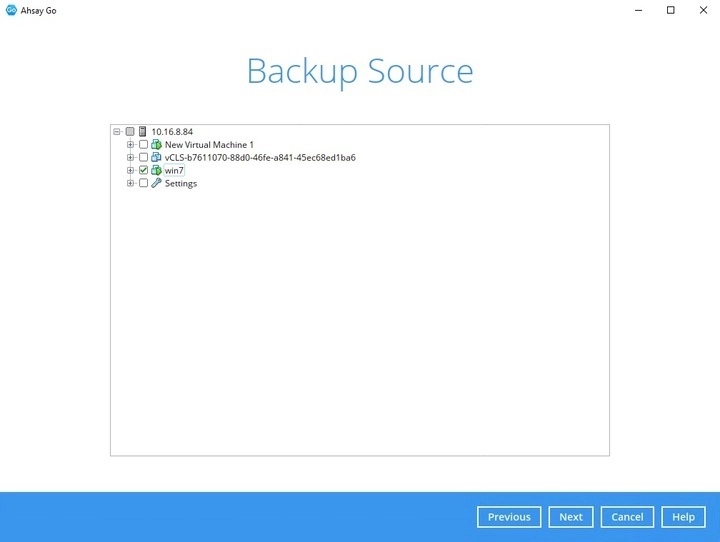
For a VMware vCenter backup set, select the settings, virtual machines or individual virtual disks that you would like to back up.
In the “Schedule” window, configure a backup schedule for backup job to run automatically at your specified time interval.
By default, the “Run scheduled backup for this backup set” option is off. You can create a backup schedule by clicking the + button. Click Next to proceed when you are done with the settings.
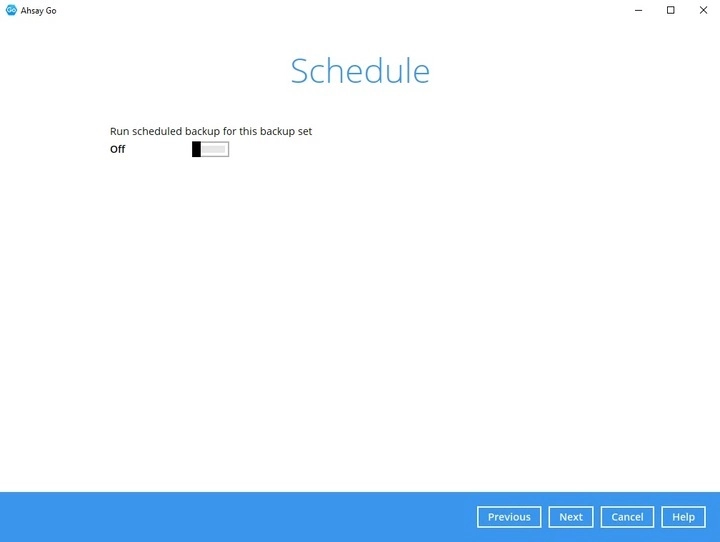
For details on how to configure the backup schedule settings, please refer to the Overview (GUI) section.
-
In the “Destination” window, select the appropriate option from the “Backup mode” dropdown menu. The Ahsay Drive selected during account creation will already be available as a storage destination.
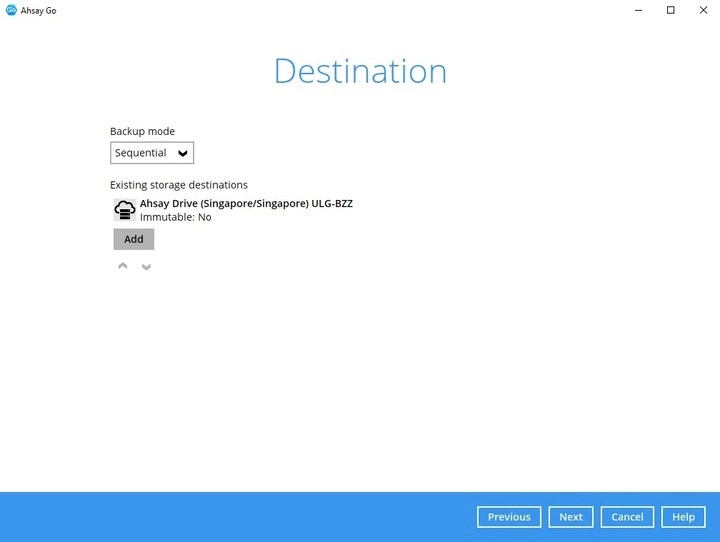
To add another backup destination, click Add then select the “Destination storage” then enter the name. Click OK then Next to proceed once done.
-
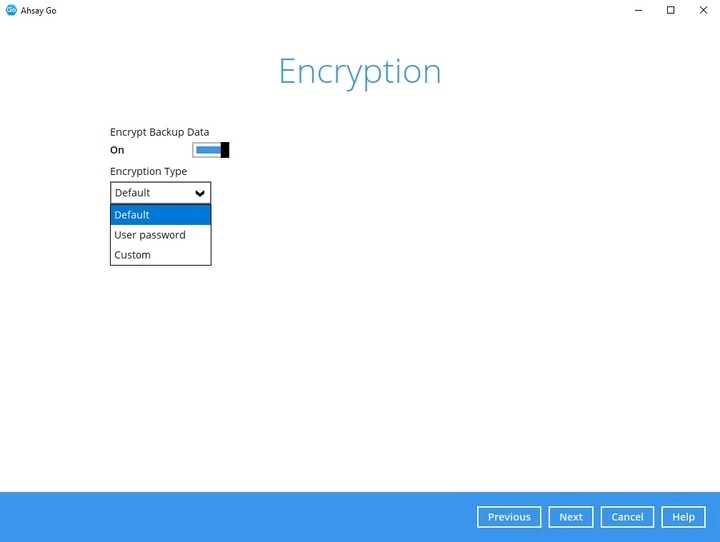
In the “Encryption” window, the default “Encrypt Backup Data” option is enabled with an encryption key preset by the system which provides the most secure protection.
-
If you have enabled the Encryption Key feature in the previous step, the following pop-up window will be displayed regardless of the selected encryption type.
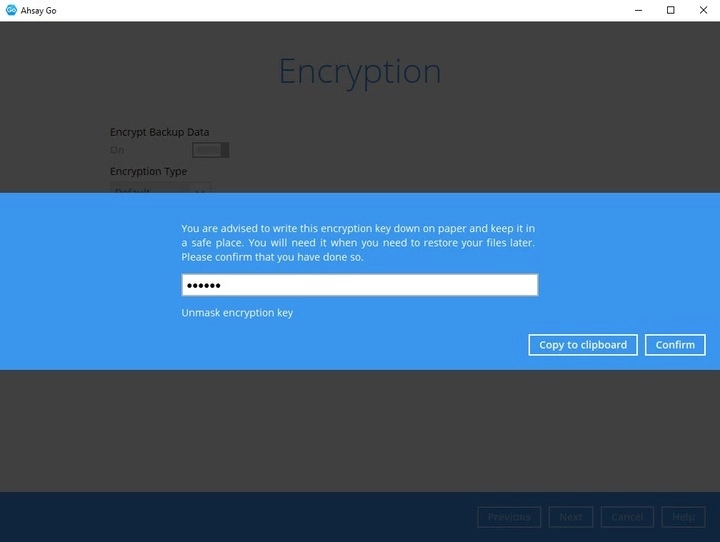
The pop-up window has the following three options to choose from:
-
Unmask encryption key - The encryption key is masked by default. Click this option to show the encryption key.
- Copy to clipboard - Click to copy the encryption key, then you can paste it in another location of your choice.
- Confirm - Click to exit this pop-up window and proceed to the next step.
-
-
The following screen prompts you to enter the Windows login credentials for user authentication.
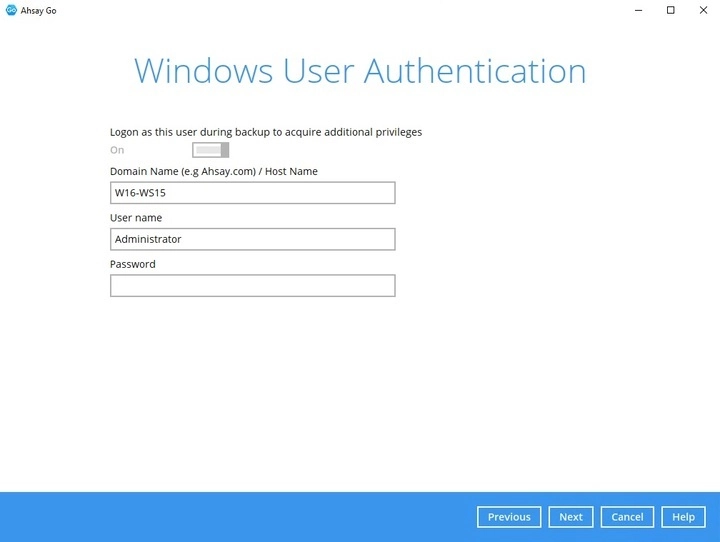
-
Windows Authentication is only required for:
- VMware Server
- VMware Workstation
- VMware Player
- If the backup schedule is turned off for the backup set, the Windows User Authentication screen will be automatically skipped. The Windows User Authentication login credentials can be added or updated post backup set creation.
-
-
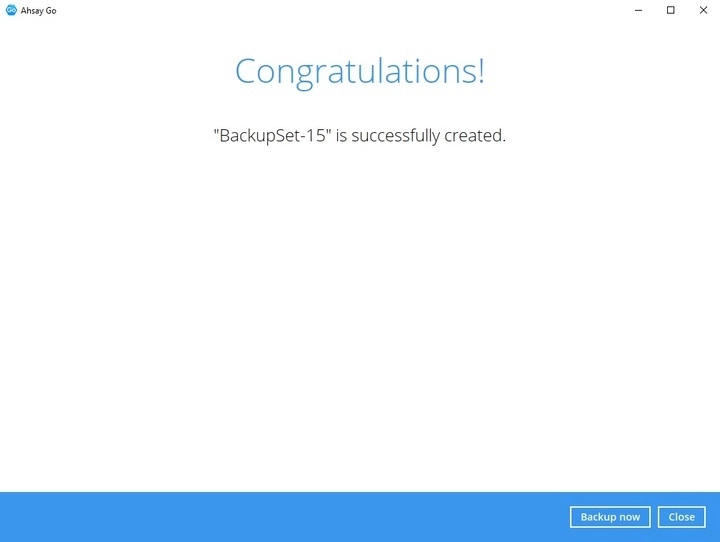
Backup set created. Click Backup now if you wish to run a backup for this backup set. Otherwise, click the Close button.
-
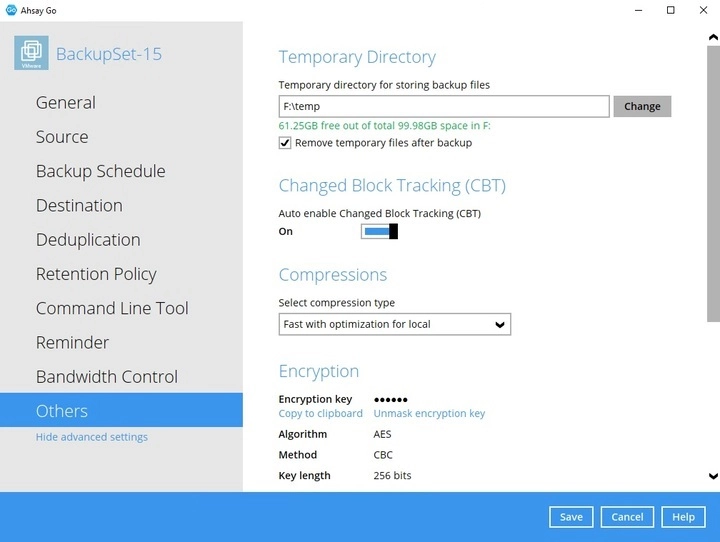
Based on Best Practices and Recommendations, it is highly recommended to change the “Temporary Directory” to another location. Select another temporary location with sufficient free disk space other than Drive C:\ (e.g. Drive F:\temp).
To do this, open the Backup Set, then go to Others > Temporary Directory and click the Change button to browse for another location.
-
Optional: Check if Changed Block Tracking is enabled. Go to Others > Changed Block Tracking (CBT), by default it is enabled.
-
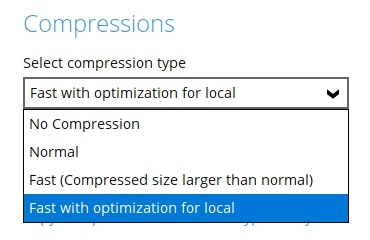
Optional: Select your preferred compression type. By default, the compression type is Fast with optimization for local.
Go to Others > Compressions, then select the following:
- No Compression
- Normal
- Fast (Compressed size larger than normal)
- Fast with optimization for local