

 AhsayCBS
Ahsay Go - Tibero Database Restore
-
Click the Restore icon on the main interface of Ahsay Go.
-
Select the backup set and destination.
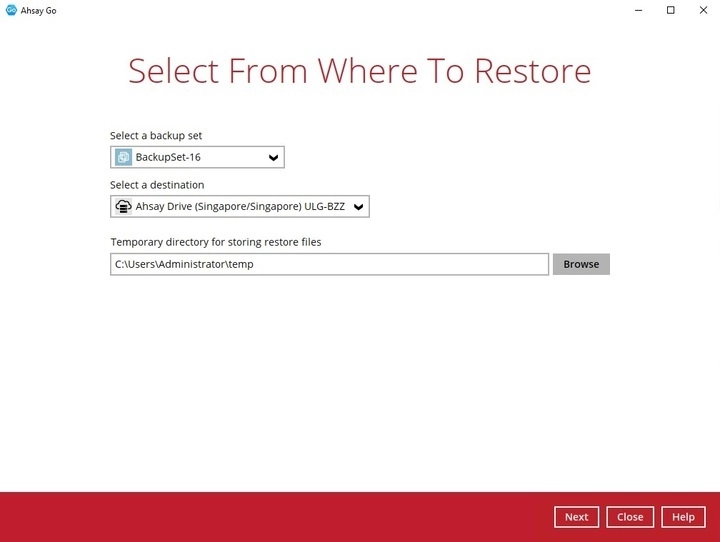
You can select the temporary directory for storing temporary files by clicking Browse.

-
This step will determine if the database will be restored automatically or manually.
For automatic restore, select the database that you would like to restore. You can also choose to restore a backed-up database from a specific backup job using the “Select what to restore” drop-down menu.
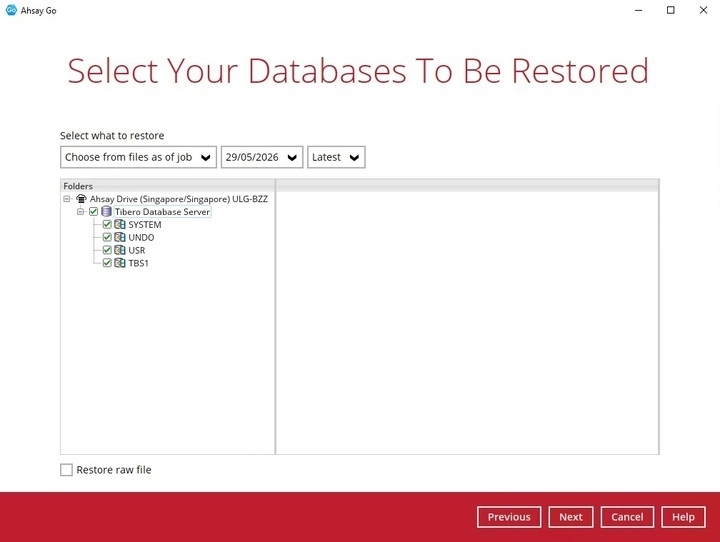
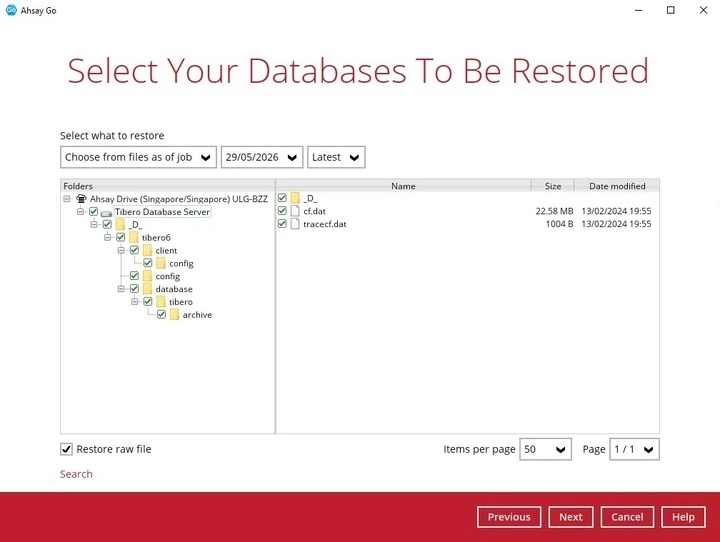
Or to manually restore the database, tick the Restore raw file option, then select the “Tibero Database Server”. Click Next to proceed.
-
Select where to restore the database, either to the Original location or an Alternate database port for automatic restore or select the path where you would like the raw file(s) to be restored for manual restore.
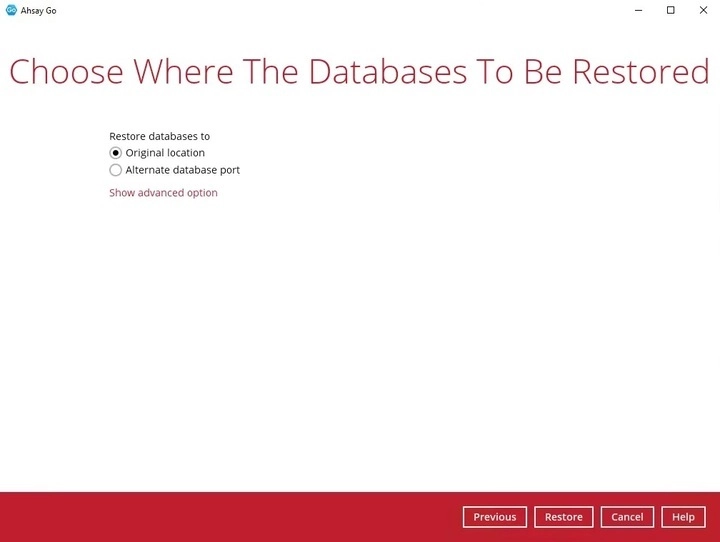
-
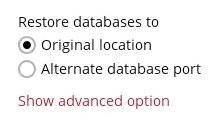
Restore to Original location
-
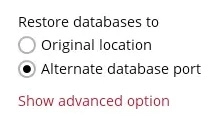
Restore to Alternate database port
If Alternate database port is selected, the following settings on “Restore to Alternate Database Port” window are not configurable except for the “Port”:
- Tibero Home - where the Tibero Home path is located. This is already set to the location of the Tibero Home by default.
- Login ID - the login ID of the Tibero server. The default login ID is “SYS”.
- Password - the password for the system user account in the new database.
- Host - this value is set to 127.0.0.1.
- Port - the port number of the alternate Tibero database instance.
- SID - the SID for the alternate Tibero database instance.
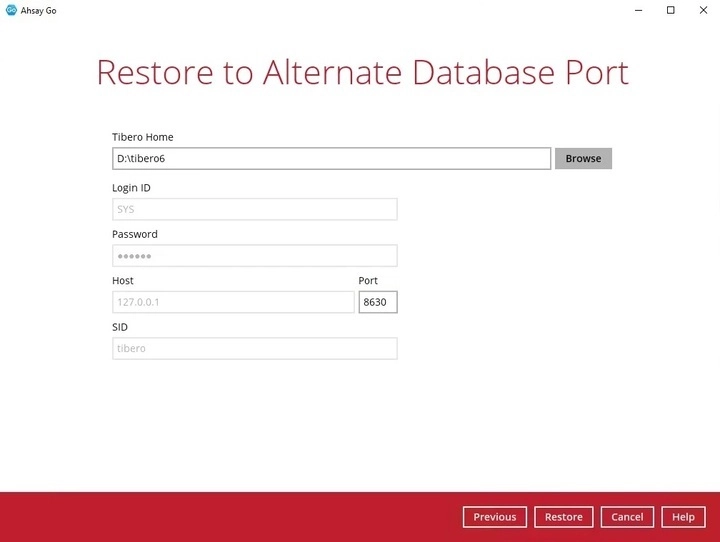
If you want to proceed with Alternate database port, you need to change the “Port” during the restore process and ensure that the same “Port” is also changed in the backup set after the restore process.
-
Restore raw file
Click the Browse button to select the location on the local machine where you want to restore the Tibero database to.
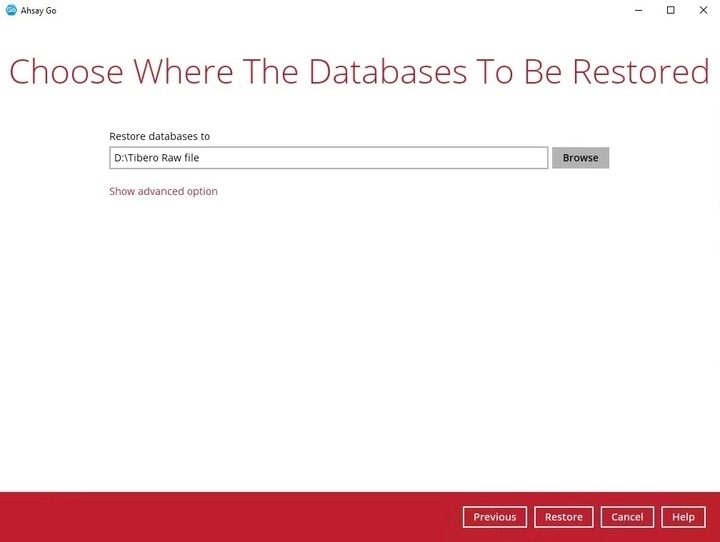
If you would like to enable the Verify checksum of in-file delta files during restore setting, click the Show advanced option link.
Once configured, click Restore to proceed.
-
-
The following screen will appear requiring you to answer the question manually.
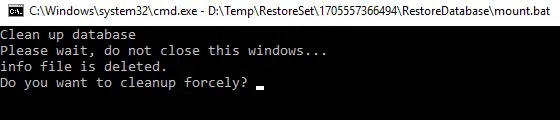
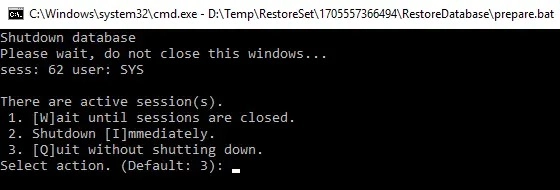
If the following screen appears during the restore process, select the default action “3. [Q]uit without shutting down” and stop the database service. Alternatively, select action “2. Shutdown [I]mmediately” to continue the restore process.
-
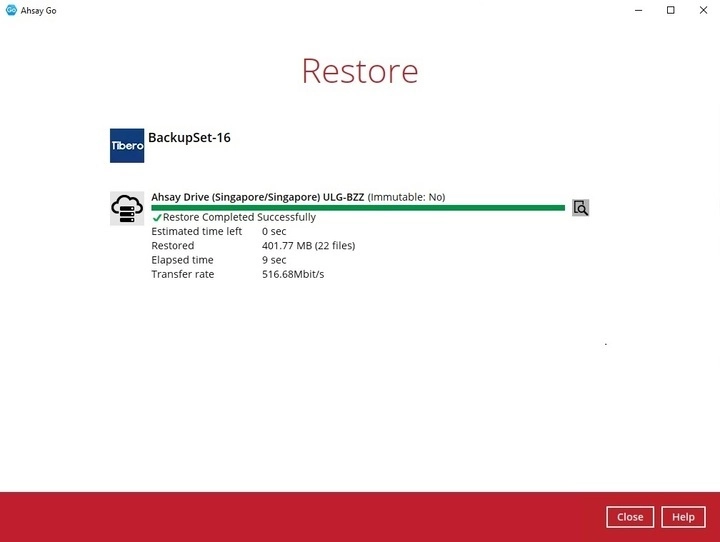
The restore job has completed successfully.
-
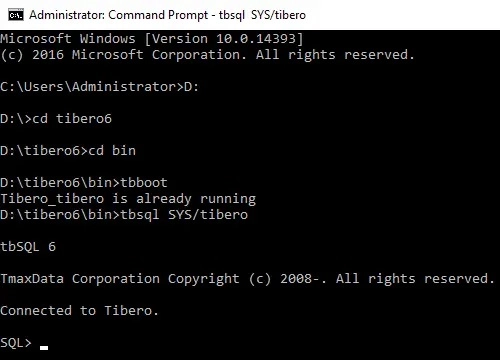
After the restore job is completed, you can verify if the Tibero database instance has been restored using the following SQL query to verify if the instance is online.
Only for Restore Raw File
-
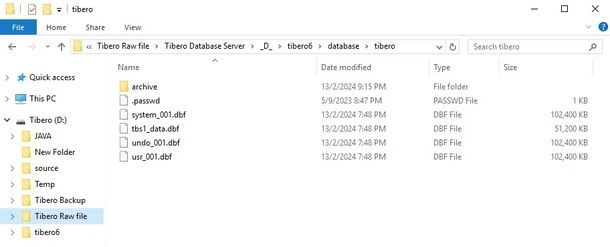
After the restore job is completed, you can verify if the Tibero database have been restored. Go to the designated path on the local machine where you restored the Tibero database files.
Example: Using Windows File Explorer
-
Recovering RAW Tibero database
To recover RAW database, please refer to Tibero database server Backup and Recovery guide for more details.