FAQ
FAQApp Creation for Google Workspace Backup Customization
A full Drive scope is needed to provide complete, automated backups and accurate restores of a user's entire Drive/Shared Drives which require an app to be created either for the entire organization or this Google user only backup scope. Find below the instructions on how to create an app that can be used for these two backup scopes.
App for "Entire organization" backup scope
This will help create a service account JSON key for the "Entire organization" backup scope.
-
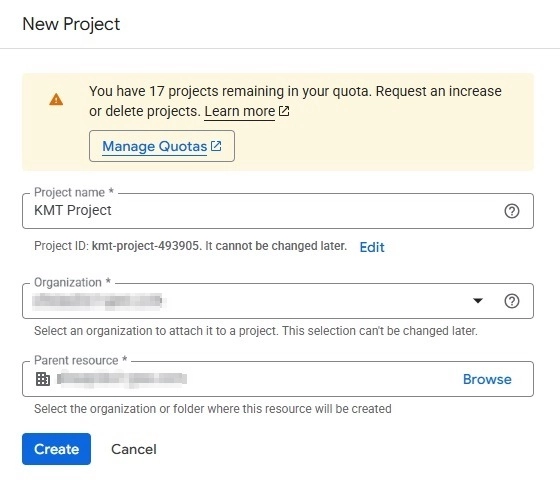
Create a new project on Google Cloud.
Click Open project picker or Ctrl+O.

Click New project.

Enter the project name. Select the organization and parent resource then click Create.
-
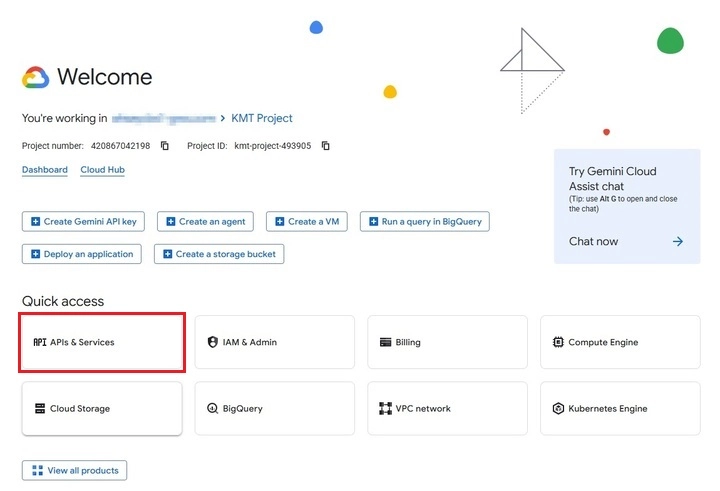
Go to APIs & Services.
-
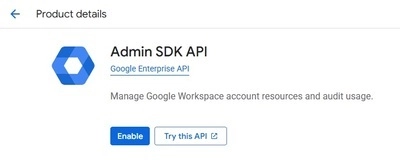
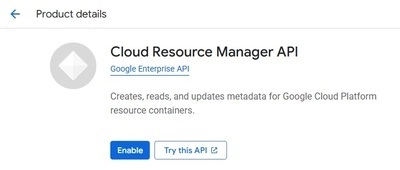
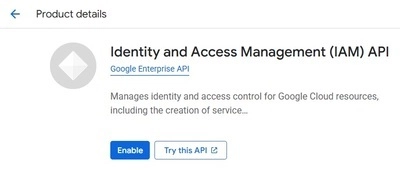
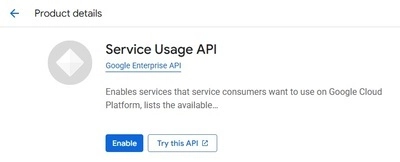
In "Enabled APIs & services" click + Enable APIs and services then search for the following APIs and enable them:

Admin SDK API
Cloud Resource Manager API
Identity and Access Management (IAM) API
Service Usage API
-
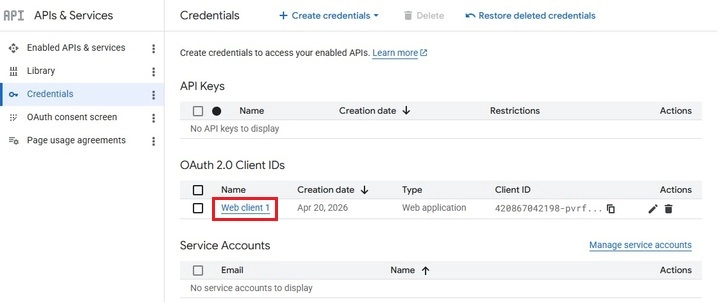
In "Credentials" create an OAuth client ID. Click + Create credentials then select OAuth client ID.

Select Web application for the Application type. Enter the name and your redirect URIs, then click Create.
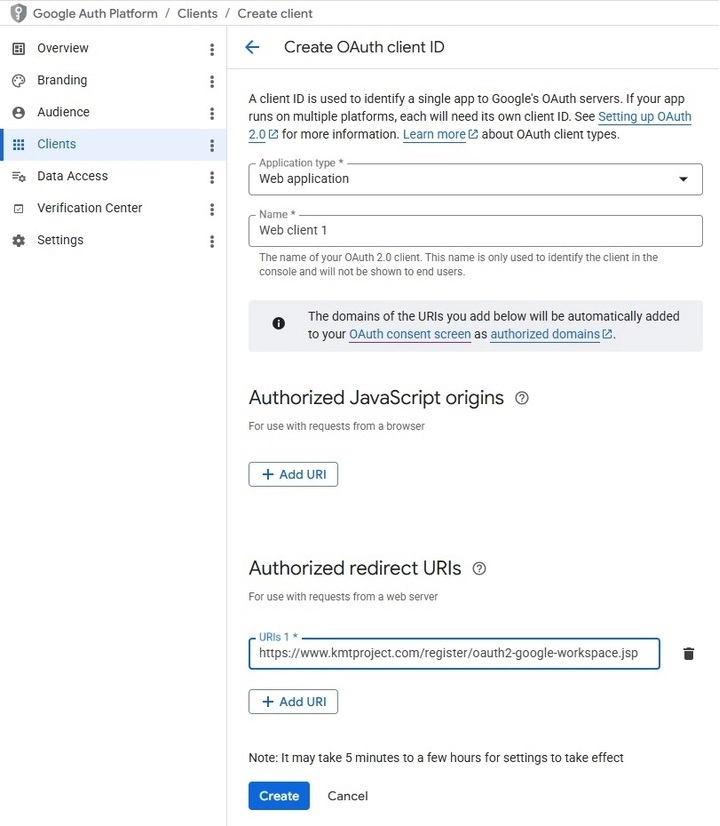 An example of the oauth-google-workspace.jsp file can be downloaded from here.
 -
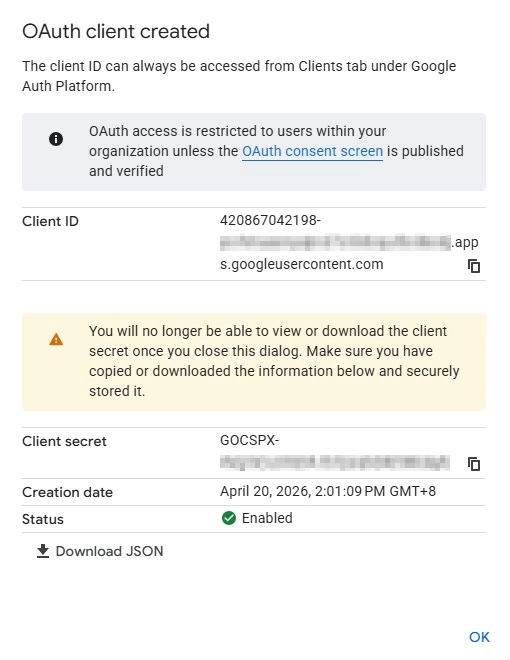
The details of the OAuth client will be displayed. The Client ID and Client secret will be used in the Google Workspace Backup Customization page. Click OK once done.
-
Click the created OAuth Client ID.
-
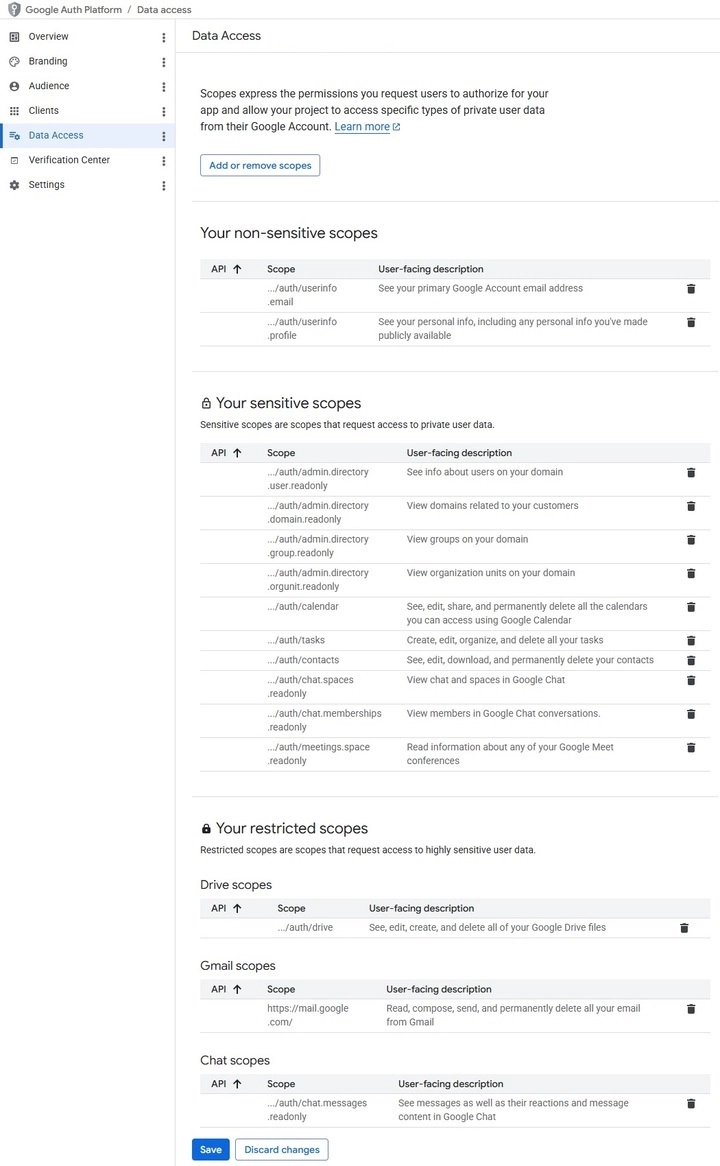
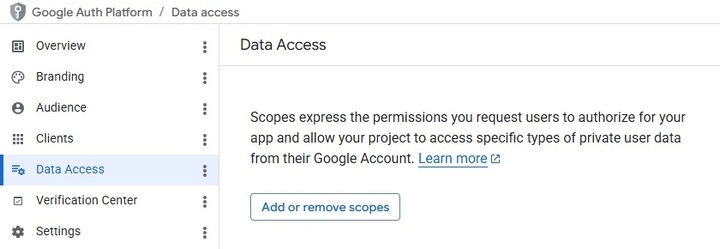
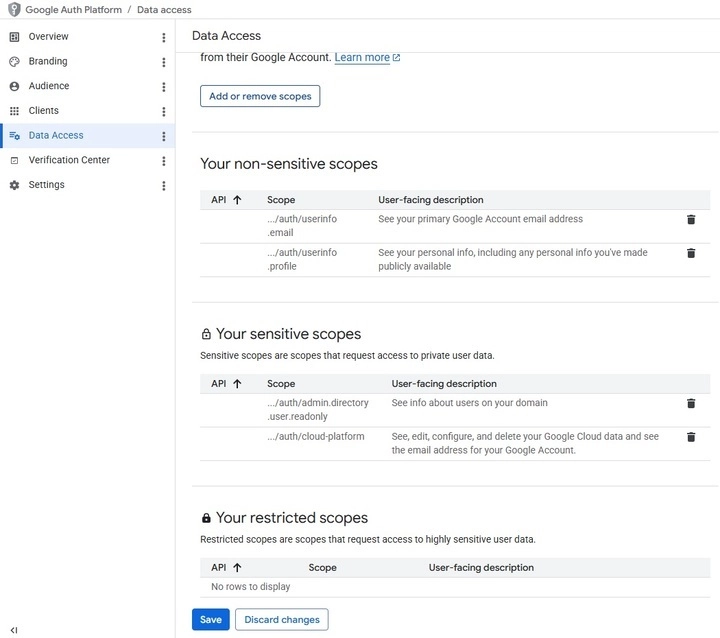
In the Data Access page click Add or remove scopes.
Make sure that the following scopes are added.
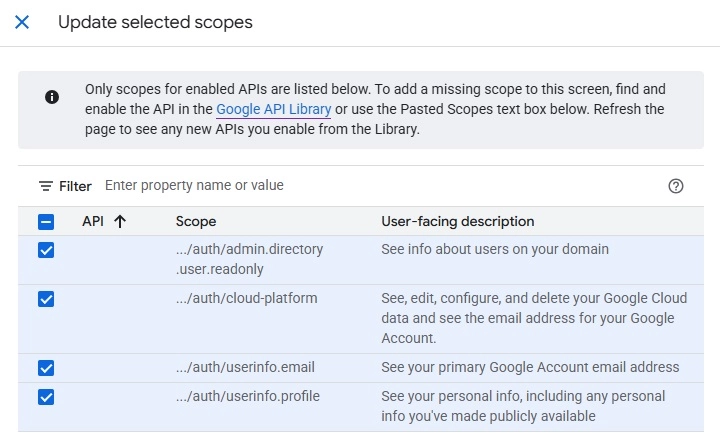
- https://www.googleapis.com/auth/userinfo.profile
- https://www.googleapis.com/auth/userinfo.email
- https://www.googleapis.com/auth/admin.directory.user.readonly
- https://www.googleapis.com/auth/cloud-platform
Click Save once done.
App for "This Google user only" backup scope
This will allow access to user services like Gmail, Drive, Calendar, Tasks, Contacts, Chat and Meet.
-
Create a new project on Google Cloud.
See instructions above on how to do this.
-
Go to APIs & Services.
-
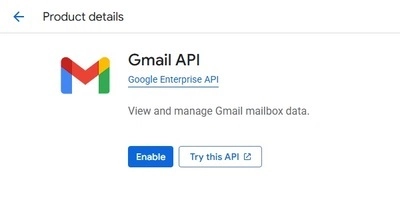
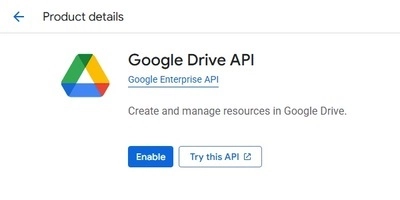
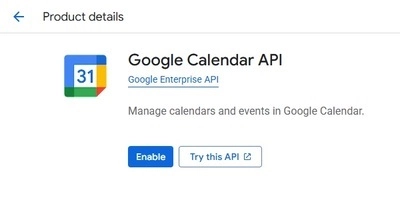
In "Enabled APIs & services" click + Enable APIs and services then search for the following APIs and enable them:
Admin SDK API
Gmail API
Google Drive API
Google Calendar API
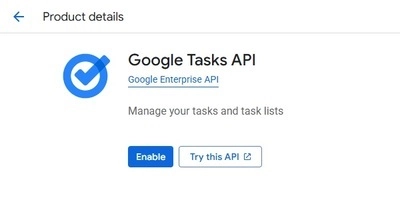
Google Tasks API
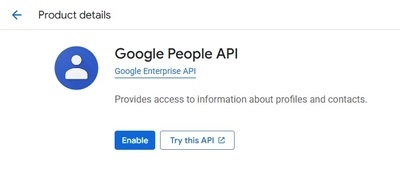
Google People API
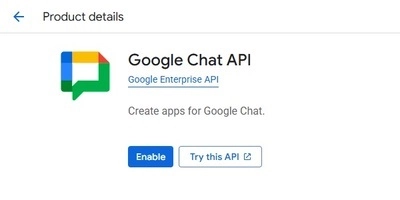
Google Chat API
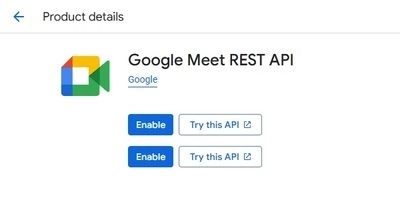
Google Meet REST API
-
In "Credentials" create an OAuth client ID. Click + Create credentials then select OAuth client ID.
Select Web application for the Application type. Enter the name and your redirect URIs, then click Create.
An example of the oauth-google-workspace.jsp file can be downloaded from here. -
The details of the OAuth client will be displayed. The Client ID and Client secret will be used in the Google Workspace Backup Customization page. Click OK once done.
-
Click the created OAuth Client ID.
-
In the Data Access page click Add or remove scopes.
Make sure that the following scopes are added.
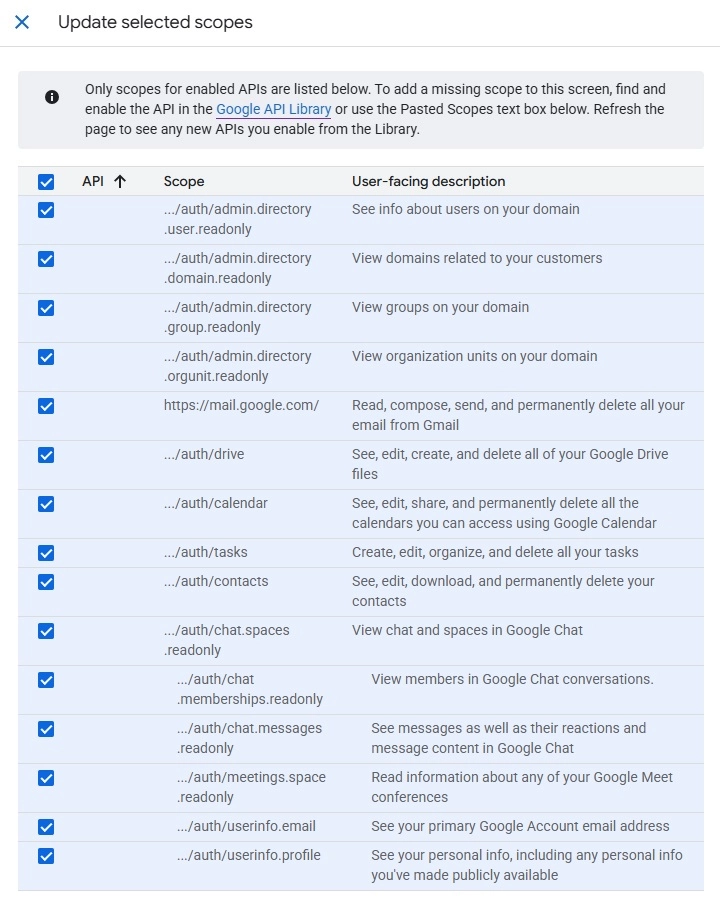
- https://www.googleapis.com/auth/userinfo.profile
- https://www.googleapis.com/auth/userinfo.email
- https://www.googleapis.com/auth/admin.directory.user.readonly
- https://www.googleapis.com/auth/admin.directory.group.readonly
- https://www.googleapis.com/auth/admin.directory.orgunit.readonly
- https://www.googleapis.com/auth/admin.directory.domain.readonly
- https://mail.google.com
- https://www.googleapis.com/auth/drive
- https://www.googleapis.com/auth/calendar
- https://www.googleapis.com/auth/tasks
- https://www.googleapis.com/auth/contacts
- https://www.googleapis.com/auth/chat.spaces.readonly
- https://www.googleapis.com/auth/chat.memberships.readonly
- https://www.googleapis.com/auth/chat.messages.readonly
- https://www.googleapis.com/auth/meetings.space.readonly
Click Save once done.