
 FAQ
FAQBranding for AhsayCBS Interface
After installing AhsayCBS, upload the graphics and customize the properties.
- Login to the AhsayCBS management console as system user.
-
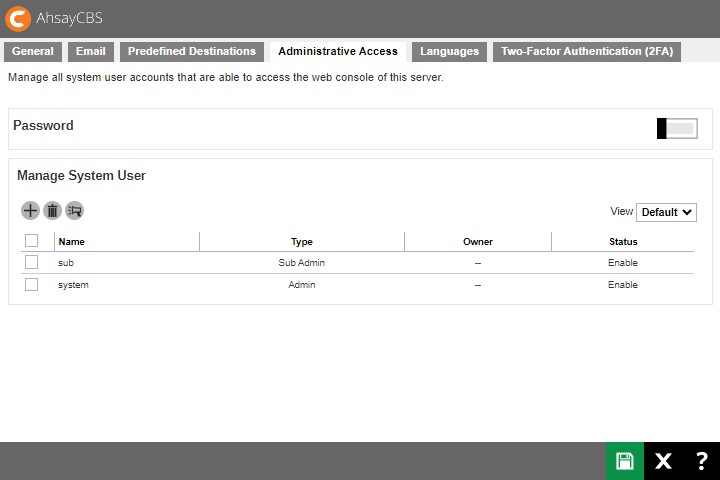
Go to System Settings > Basic > Administrative Access.
-
Click on the system user to brand the AhsayCBS.
If you are testing this feature, please create a sub admin user and test the following steps, this is because when new installers are generated, the existing installers will be overwritten with the new ones.
-
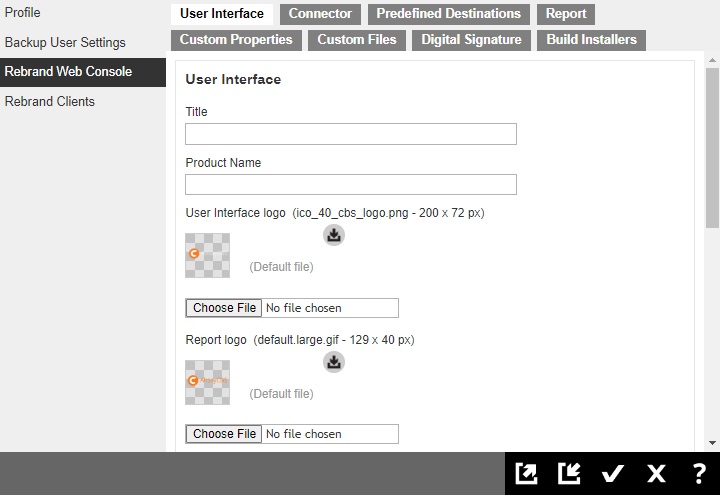
Click Rebrand Web Console on the left.
-
Enter the following fields under the “User Interface” tab.
- Title – the name to be displayed on the title bar of the browser.
- Product Name – the name to be displayed in the software license page.
- Download link for iOS app – the URL link directs users to iOS App Store to download Ahsay Mobile.
- Download link for Android app – the URL directs users to Android Google Play to download Ahsay Mobile.
- Upload the branding image for the AhsayCBS interface. Please refer to the branding image specifications listed on the Image Specifications section, you can download the default logo/icon for reference.
-
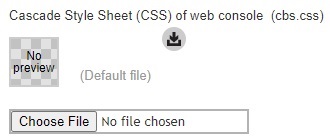
At the bottom of this page, you can upload the ”Cascade Style Sheet (CSS)” for the AhsayCBS interface.
-
Click the Connector tab if you need to change the connector settings and SSL settings. These settings will be applied to your new installers.
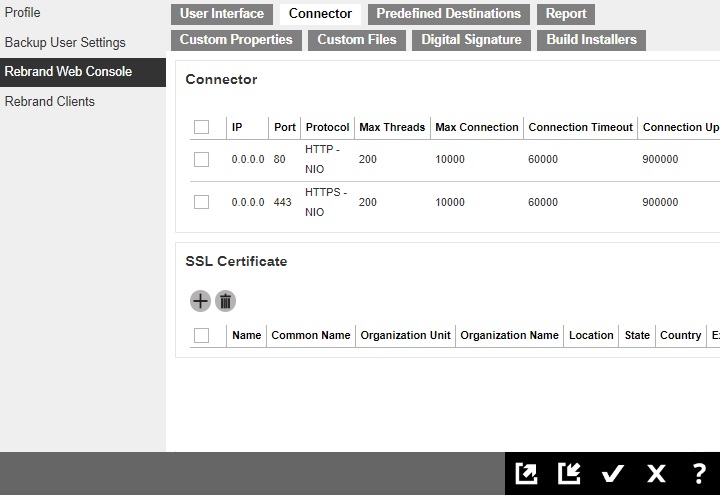
If you will generate the AhsayUBS installer, please reserve the port 8080 for the AhsayUBS web admin interface.
-
Click the Predefined Destinations tab if you need to customize the application name for standard destinations or the credentials for Cloud storage. Please refer to Customize Application Name for instruction.
OpenStack, Local, AhsayCBS and Destination Pool destinations cannot be customized.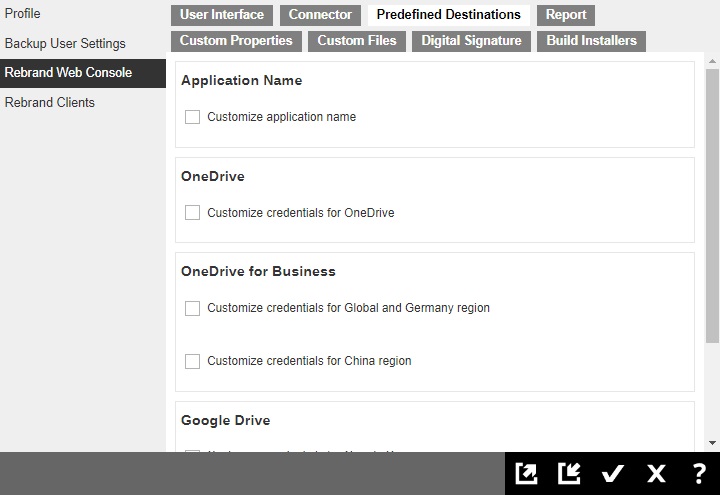
-
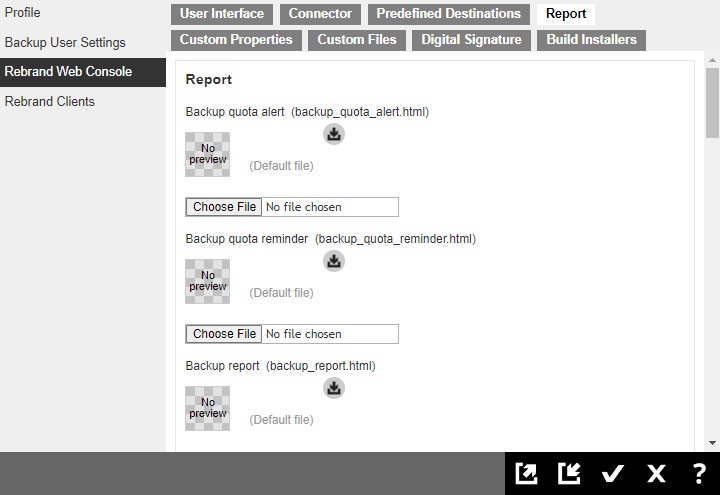
Click the Report tab if you want to modify the HTML template. These templates will be applied to your new installers.
-
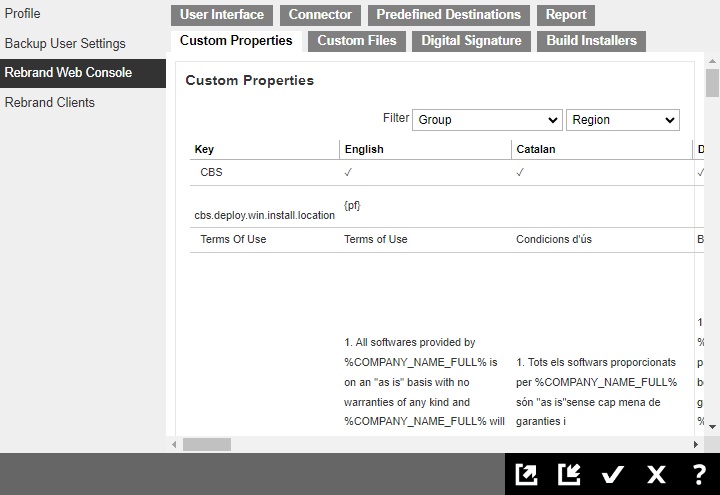
Click the Custom Properties tab if you want to modify the properties of the AhsayCBS. These properties will be applied to your new installers.
-
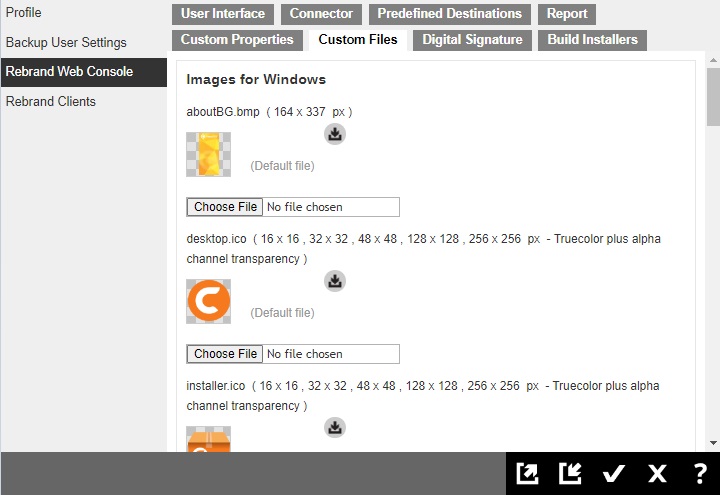
Click the Custom Files tab. Upload the branding image for the AhsayCBS installer/AhsayUBS image file. Please refer to the branding image specifications listed on the Image Specifications section, you can download the default logo/icon for reference.
-
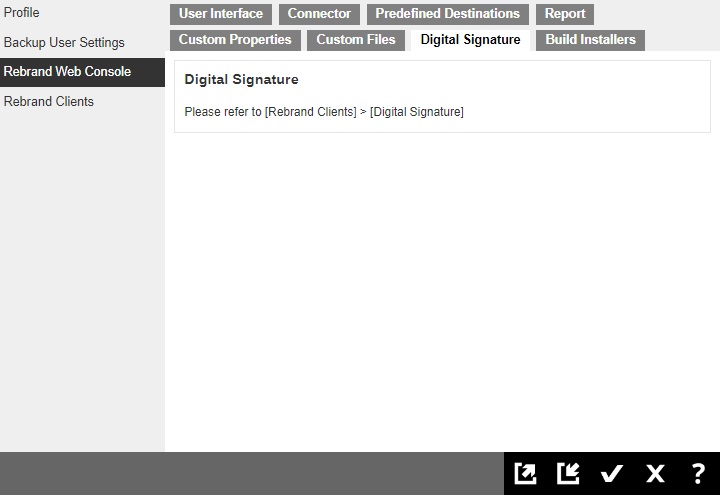
If you have uploaded the digital signature in Rebrand Clients > Digital Signature, it will be applied to your new Windows installer.
-
Click the Build Installers tab. Select the Build Target platform to generate the installer(s).
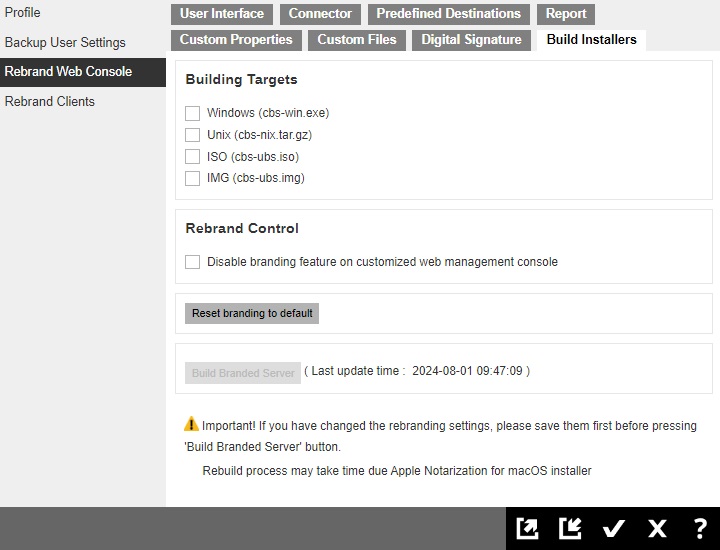 Before selecting the UBS build targets, it is suggested to first build and try the branded CBS installer to verify the branding are correct.
If you wish to rebrand the AhsayCBS to resellers using your own branding and to prevent resellers from knowing the software is from Ahsay and changing the branding, you can check the “Disable branding feature on customized web management console” checkbox. With this feature enabled, the Rebrand Web Console and Rebrand Clients sections in the web management console of the CBS installer to be generated will be disabled. In that case, backup users will not see any Rebrand parameters with Ahsay wording.

- Click OK and Save to save all the settings before generating the installer.
-
Go back to the Build Installers tab, click the Build Branded Server button to generate new AhsayCBS installer or AhsayUBS image file.
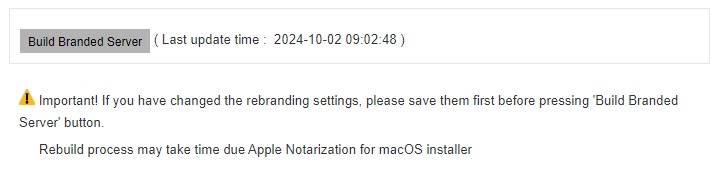 The installer generation process could take around 30 to 90 minutes for each chosen target to build and download. The generation time would depend on the traffic condition on the customization portal. The size of each build for download can be between 800MB to 1GB.
 -
You can download the branded AhsayCBS installer from the download page.

-
In case there are any problems when building the installer, click the Download Log button to see the logs.
By clicking on the Download Log button, you can download the branding log file “cbs-log.zip” and you can look at the log to troubleshoot the branding issue