How-To
Run a Cloud File Backup Job on AhsayACB
Run a Cloud File Backup Job
Click the Backup icon in the main interface of AhsayACB.
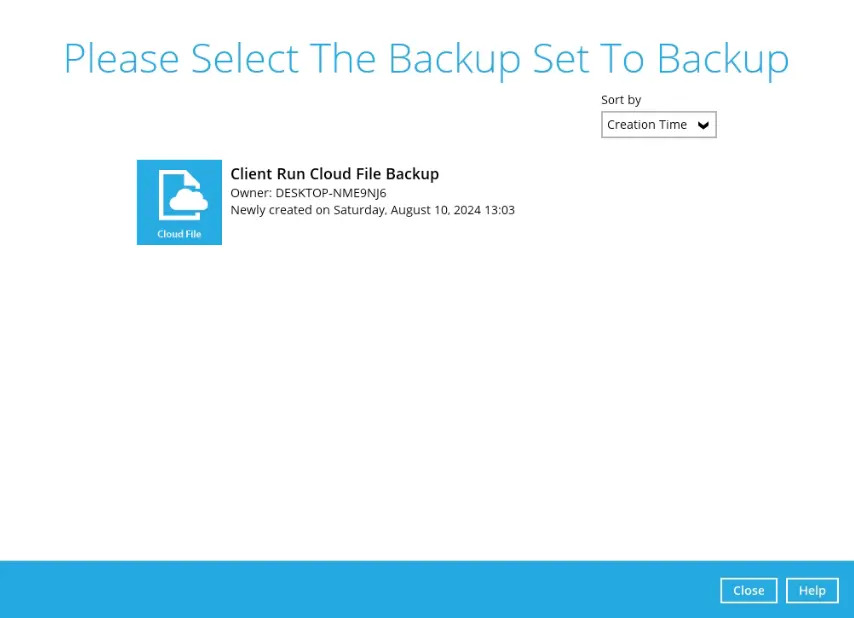
Select the backup set which you would like to start a backup on.
You can modify the Destinations and Migrate Data options.
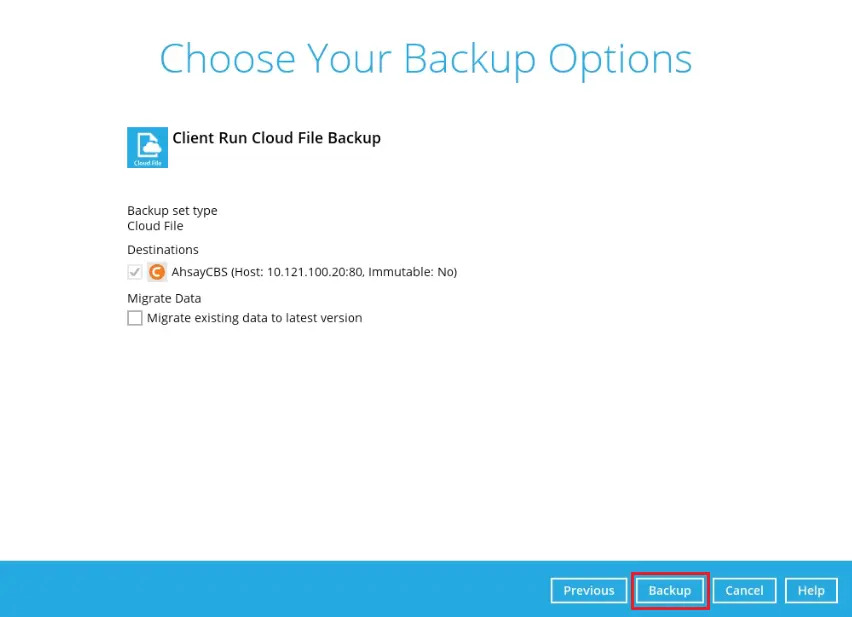
The “Migrate Data” option will only be displayed if Deduplication is enabled for the backup set. When the “Migrate Data” option is enabled, the existing data will be migrated to the latest version during a backup job. Backup job(s) for backup sets with “Migrate Data” enabled may take longer to finish. For more information about this feature, refer to AhsayCBS v9 New Features Datasheet.
It is also recommended to enable the “Run Retention Policy after backup” as this will help you save hard disk quota in the long run.
After configuring the settings, click Backup to start the backup job and wait until it is finished.
The following screen will be displayed once the backup job is successfully complete.
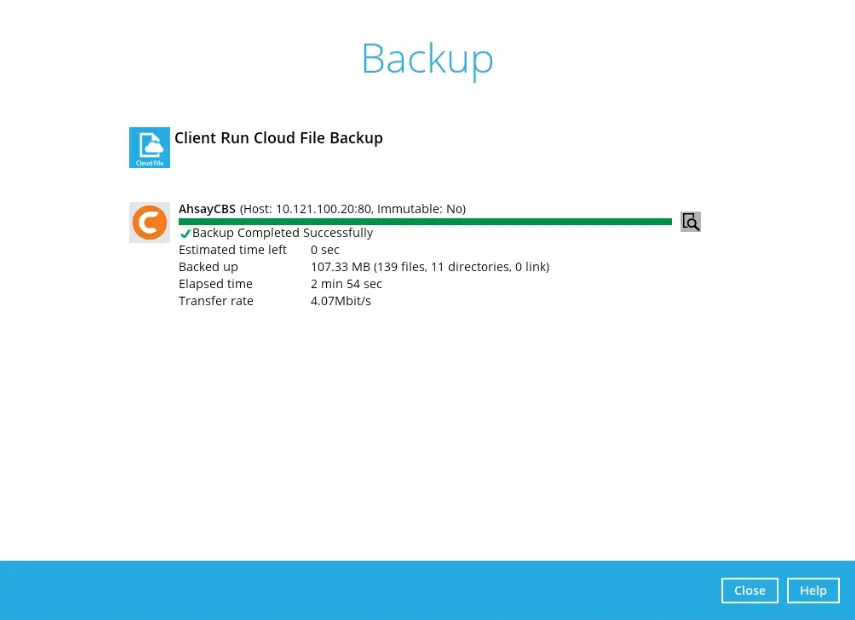
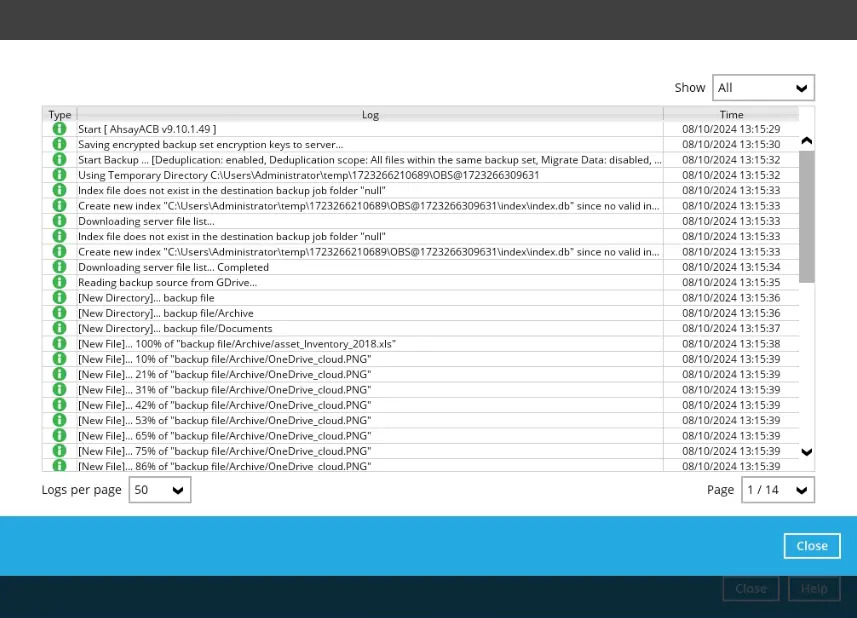
You may click the Search button to check for the backup log. This will display the backup job process with the corresponding date and time.
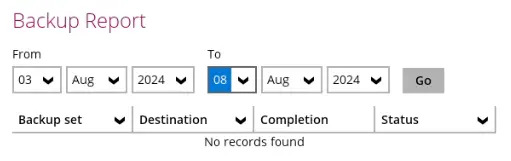
In order to view the backup report, go back to the main interface and click the Report icon.
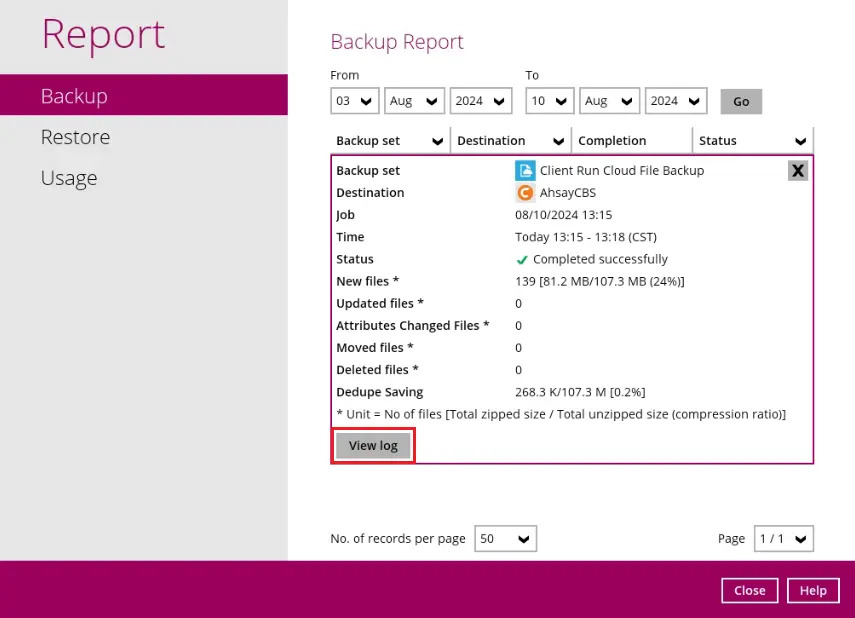
In the “Backup Report” screen, you will be able to see the backup set with corresponding destination, completion date and time, and status.
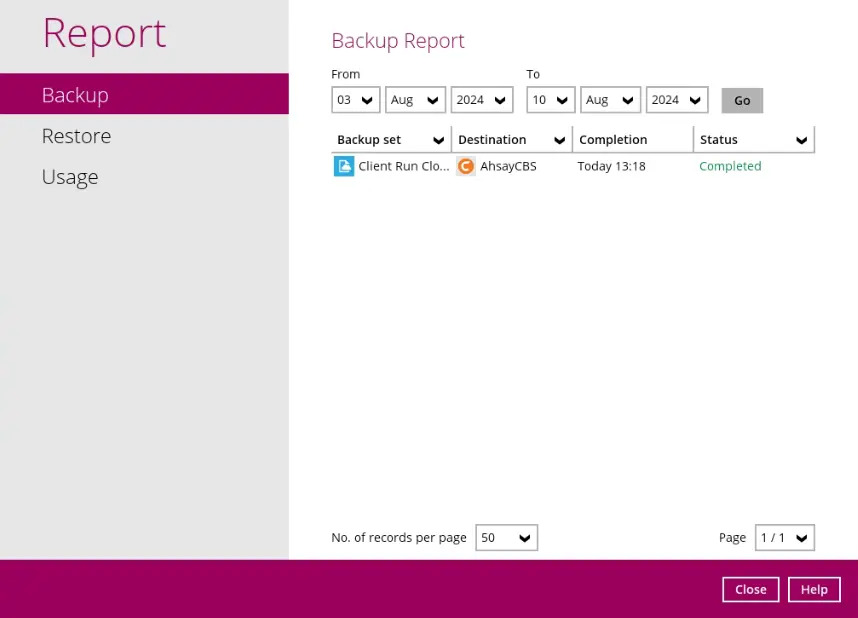
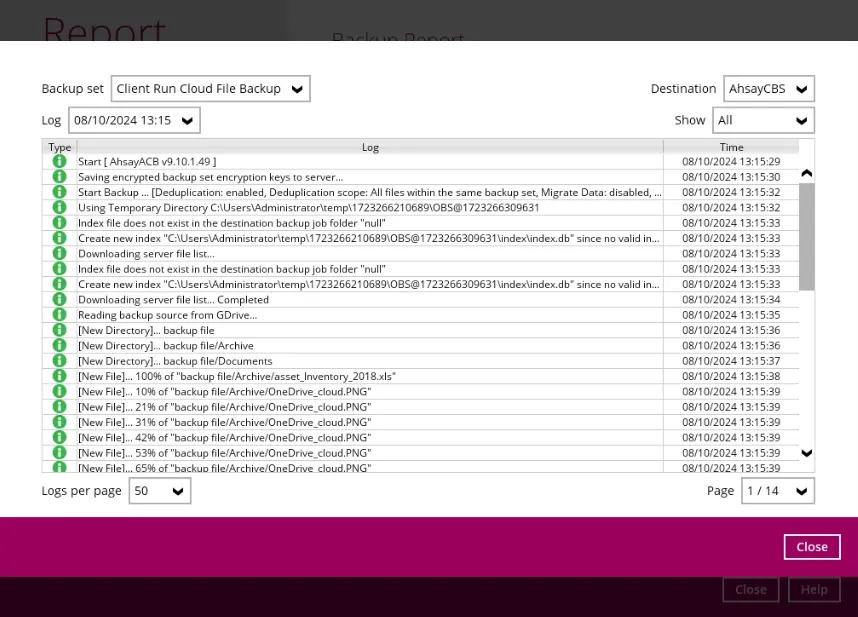
Click the backup report to display the summary of the backup job. You can also click the View log button that will redirect you to the log summary of your backup.
You can also search for backup reports from a specific period of date. For example, we have the "From" date which is 03 Aug 2024 and the "To" date which is 08 Aug 2024. Click the Go button to generate the available reports.
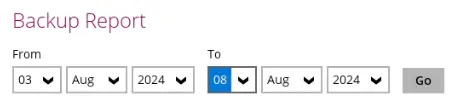
If this is a valid date range, then backup reports will be displayed unless there were no backup jobs that ran on the specified dates. A message of "No records found" will be indicated.