How-To
Microsoft 365 Restore on AhsayOBM using QNAP NAS
-
Click the Restore icon on the main interface of AhsayOBM.
-
Select the backup set and destination.
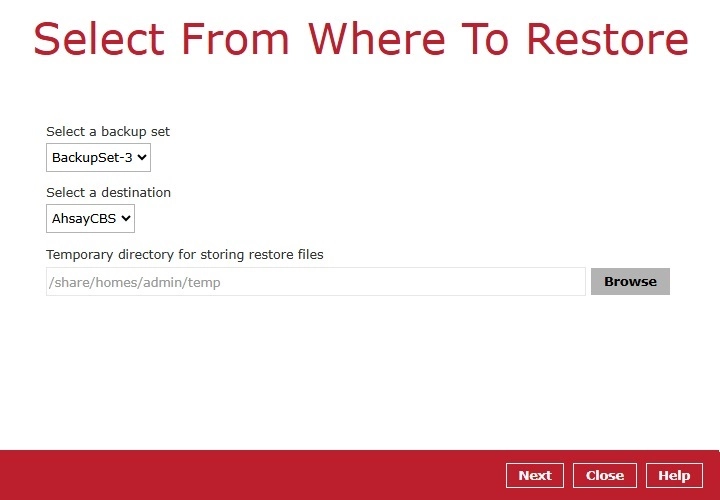
You may configure the "Temporary directory for storing restore files" by clicking Browse. This will allow you to select the directory that will be used to store temporary files.

-
The screen that will be displayed will depend on the type of account used during authentication, either business or personal account:
-
If a business account is used, select to restore from Users, Teams, SharePoint Sites or Public Folders.
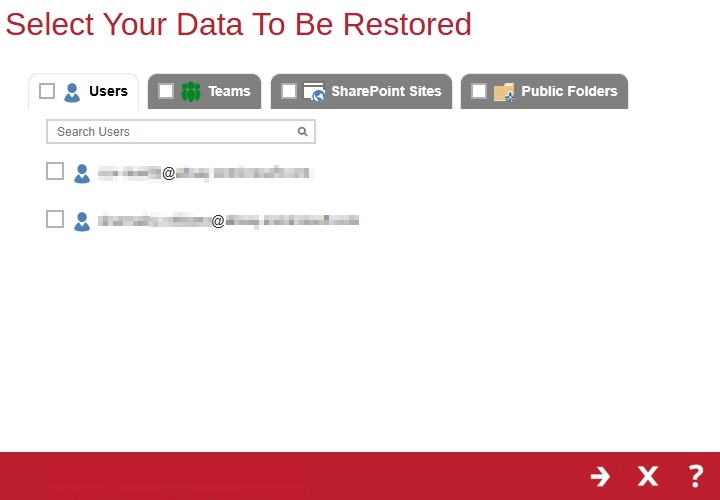
Choices for data to be restored will depend on the data that was backed up.
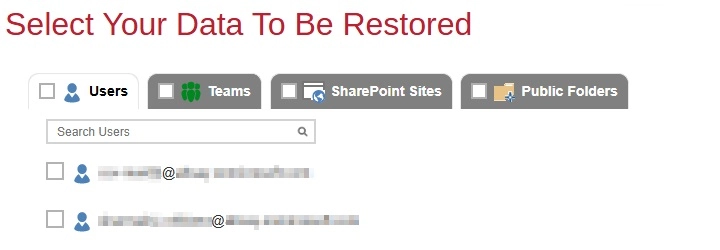
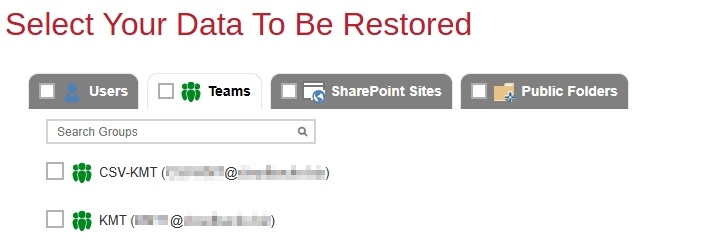
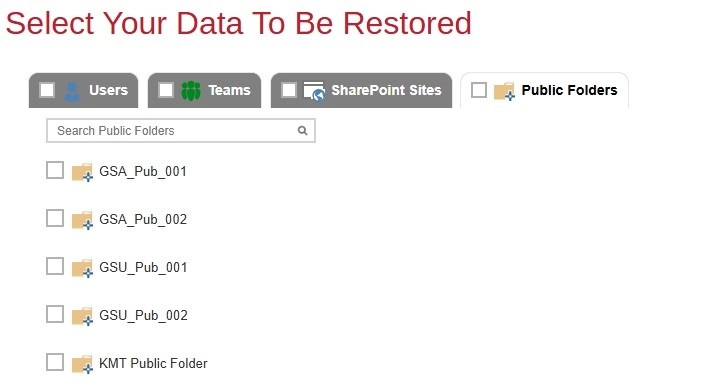
Here are samples of the screen that will be displayed for each data:
-
You may tick the checkbox beside "Users" if you want all the users to be selected or you may select individual users to be restored.
-
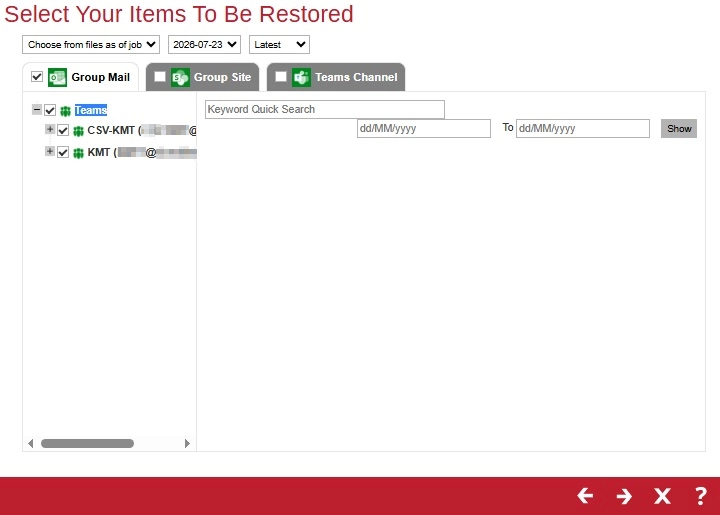
You may tick the checkbox beside "Teams" if you want all the groups to be selected or you may select individual groups to be restored.
-
You may tick the checkbox beside "SharePoint Sites" if you want all the sites to be selected or you may select individual sites to be restored.
-
You may tick the checkbox beside "Public Folders" if you want all the folders to be selected or you may select individual folders to be restored.
-
-
If personal account is used, only Users and Public Folders will be available for restore.

-
-
Select the item(s) you would like to restore. You can also choose to restore backed up items from a specific backup job.
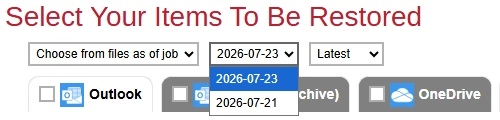
The screen that will be displayed for each data will be different:
Users
-
If the checkbox beside Outlook is ticked, then all the items under "Outlook" will be restored.
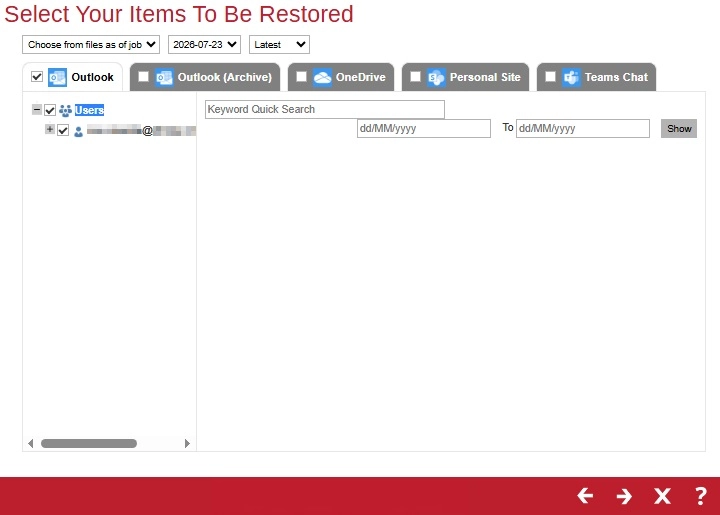
-
Items can be filtered according to keyword and/or received date. Set the From and To dates of the items, then click the Show button.
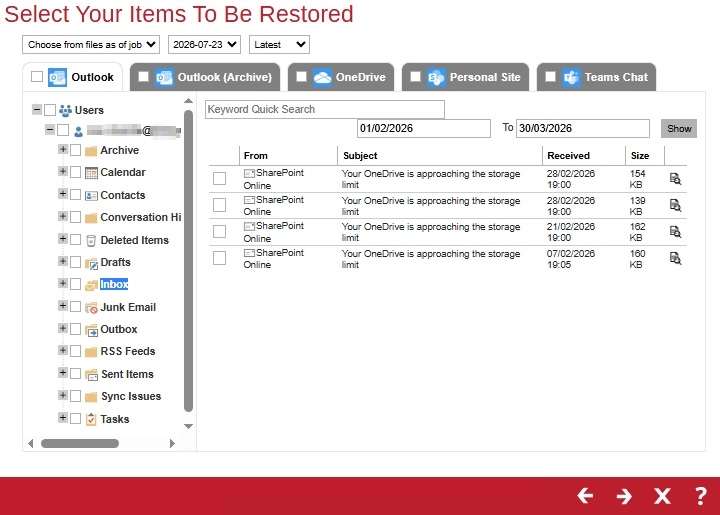
-
Specific items can be selected to be restored. There is a preview function that allows you to view the content so you can check if you want to restore it.
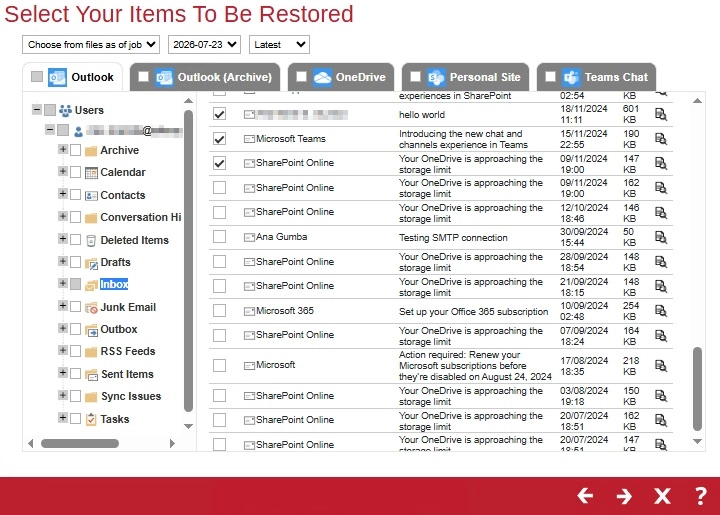
To do this, click the "magnify" button. In the "Preview Email" window, you can restore and download the email by clicking Quick Download.
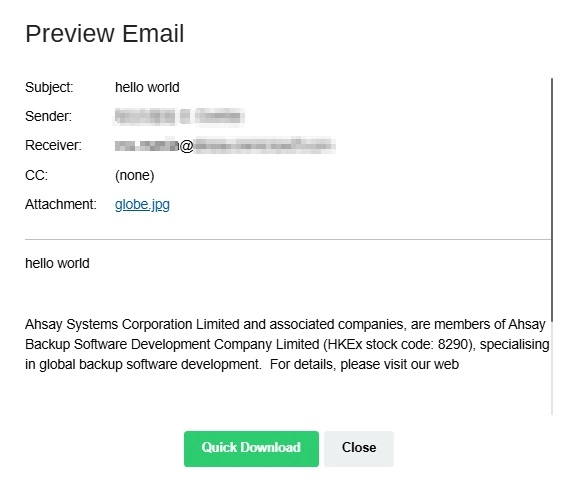
Enter the path where the email will be restored then click Continue.
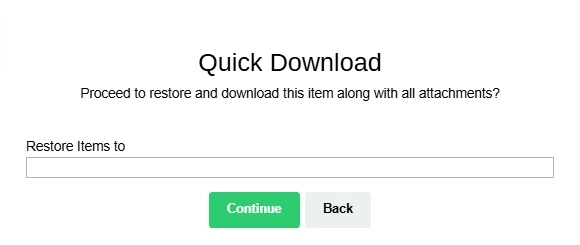
You can also download just the attachment by clicking on the attachment itself. Enter the path where the attachment will be restored then click Continue to proceed.

- Click Close once done.
-
-
If the checkbox beside Outlook (Archive) is ticked, then all the items under "Outlook (Archive)" will be restored.
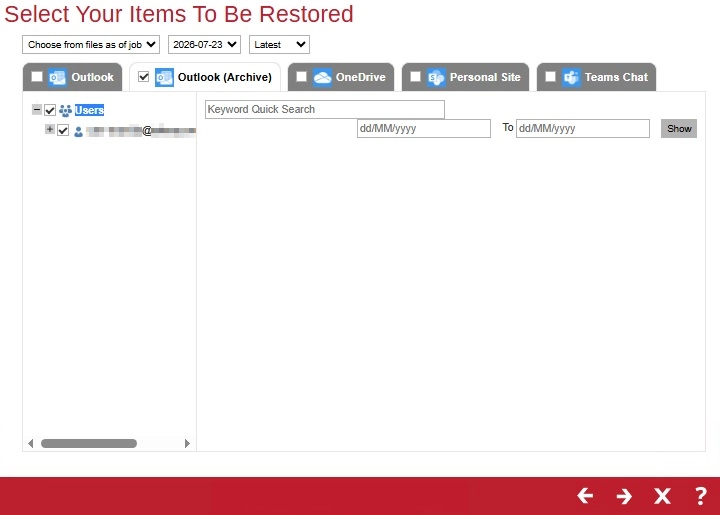
Please refer to the Outlook section for more detailed instructions.
-
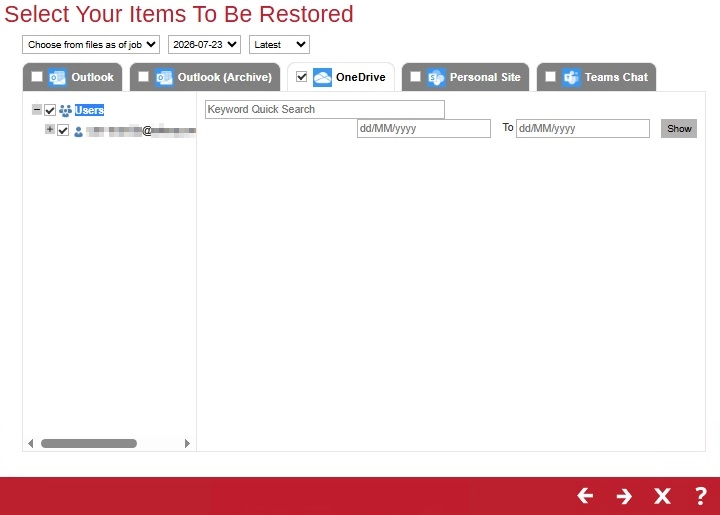
If the checkbox beside OneDrive is ticked, then all the items under "OneDrive" will be restored.
-
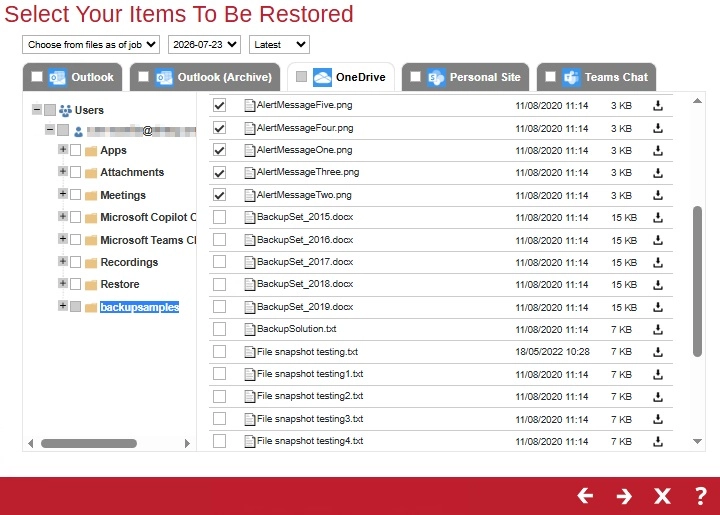
Specific items can be selected. There is a download function that will let you download the item directly.
-
Click the "download" button to download the item. Enter the location where to restore the items, then click Continue to start the download and restore. Click Close once done.
-
-
If the checkbox beside Personal Site is ticked, then all the items under "Personal Site" will be restored.
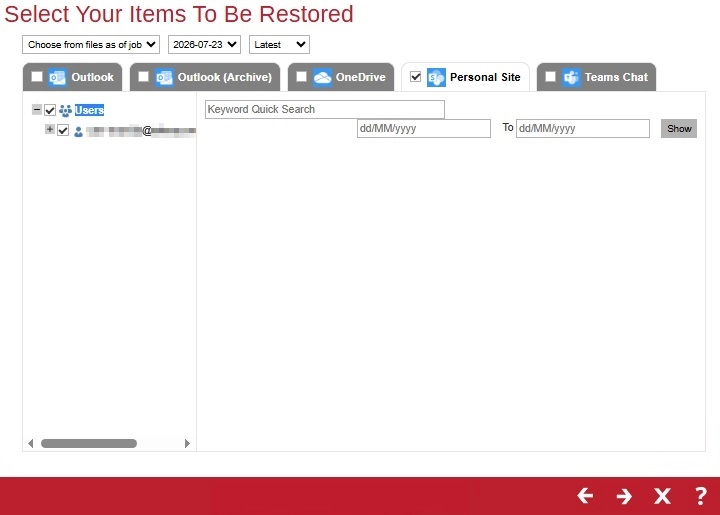
Specific items can also be selected to be restored. There is a preview function that will let you see the content so you can check if you want to restore the item. For instructions on how to use the preview function please refer to the instructions discussed above.
-
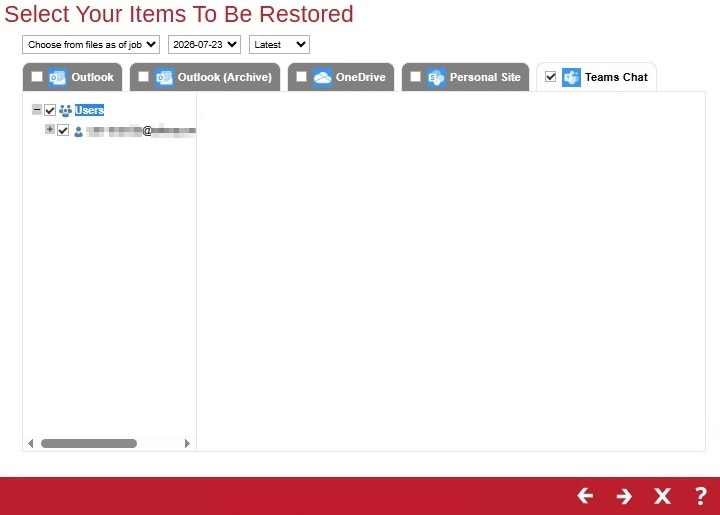
If the checkbox beside Teams Chat is ticked, then all the items under "Teams Chat" will be restored.
-
Specific items can also be selected to be restored. There is a download function that will let you download the item directly. Click the Quick Download (HTML) link.
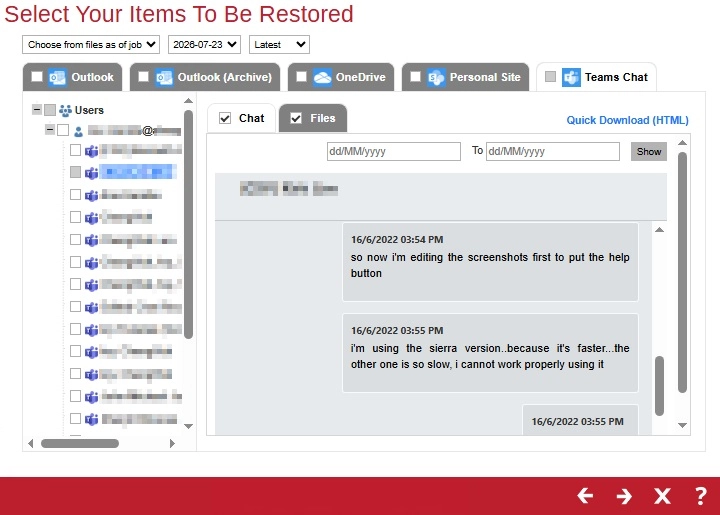
Teams Chat will not be restored to the original thread. Instead, it will only be restored as data export in HTML format stored in the local machine or OneDrive.
-
Enter the path and click Continue to start the download and restore.
- Click Close once done.
- Click Next to proceed.
-
Teams
-
If the checkbox beside Group Mail is ticked, then all the items under "Group Mail" will be restored.
-
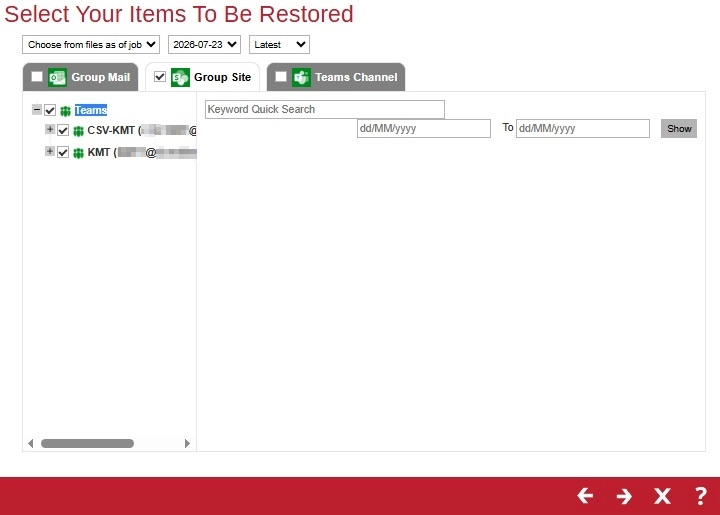
If the checkbox beside Group Site is ticked, then all the items under "Group Site" will be restored.
-
If the checkbox beside Teams Channel is ticked, then all the items under "Teams Channel" will be restored.
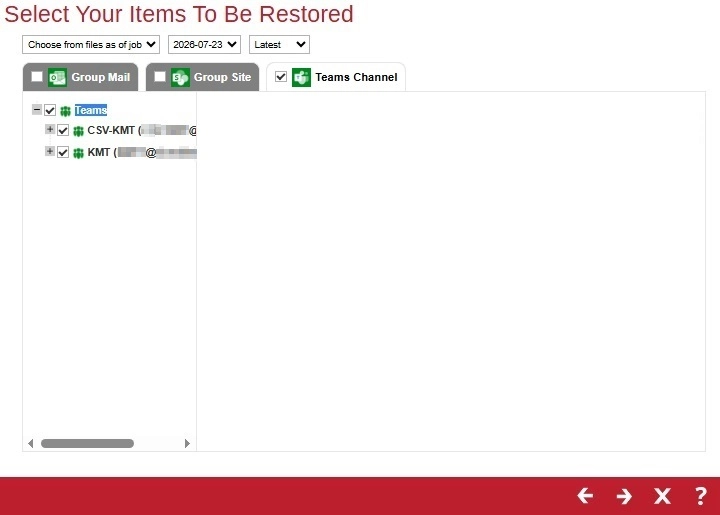
Specific items can be selected to be restored. There is a preview function that will let you see the content so you can check if you want to restore the item. There is also a download function that will let you download the item directly. For instructions on how to use the preview/download function please refer to the instructions discussed above.
Posts in Teams Channel will not be restored to the original thread. Instead, it will only be restored as data export in HTML format stored in the local machine or OneDrive.
SharePoint
If the checkbox beside SharePoint Sites is ticked, then all the items under "SharePoint Sites" will be restored.
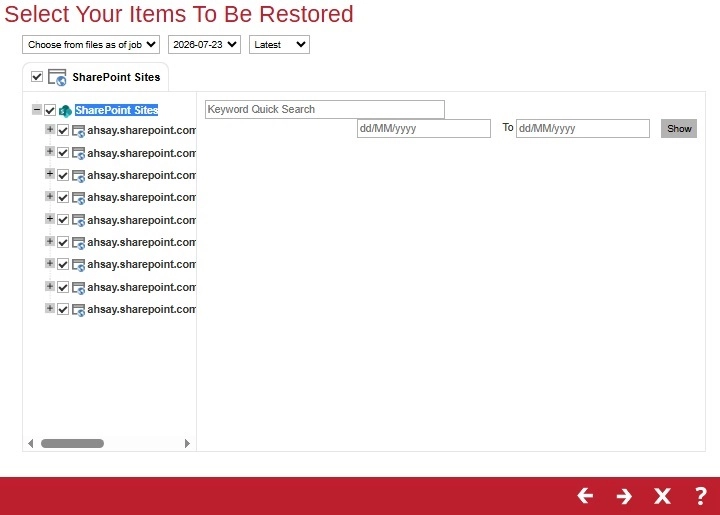
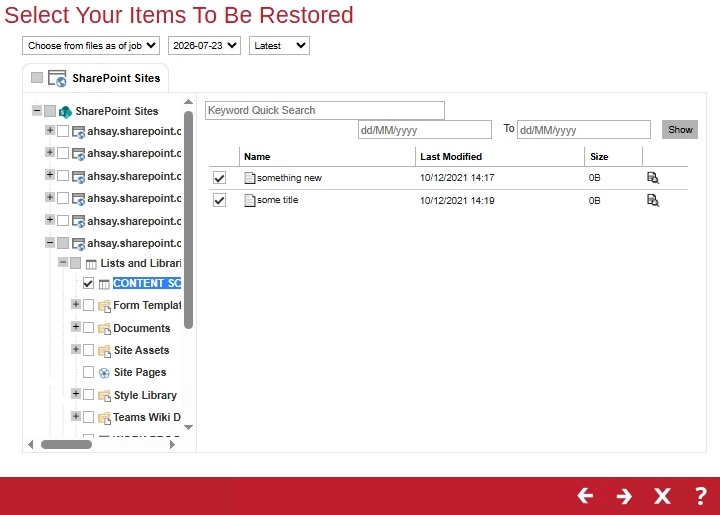
Specific items can also be selected to be restored. There is a preview function that will let you see the content so you can check if you want to restore the item. For instructions on how to use the preview function please refer to the instructions discussed above.
Public Folders
If the checkbox beside Public Folders is ticked, then all the items under "Public Folders" will be restored.
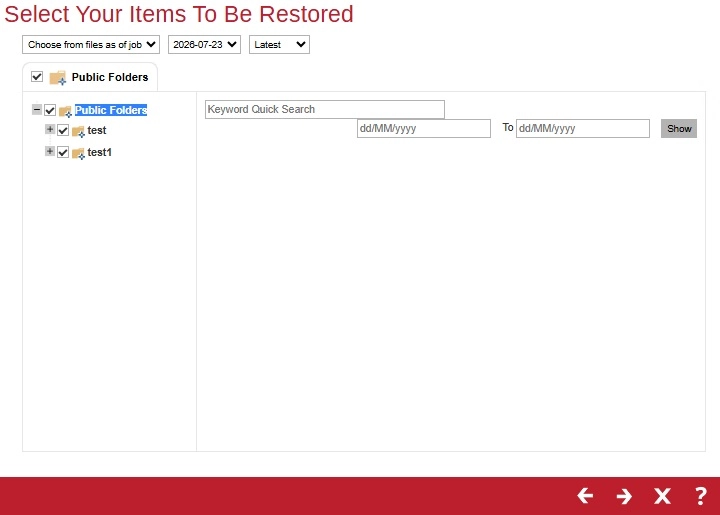
Select the items to be restored. There is a download function that will let you directly download the item. For instructions on how to use the download function please refer to the instructions discussed above.
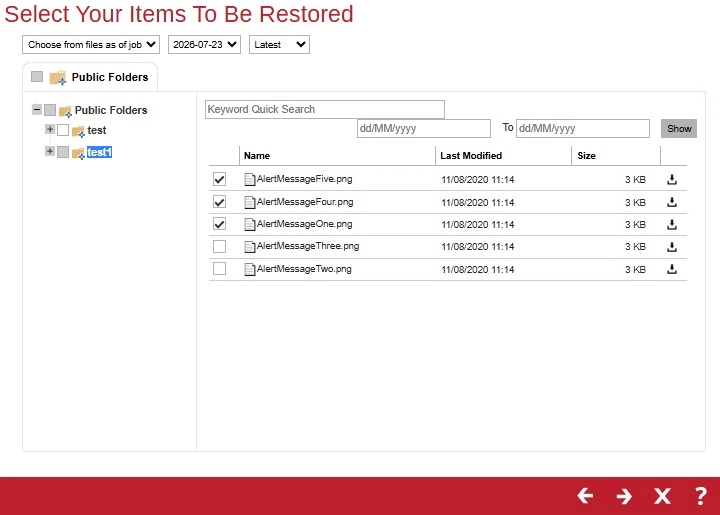
Click Next to proceed when you are done with the selection.
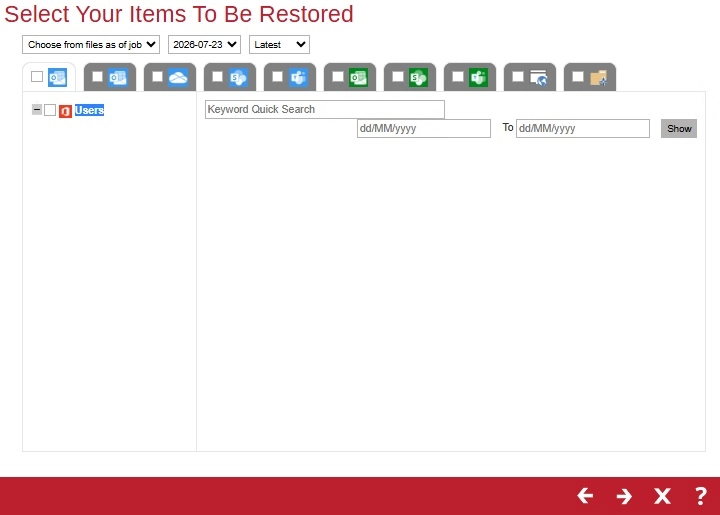
If all the data types are selected to be restored, then all the tabs will be available for selection.
-
-
Select the location where the items will be restored.
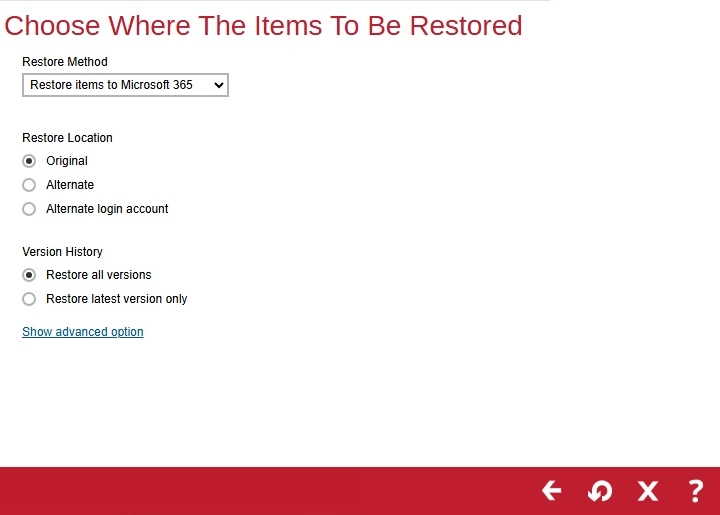
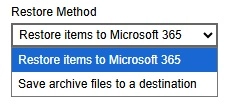
The choices for the restore location that will be displayed depends on the account type used during authentication, data and restore method selected. There are two restore methods available: Restore items to Microsoft 365 and Save archive files to a destination.
-
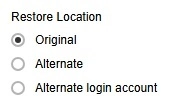
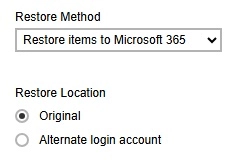
If Restore items to Microsoft 365 is selected, there are three options for the restore location:
Original
-
To restore to original location, select Original.
-
Select the version history, whether Restore all versions or Restore latest version only.
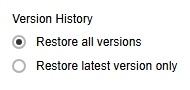
Version History will only be available if restoring data from OneDrive, Personal Site, Group Site and Site Collections.
-
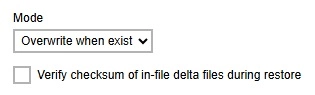
Click Show advanced option to configure other restore settings.
-
Mode
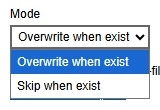
There are two choices for the mode:
-
Overwrite when exist
If the data that you will restore is already available in the Microsoft 365 account, then you have a choice to overwrite the existing data.
-
Skip when exist
If the data that you will restore is already available in the Microsoft 365 account, then you have a choice to skip and move to the next one.
-
-
Verify checksum of in-file delta files during restore
By enabling this option, the checksum of in-file delta files will be verified during the restore process. This will check the data for errors during the restore process and create a data summary of the in-file delta files which will be included in the report.

-
-
Click Next to proceed.
For backup sets where personal account is used for authentication, there will only be two restore locations available for selection. These are: Original and Alternate login account.
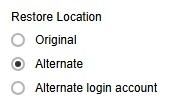
Alternate
-
Select Alternate to restore to an alternate location.
To configure other restore settings please refer to the instructions discussed above.
- Click Next to proceed.
-
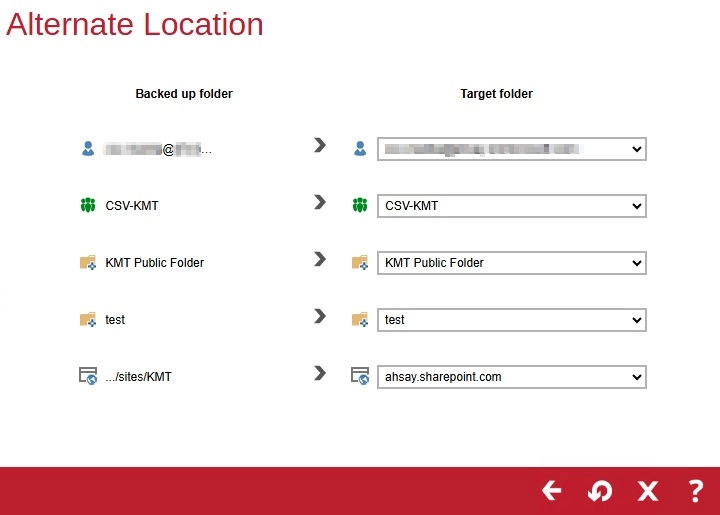
Select the target folder then click the Restore button to start the restoration.
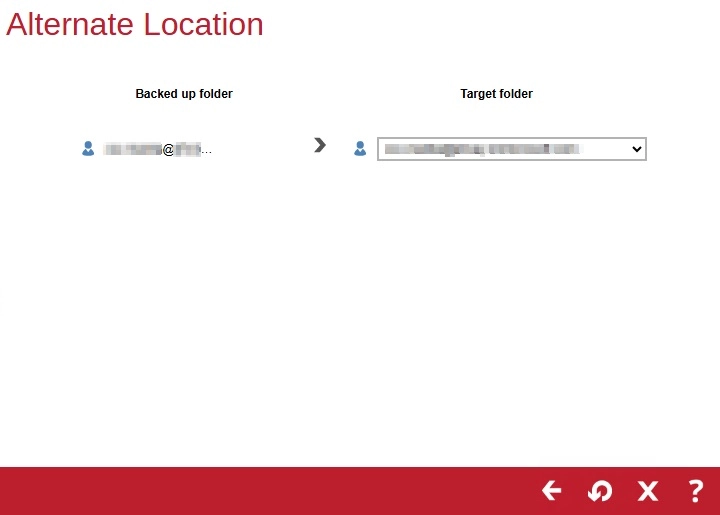
Alternate Login Account
-
To restore to an alternate login account, select Alternate login account.
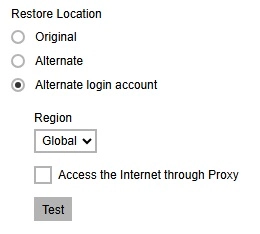
- Click Test.
-
Click Authorize.
-
Login to your Microsoft 365 account then copy and paste the authorization code then click OK.
To configure other restore settings please refer to the instructions discussed above.
Click Next to proceed.
-
Select the target folder then click the Restore button to start the restoration.
-
-
If Save archive files to a destination is selected, there are three options for the restore location:
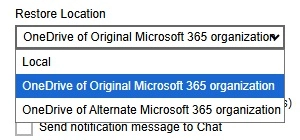
- Local
- OneDrive of Original Microsoft 365 organization
- OneDrive of Alternate Microsoft 365 organization
For SharePoint Sites and Public Folders, the only restore location that will be available for selection is Local.
While for Teams Chat and Teams Channel, the only restore method that will be available is Save archive files to a destination.
Local
-
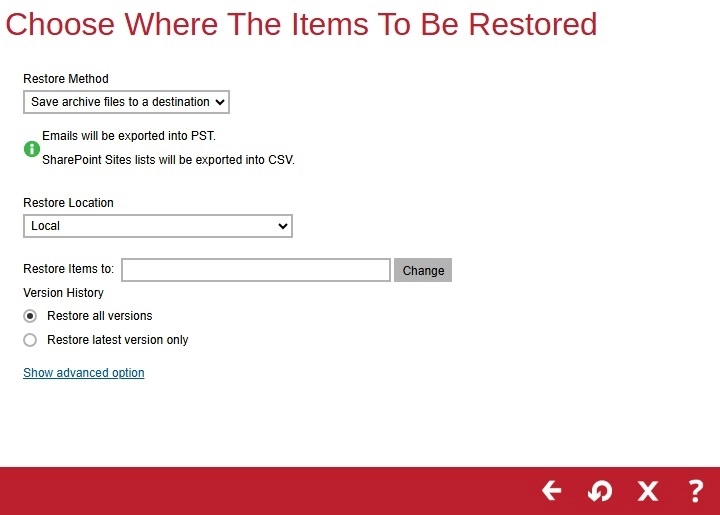
Restore to local is available for all data types. To restore to local, select Local.
-
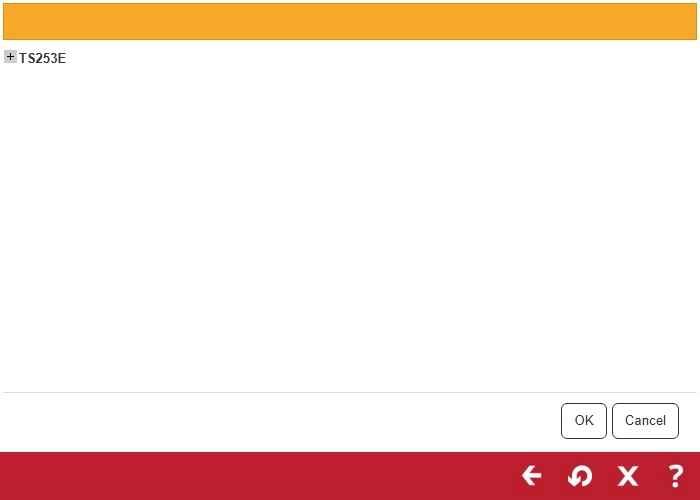
Click the Change button to select the path where the items will be restored. Click OK once done.
-
Select the version history, whether Restore all versions or Restore latest version only.
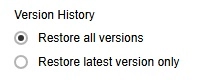
Version History will only be available if restoring data from OneDrive, Personal Site, Group Site and Site Collections.
-
To configure other restore settings click Show advanced option.

Verify checksum of in-file delta files during restore
By enabling this option, the checksum of in-file delta files will be verified during the restore process. This will check the data for errors during the restore process and create a data summary of the in-file delta files which will be included in the report.
- Click Restore to start the restoration process.
OneDrive of Original Microsoft 365 Organization
Restore to OneDrive of Original Microsoft 365 organization is only available for the following data types: Users, Teams, and Public Folders.
-
Select OneDrive of Original Microsoft 365 organization from the dropdown menu.
Users can be notified if an item is restored to their OneDrive. You can opt to send the notification message by email and/or to Teams Chat.
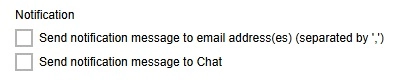
If you prefer to send the notification by email, provide the email address where it will be sent. You can provide several email address(es) by separating it with a comma.

- To configure other restore settings please refer to the instructions above.
- Click Next to proceed.
-
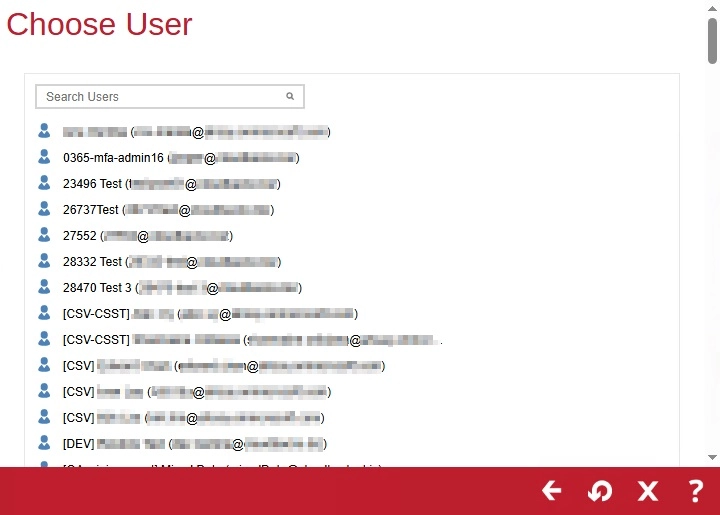
Select the user then click the Restore button to start the restoration.
OneDrive of Alternate Microsoft 365 Organization
Restore to OneDrive of alternate Microsoft 365 organization is only available for the following data types: Users, Teams, and Public Folders.
-
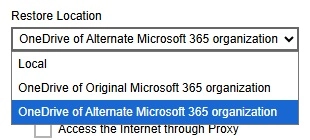
Select OneDrive of Alternate Microsoft 365 organization from the dropdown menu.
- To configure notification settings please see instructions above.
- Click Test.
- Click Authorize.
- Login to your Microsoft 365 account then copy and paste the authorization code, then click OK.
- Click Next to proceed.
-
Select the user from the alternate Microsoft 365 organization then click the Restore button to start the restoration.
-
-
The following screen will be displayed after the restore process is complete.