How-To
Create a Cloud File Backup Set on AhsayOBM using QNAP NAS
-
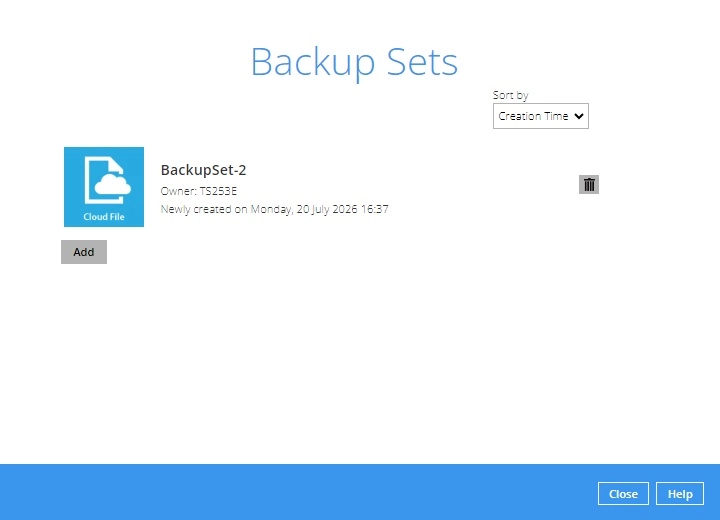
Click the Backup Sets icon on the AhsayOBM main interface.
-
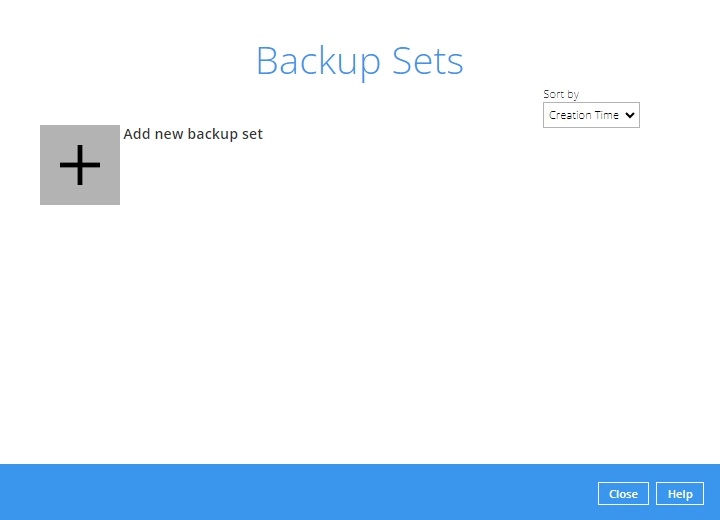
Create a new backup set by clicking the + icon next to "Add new backup set".
-
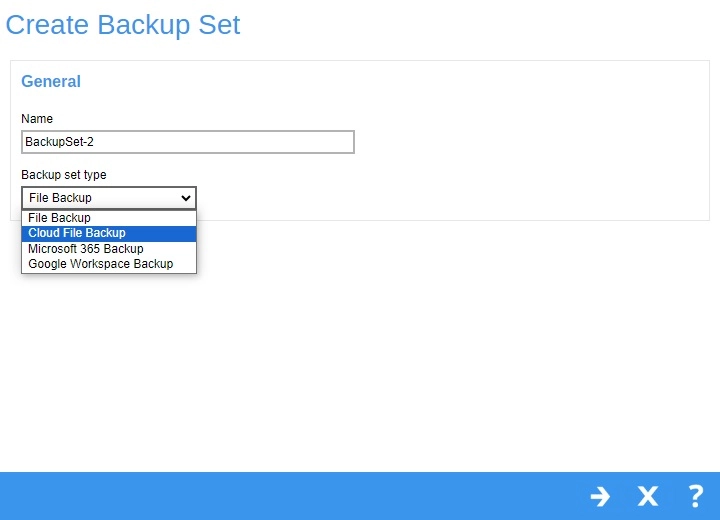
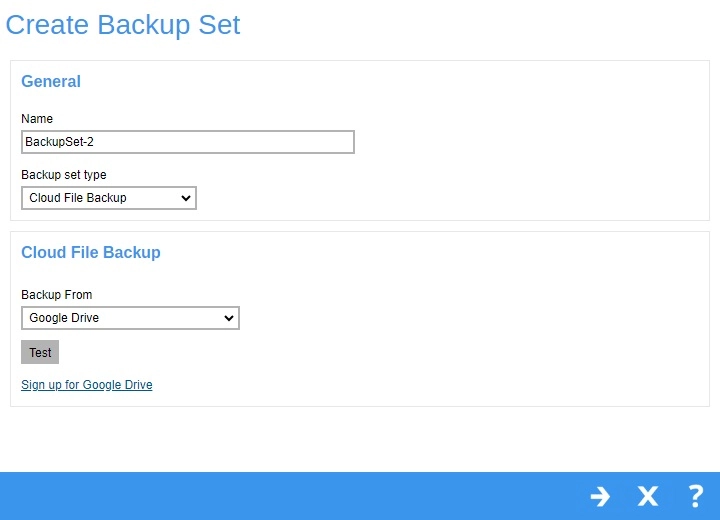
Enter a name for your backup set and select Cloud File Backup as the "Backup set type".
-
Select the "Cloud type" of the cloud storage that contains the data that you want to back up. For example, Google Drive.
-
Depending on the cloud type you have selected, you will be prompted to enter the cloud service login details.
Click Test to get redirected to the login page of the cloud service provider on your default browser, then enter the login details there.
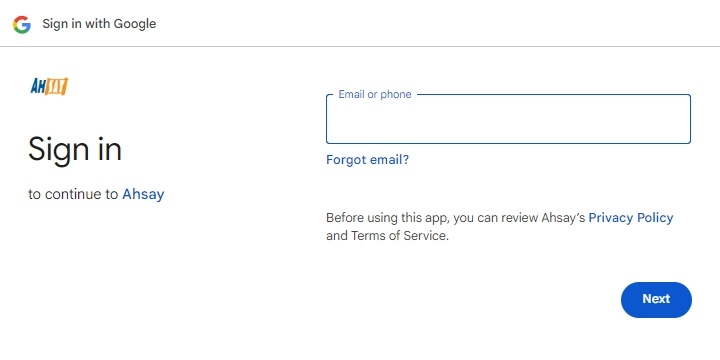
The authentication request will open in a new tab or window. Ensure that the pop-up window is not blocked, and pop-up blocker is disabled in your browser.
-
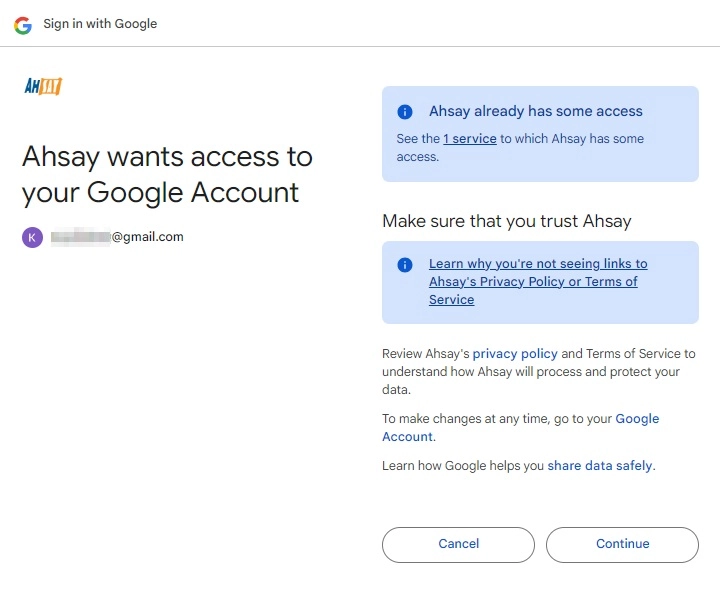
Click Continue to permit AhsayOBM to access the cloud storage.
-
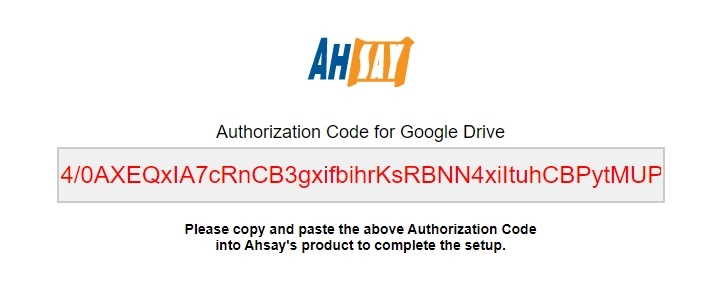
Copy and paste the code generated by the cloud service provider to AhsayOBM, then click OK to confirm.
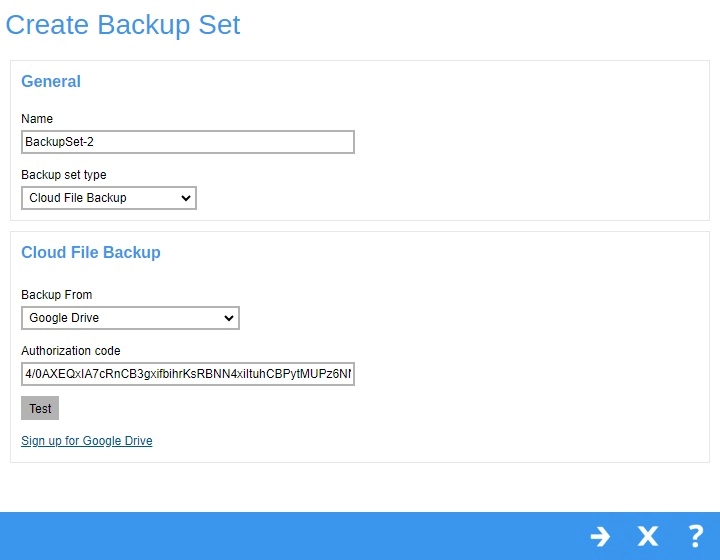
Click Next to proceed.
-
In the "Advanced Backup Source" window, select the files and/or folders that you would like to back up. Click Next to proceed.
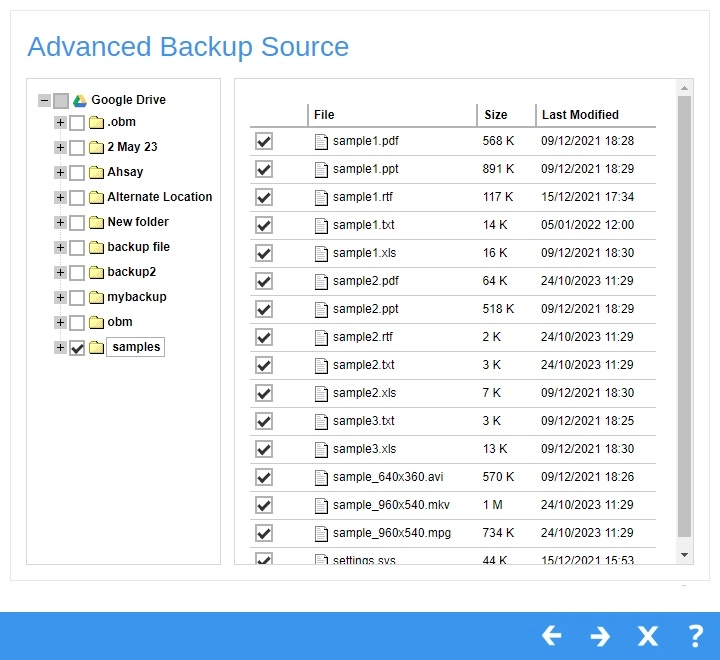
Certain tweaks have been made to the backup set creation process for the Dropbox Cloud type that changes the available files / folders as sources for the backup set depending on the account type used to make the backup set.
For more information, please refer to Dropbox Backup Set in the Appendix section.
-
In the "Schedule" window, configure a backup schedule for backup job to run automatically at your specified time interval. Enable by sliding the switch to the right, to add a backup schedule click the Create button, configure the settings then click Next to proceed.
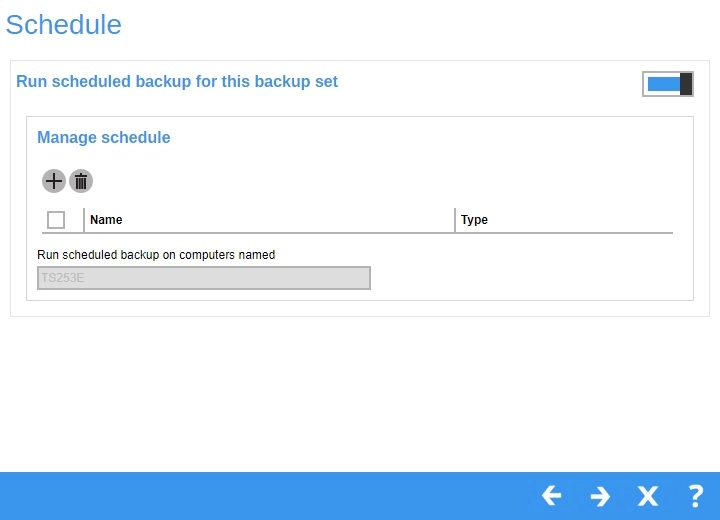
For details on how to configure the backup schedule settings, please refer to the Overview (GUI) section.
-
In the "Destination" window, select the appropriate option from the "Backup Mode" dropdown menu. Then click the Create button to select a backup destination. Click Next to proceed once done.
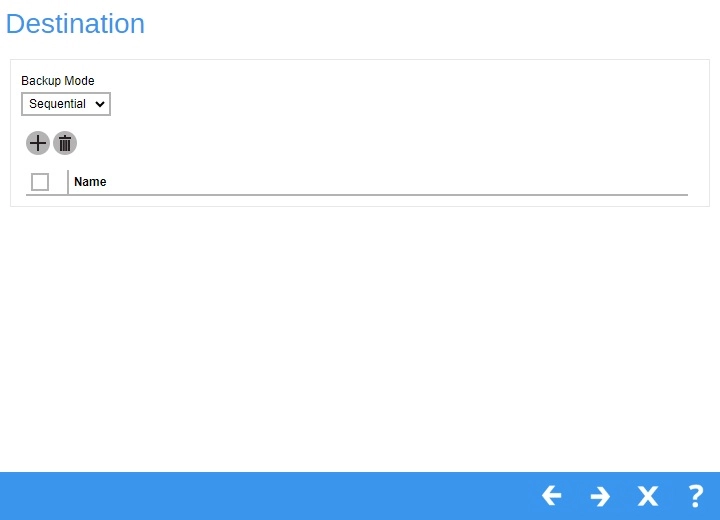
-
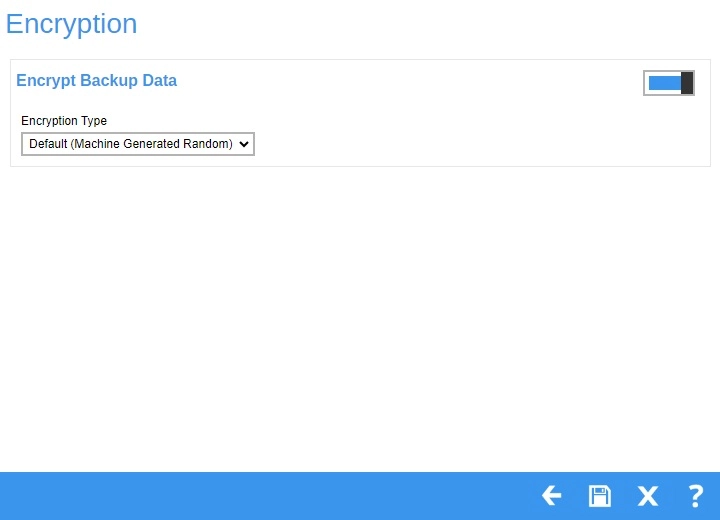
In the "Encryption" window, the default "Encrypt Backup Data" option is enabled with an encryption key preset by the system which provides the most secure protection. Select the "Encryption Type" to be used then click Save to finish creating the backup set.
-
The cloud file backup set is created successfully.